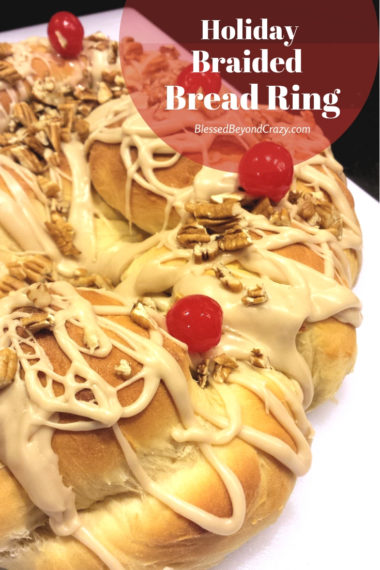
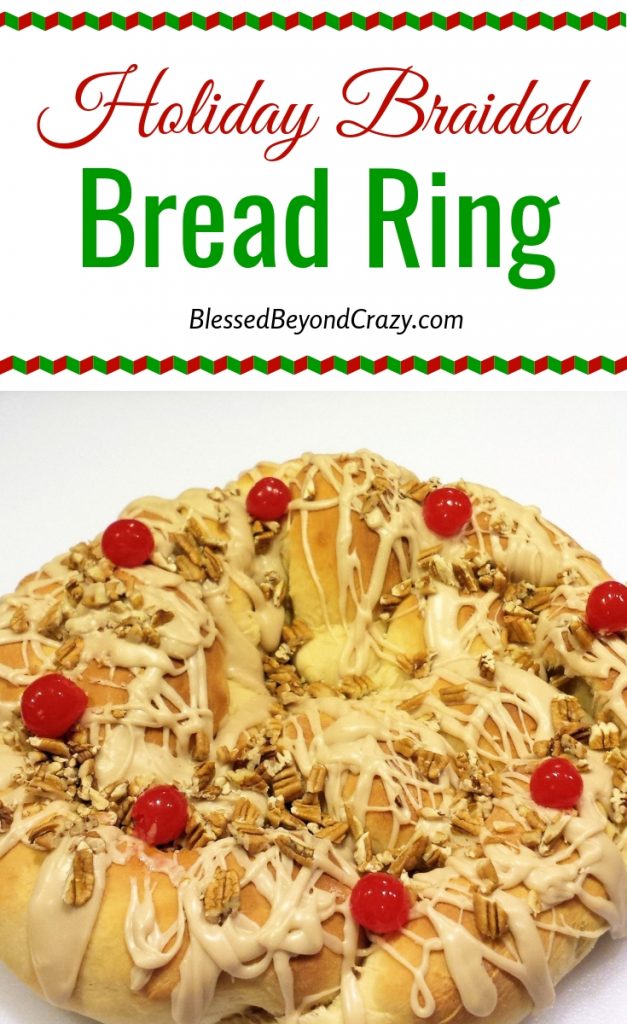
This holiday season, treat your family and friends to an impressive made-from-scratch Holiday Braided Bread Ring. Every bite is loaded with wonderful textures and flavors that everyone seems to love. Trust me… a warm slice of this bread, with a little fresh butter slathered on top, is truly a delightful culinary experience.
To help support our blogging activities, our site contains affiliate links. If you make a purchase from a link on our site, we may receive a small percentage of that sale, at no extra cost to you. Blessed Beyond Crazy is a participant in the Amazon Services LLC Associates Program, an affiliate advertising program designed to provide a means for sites to earn advertising fees by advertising and linking to amazon.com.
Homemade Bread
There really isn’t anything else that compares to a warm slice of homemade bread fresh out of the oven. The intoxicating aroma that fills the air as it bakes sends everyone to the kitchen, eagerly waiting for the timer to go off.
If you are like me, the holidays always seem to evoke the memories of years gone by. As a child, I could barely contain myself because of my anticipation of finding presents under our tree. I also have fond memories of my mother and grandmother making scads of Christmas cookies and candies, homemade pies, and made-from-scratch cinnamon rolls.

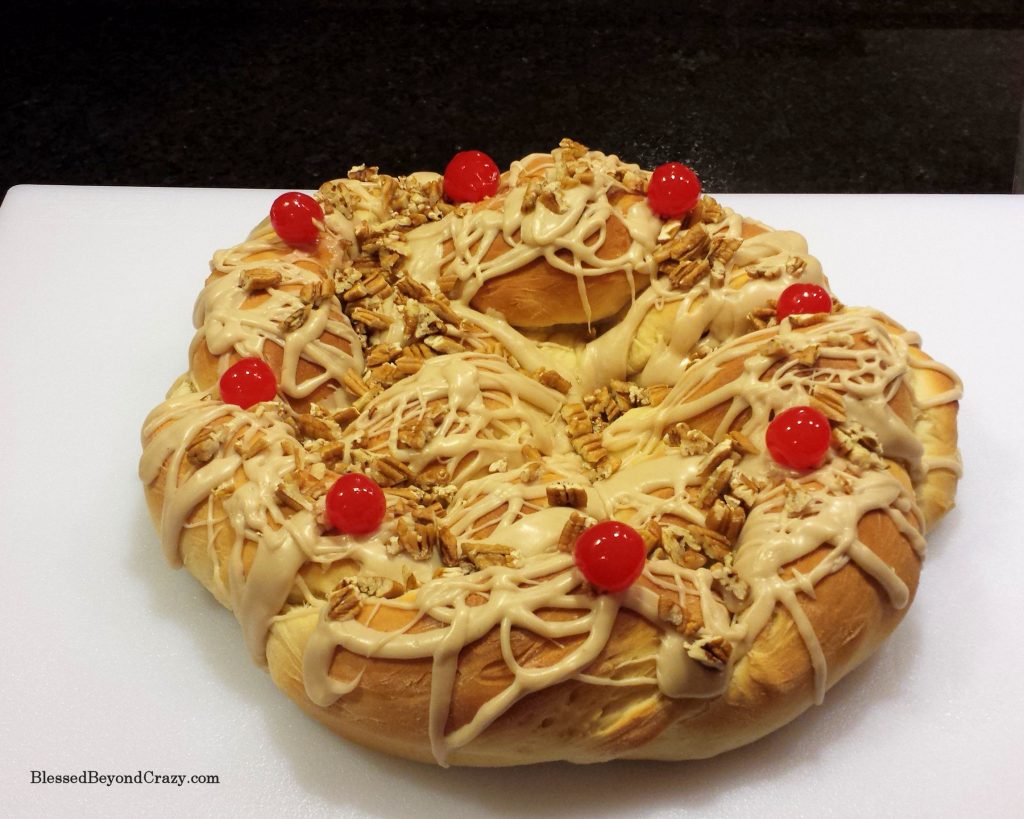
When I became a mother myself, I started a few new traditions of my own. One tradition that my family seemed to enjoy was the making of a Holiday Braided Bread Ring. Let me tell ya… it didn’t last long in our home because we practically inhaled the entire thing in one sitting!
Because this is such a fabulous recipe, I wanted to share it with you. If you read on I’ll show you how to make your own delicious Holiday Braided Bread Ring.
It Starts With Yeast
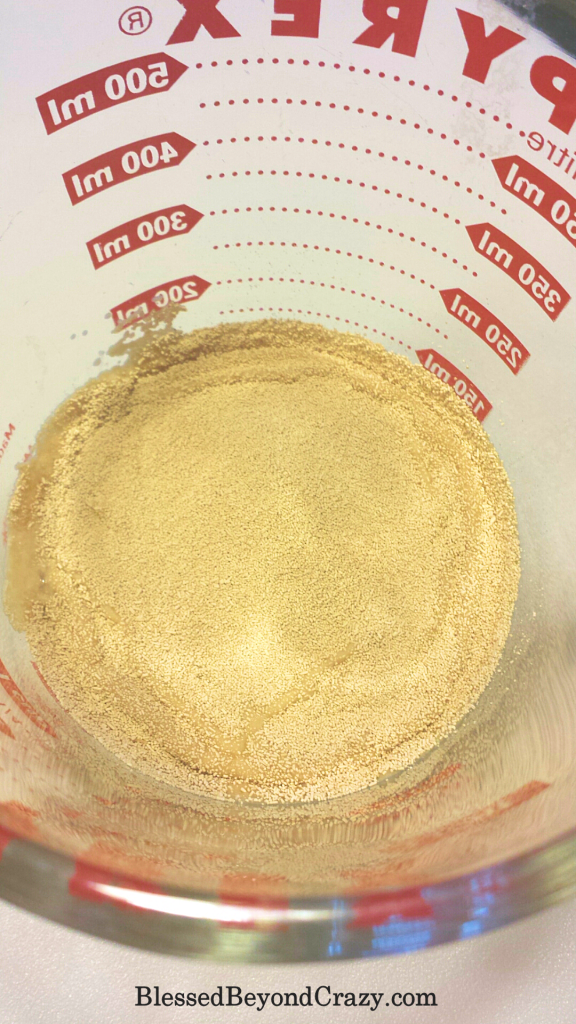
First, the recipe begins with yeast. In a large measuring cup, dissolve 5 teaspoons of active dry yeast in 1/2 cup of lukewarm water. The water should be the temperature of a baby’s bottle when warmed. Once the yeast is activated it will grow in size so be sure to use a large size measuring cup. Add 1 teaspoon granulated sugar.
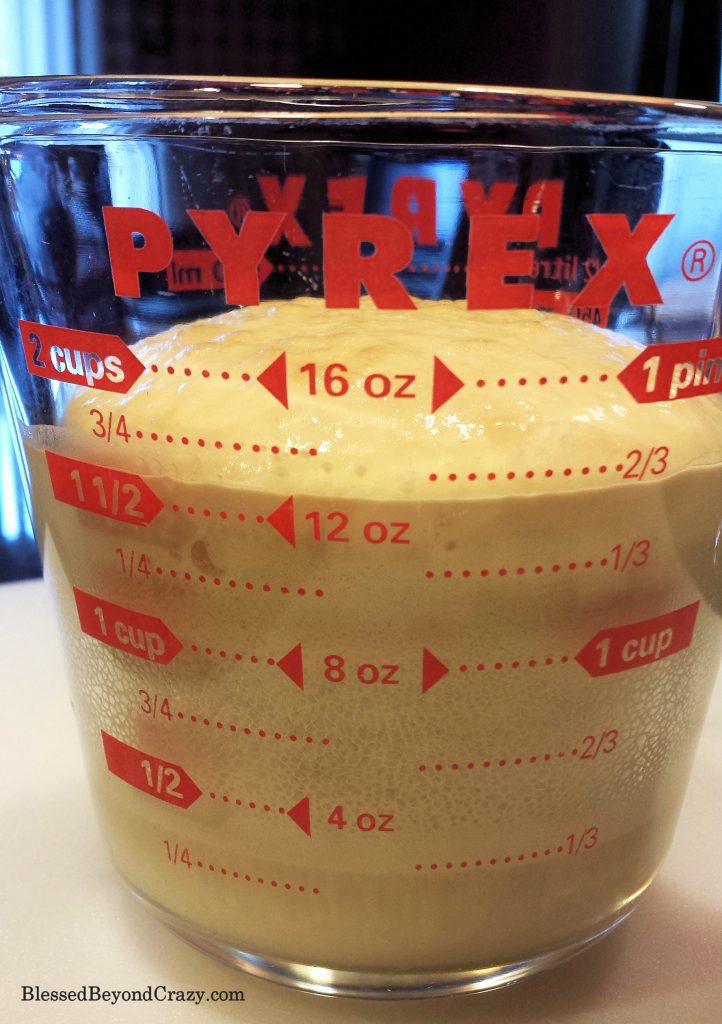
Yeast loves sugar! Therefore, this step helps the yeast to rise. Now, set the cup aside and let the magic begin while you perform the next step.
The Liquid Ingredients
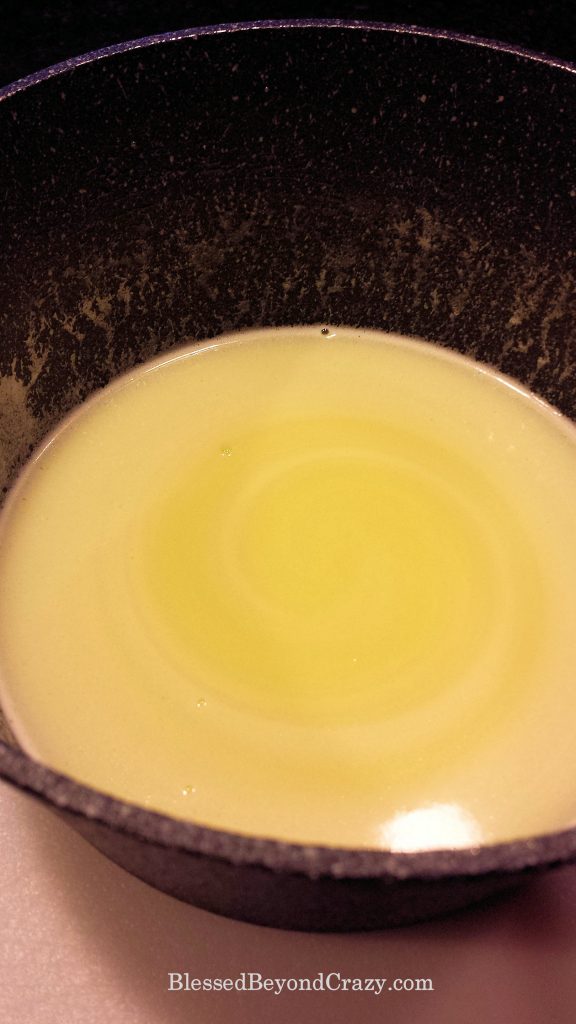
- In a medium-size saucepan, combine 1 stick butter, 1 cup milk (2% or whole milk is best), and 1/2 cup granulated sugar.
- Over medium-low heat, slowly warm the mixture until the butter and sugar are completely dissolved.
- Remove from the heat and allow the mixture to cool until it is lukewarm, (about the same temperature as a baby’s bottle when warmed).
- When the mixture is lukewarm, add 1 teaspoon salt, 3 slightly beaten eggs, and the yeast mixture. (Be sure to scrape out your measuring cup so that you capture all of the yeast.)
The Dough
- Place the liquid mixture into a large glass mixing bowl or a KitchenAid Mixer (which is what I used).
- Add 5 1/2 cups of all-purpose flour (one at a time) to the liquid mixture and combine well.
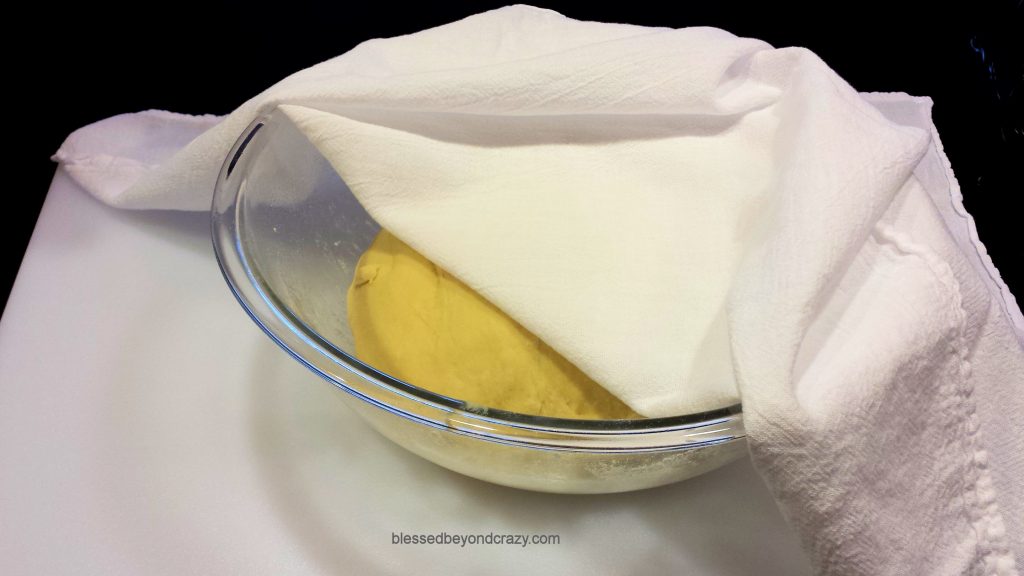
- When all the ingredients are blended together, place the dough into a lightly greased glass bowl and cover it with a clean linen kitchen towel. The towel will help keep the dough warm and help the dough to rise quicker.
***Time Saving Tip! If you use a large capacity bread machine the machine can mix the ingredients and the dough can rise right in the machine.
Let It Rise
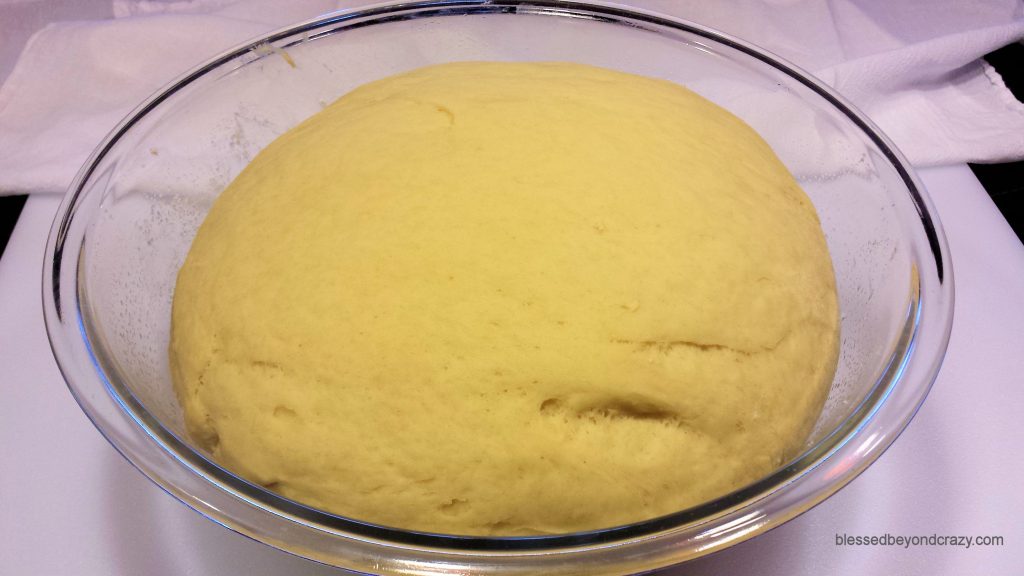
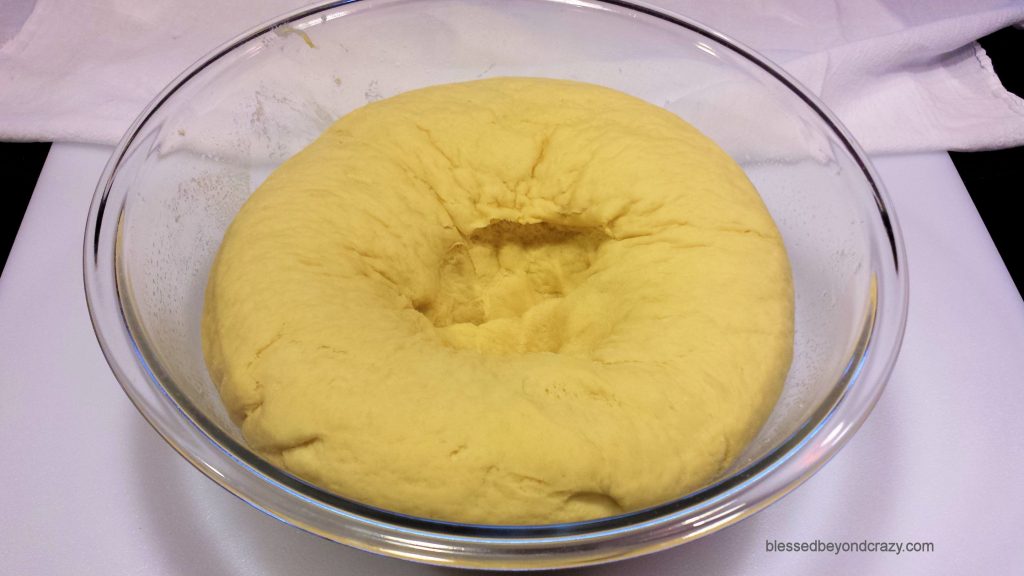
Next, allow the bread dough to rise until it has doubled in size. This step usually takes approximately one hour. The time may vary according to your room temperature, humidity, and/or altitude.
Punch It
Once the bread dough has doubled in size, punch it down in the middle with your fist. Pick up the dough and flip it over in the bowl, gently reshaping it into a ball. Once again, cover the dough with the kitchen towel and allow the dough to rise until it has doubled in size.
Divide It
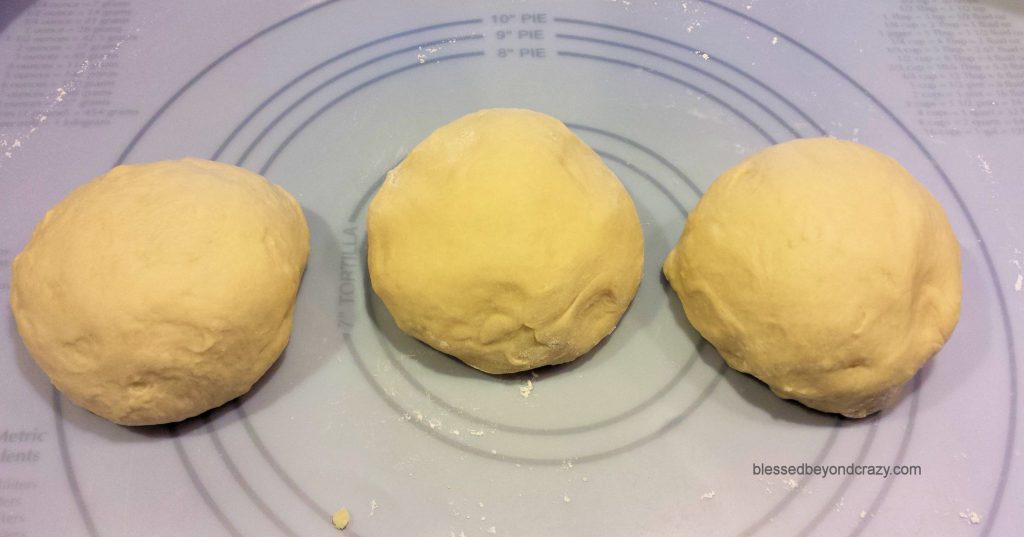
When the dough has doubled in size for the second time, punch it down again. Pour the dough out onto a well-floured working surface. TIP: Coat your hand with a little flour to keep the dough from sticking to your hands as you work.
Next, divide the dough into three equal size portions of dough. Form each portion into a ball. Move quickly during this stage and the next, because the dough will start to rise again.
Squeeze & Stretch
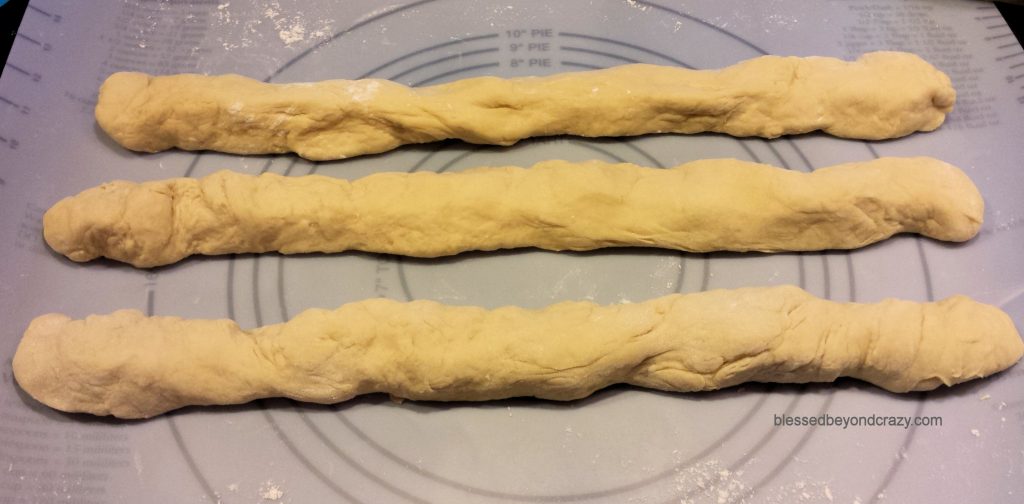
Now, once again, coat your hands with flour to prevent the dough from sticking to them. Take one of the dough balls and form a “rope” by squeezing and stretching motions with each ball of dough. (I find this step to be fun.)
I use my dough pastry rolling mat to help me make each rope the same size and length. Finally, place the ropes next to each other as shown in the picture above.
Start The Braid
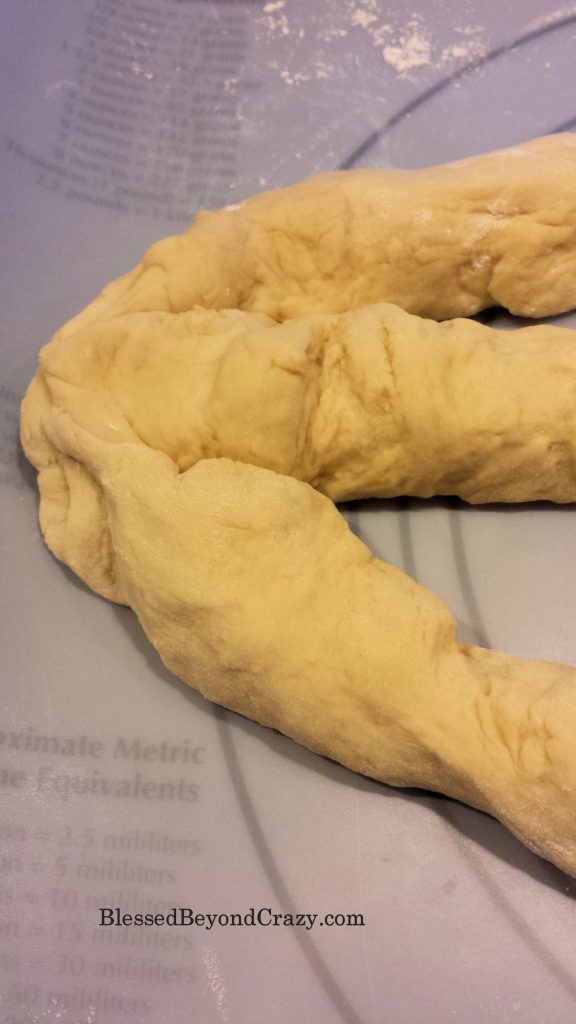
Gather all three ropes of dough and gently smoosh them together at one end (as seen in the picture above). Tuck the smooshed part underneath, leaving the smoother side up. Quickly and carefully begin braiding the ropes of dough together, forming one single long braid.
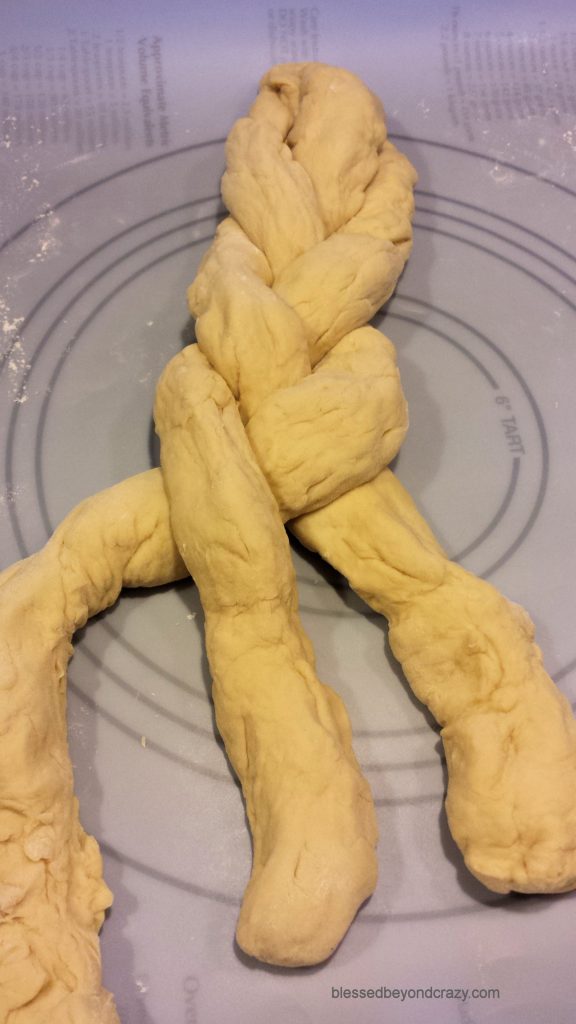
A Braided Bread Rope
You can easily tweak the size of your braided bread by squeezing and stretching the ropes to be thinner.
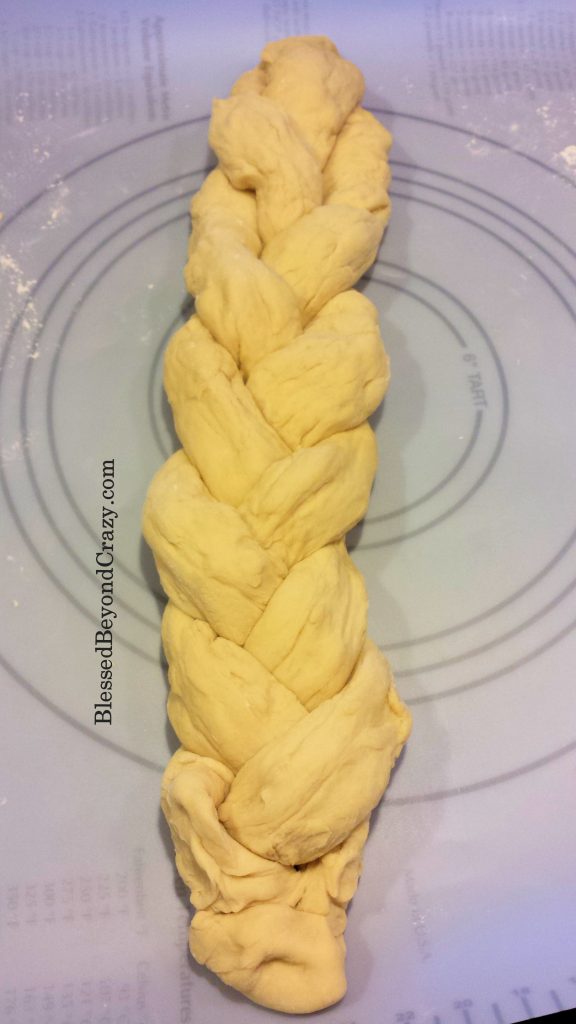
Personally, I like to make my braid a little on the thicker side.
(Psst… our Simple Golden Cornbread Recipe can easily be modified to be gluten-free!)
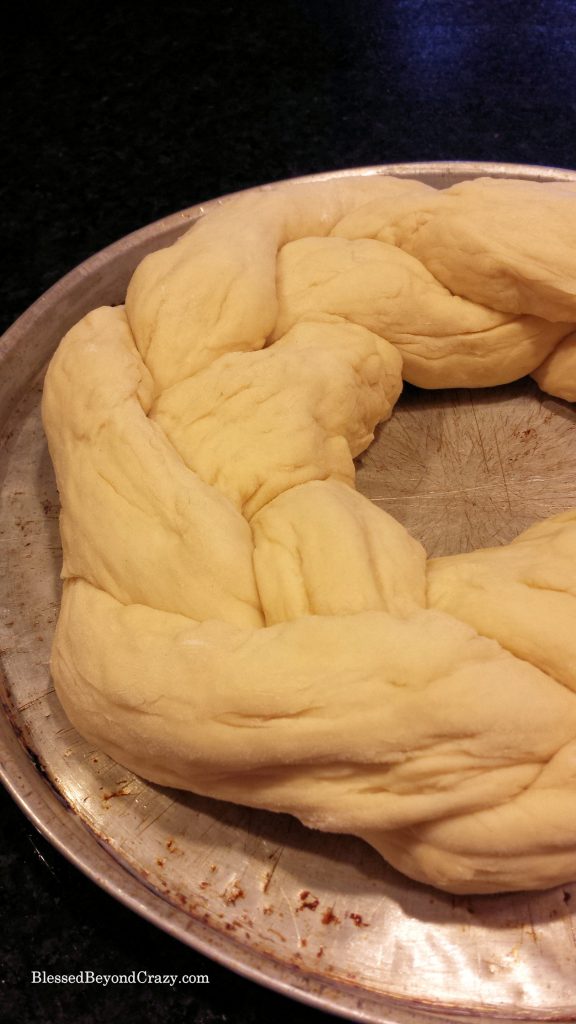
I like to bake my Holiday Braided Bread Ring on a 16-inch pizza pan. It works great! (As you can tell in the pictures, my pizza pan has been used quite often. It displays battle scars, dents, and stains. Maybe I need to ask for a new one for Christmas, huh?)
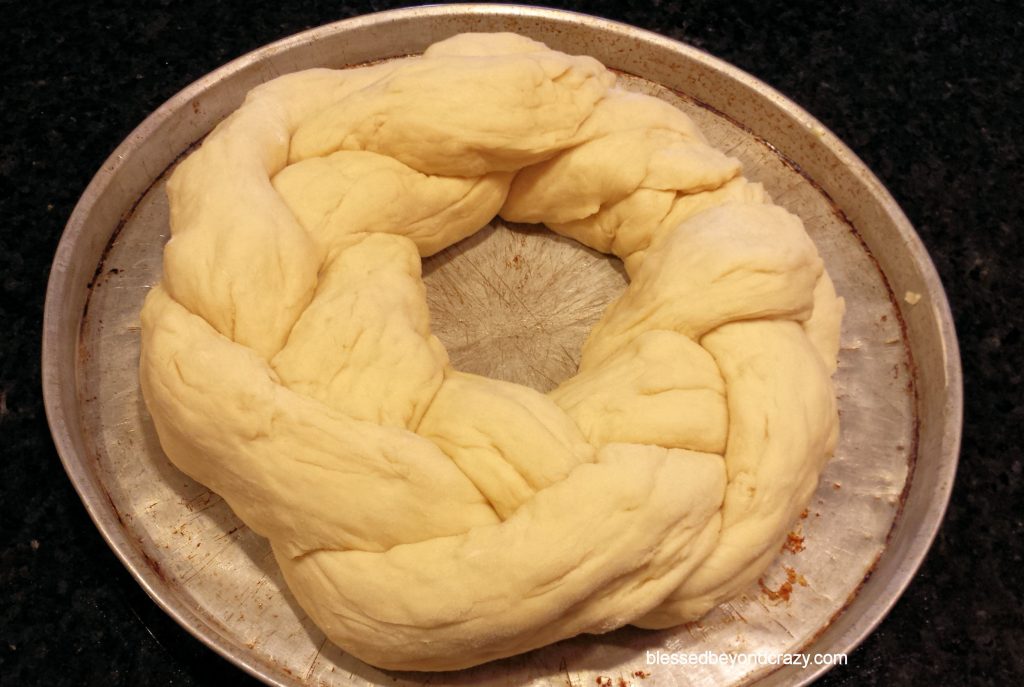
Form A Bread Ring
Place the braided bread onto a well-greased round baking pan and form it into a ring. Smoosh the two ends together and be sure to tuck them under so that they don’t unravel during baking. Make sure that there is space between the edge of the pan and the dough. The bread will expand and will double in size one last time.
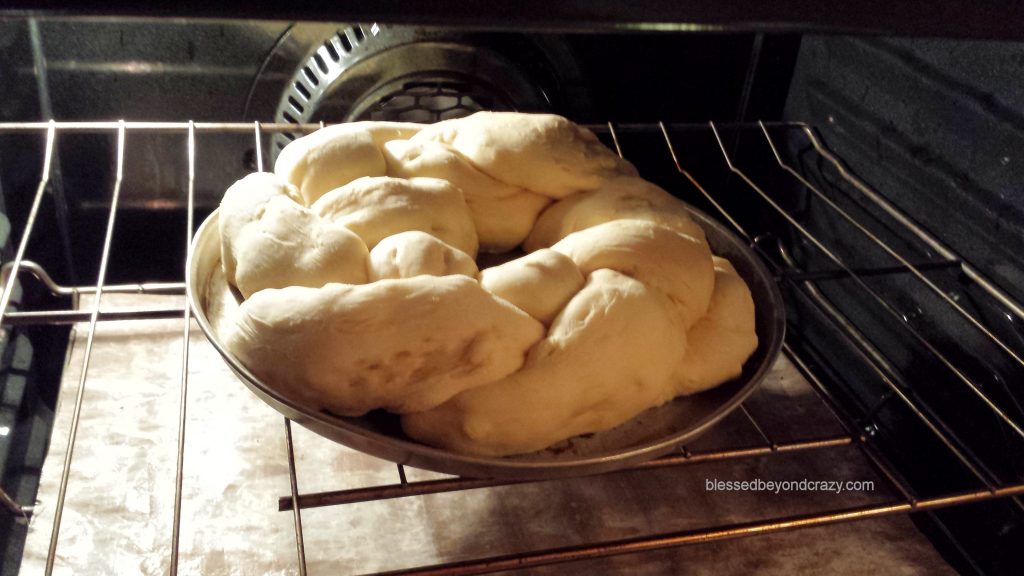
Bake
When the dough has risen and doubled in size, place it in a preheated 350 degrees F oven. Bake for approximately 25 – 30 minutes, or until golden brown. Remove from the oven.
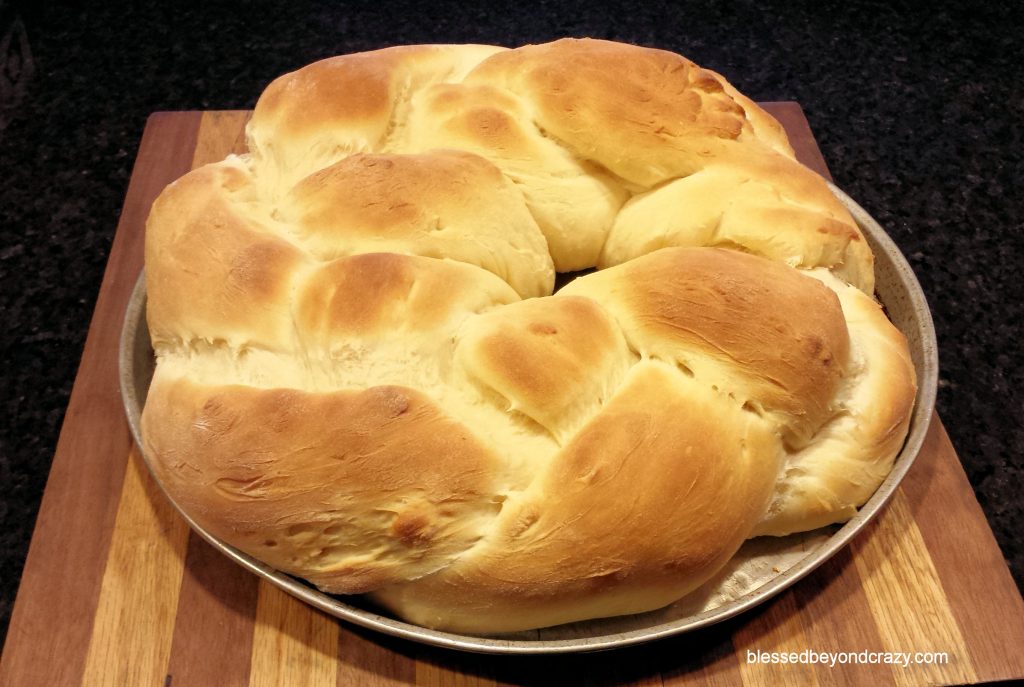
Cool
Okay, this is the hardest part… waiting for this delicious bread to cool. If you are like my family, you too will be drooling over this freshly baked Holiday Braided Bread Ring!
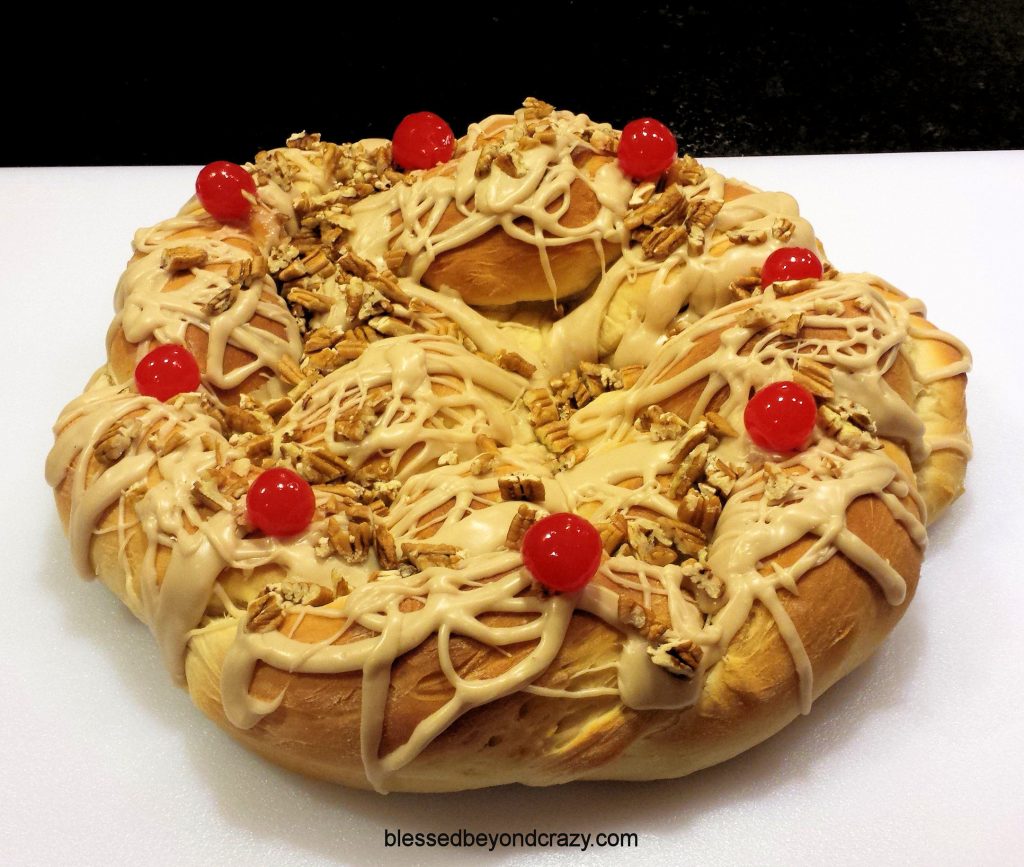
Garnish
When the bread has cooled to room temperature, drizzle the top with homemade maple icing. Finally, garnish with chopped pecans and maraschino cherries.
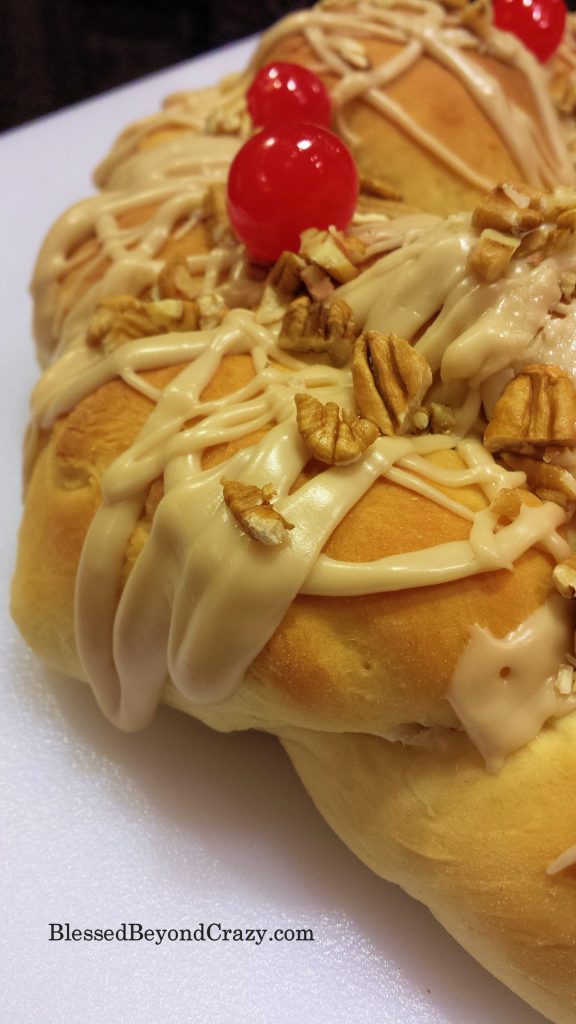
To make Maple Icing:
- In a microwave-safe mixing bowl, melt 1 teaspoon butter (it will only take a few seconds to melt).
- Add 2 – 3 drops maple extract, 1 – 2 tablespoons milk, and approximately 2 cups powdered sugar. (Add a few more drops of milk if the consistency is too think. Sprinkle in a little more powdered sugar if the consistency is too thin.)
- Mix all the ingredients well and immediately drizzle over the bread ring. (The icing will thicken as it sets.)
DINNER ROLLS
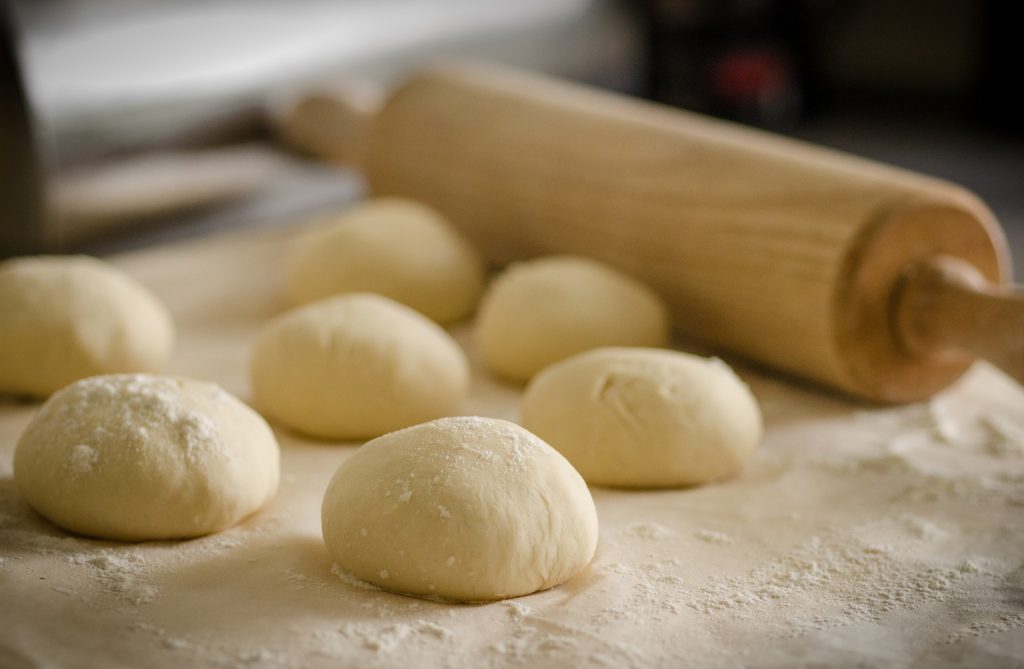
You may also use this dough recipe to make regular dinner rolls. Instead of forming the dough into ropes, simply shape the dough into individual balls. Place the balls (spaced approx. 1 inch apart) in a well-greased 9 x 13 baking pan. Brush the top of each ball with melted butter. Allow the dough to rise until doubled in size. Bake as directed. Brush the top of each roll with melted butter. Serve warm.
This delicious and festive bread ring will add a special touch to any holiday feast. You may also use this dough recipe to make dinner rolls. Instead of forming the dough into ropes, simply shape the dough into individual balls. Place the balls (spaced approx. 1 inch apart) in a well greased 9 x 13-inch baking pan. Brush the top of each ball with melted butter. Allow the dough to rise until doubled in size. Bake as directed. Brush the top of each roll with melted butter. Serve.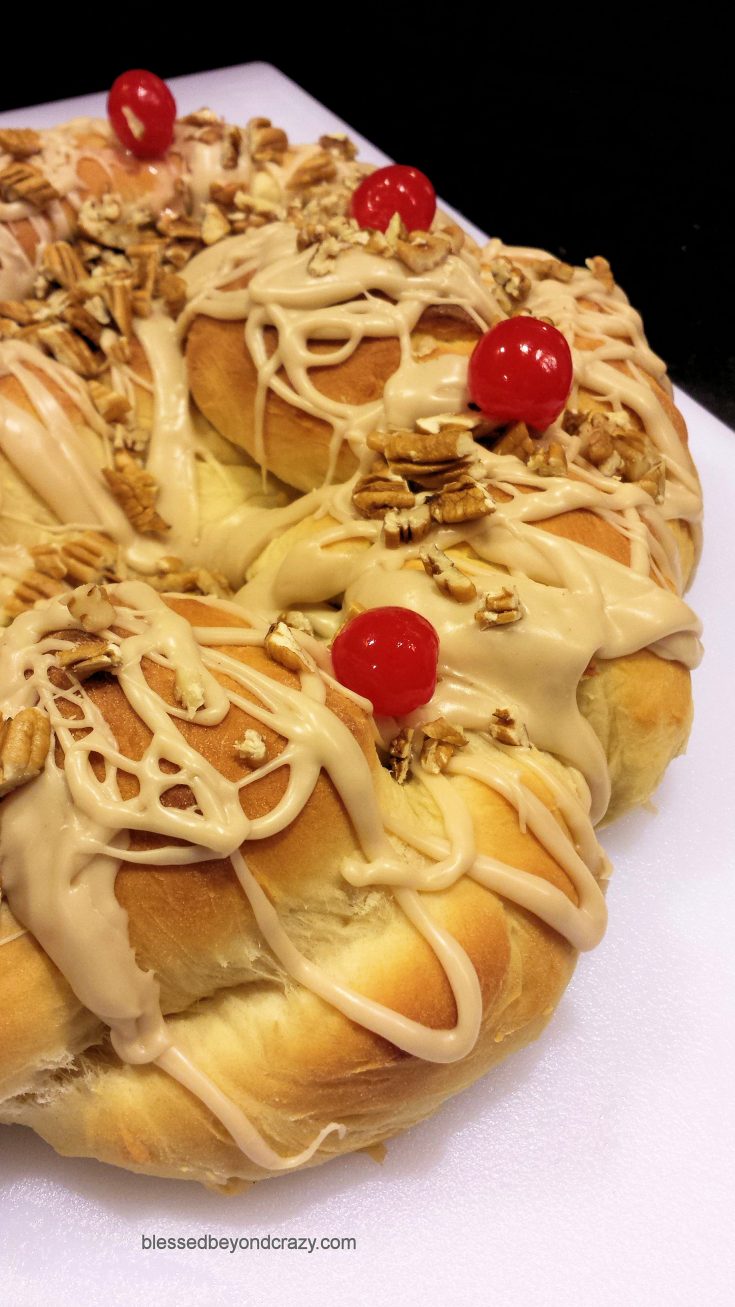
Holiday Braided Bread Ring
Ingredients
Instructions
Notes
Do you have any holiday traditions?
Merry Christmas and Happy Holidays!
Linda
More great ideas:




Leave a Reply