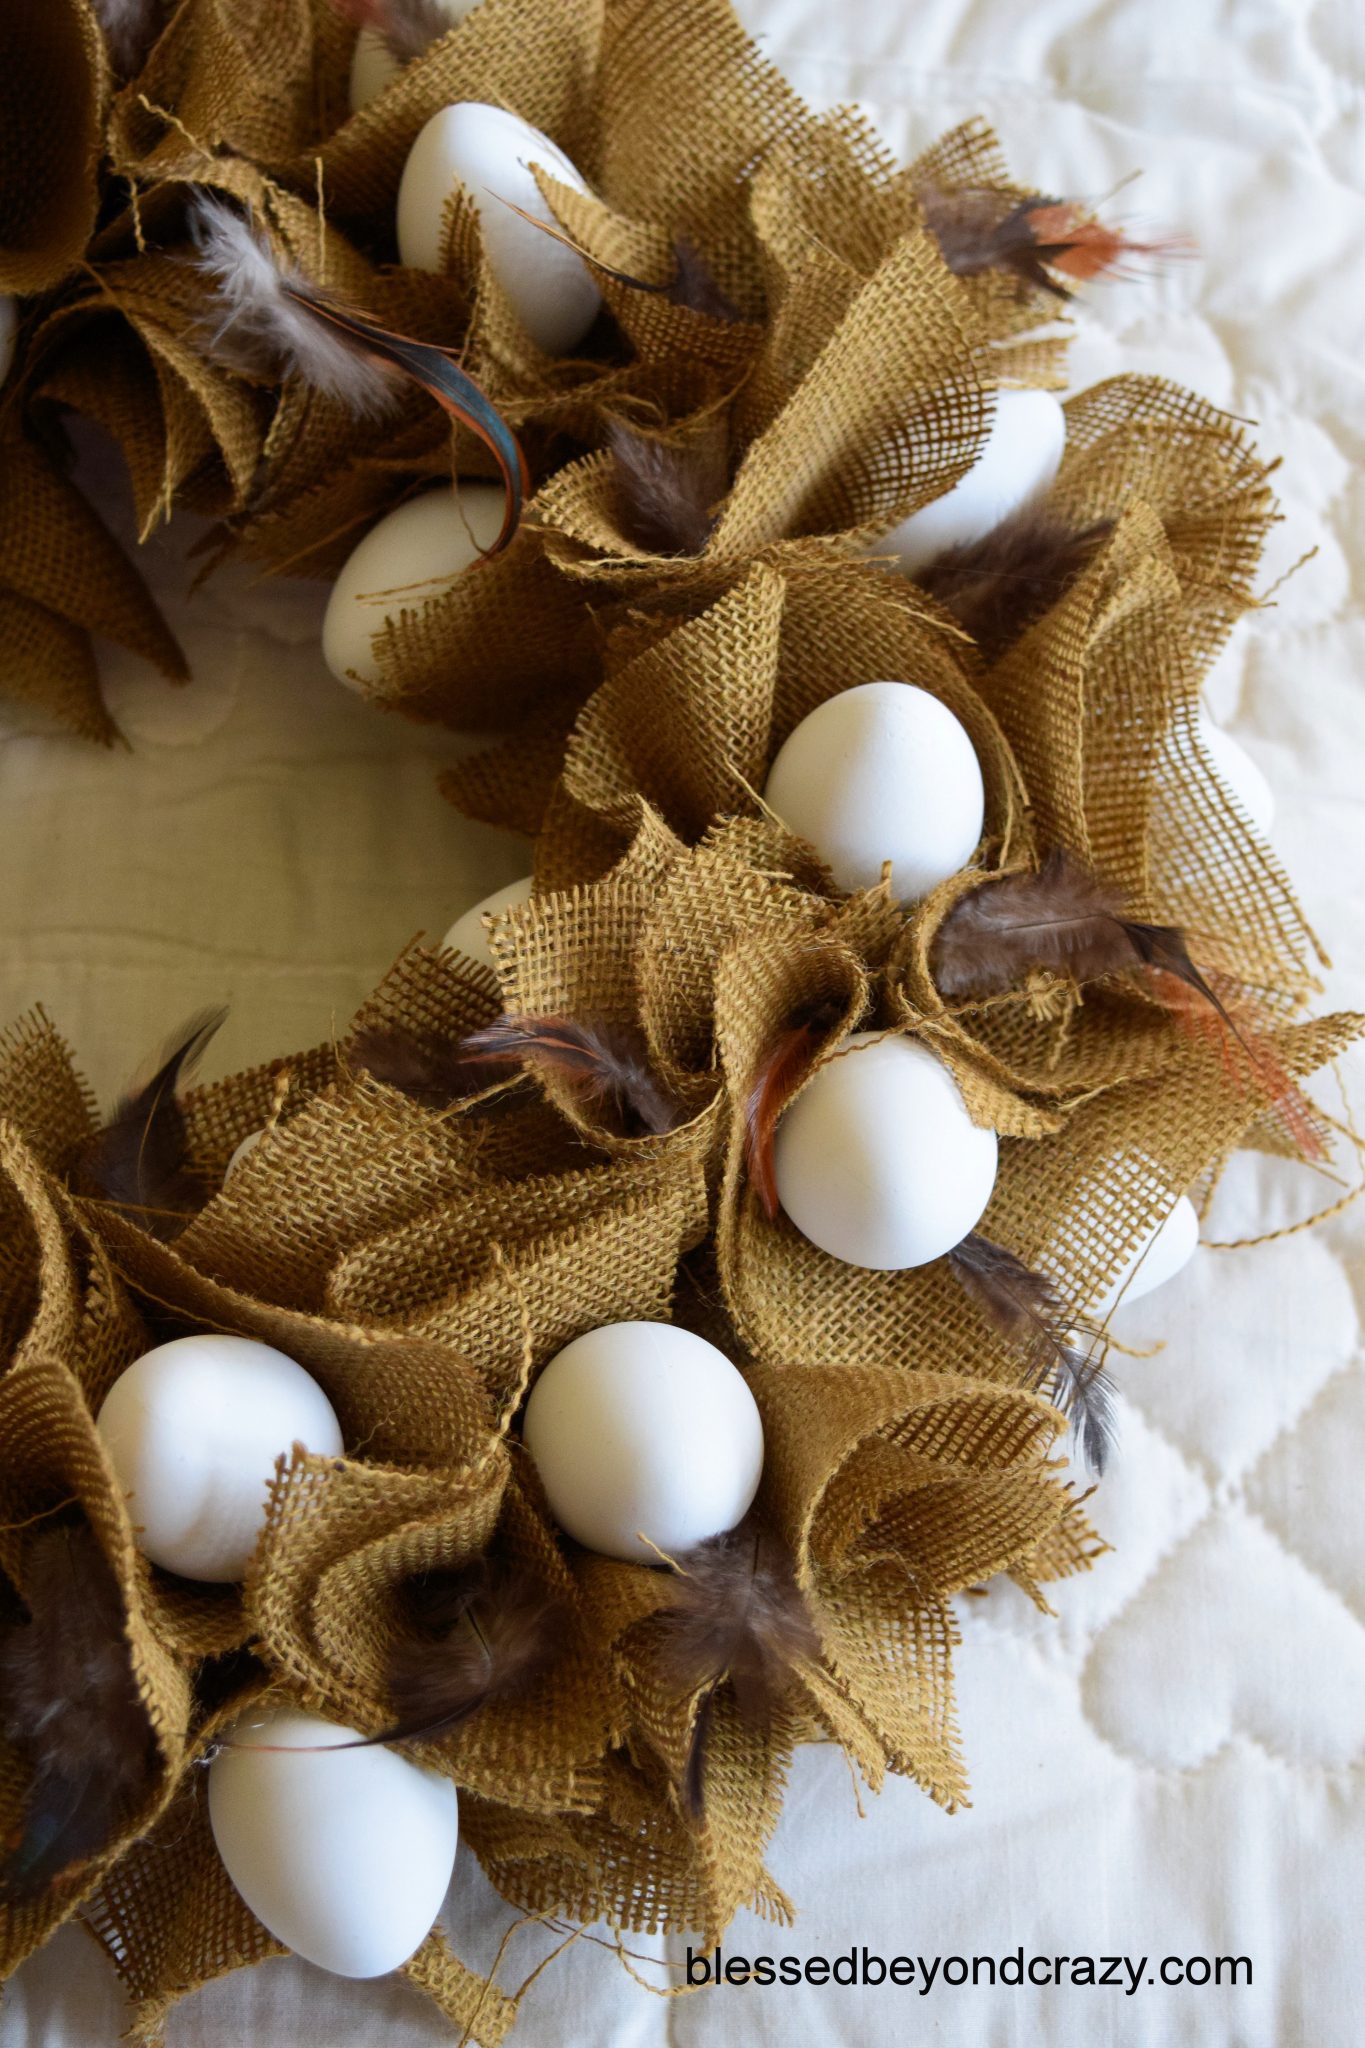
If you are looking for a fun and rustic DIY craft then here ya go. This charming Rustic Farmhouse Burlap Eggy Centerpiece is a no-sew project and perfect for any county-themed decor.
You’ve probably noticed that rustic decor has been super popular over the past several years. Just look at the hit show Fixer Upper! Every week Joanna Gains uses sliding barn doors, weathered furniture, rustic vintage accessories, and a whole lot of shiplap to turn a dull house into something fabulous.
To help support our blogging activities, our site contains affiliate links. If you make a purchase from a link on our site, we may receive a small percentage of that sale, at no extra cost to you. Blessed Beyond Crazy is a participant in the Amazon Services LLC Associates Program, an affiliate advertising program designed to provide a means for sites to earn advertising fees by advertising and linking to amazon.com.
Since I grew up on a farm I really do enjoy the whole rustic farmhouse flair and this centerpiece makes me feel right at home. Especially since we raised chickens and gathering eggs was one of my daily chores. Guess that’s what inspired me to create this Rustic Farmhouse Burlap Eggy Centerpiece.
This super easy DIY craft requires very little time and very few supplies. I believe my construction time from start to finish was just shy of 1.5 hours.
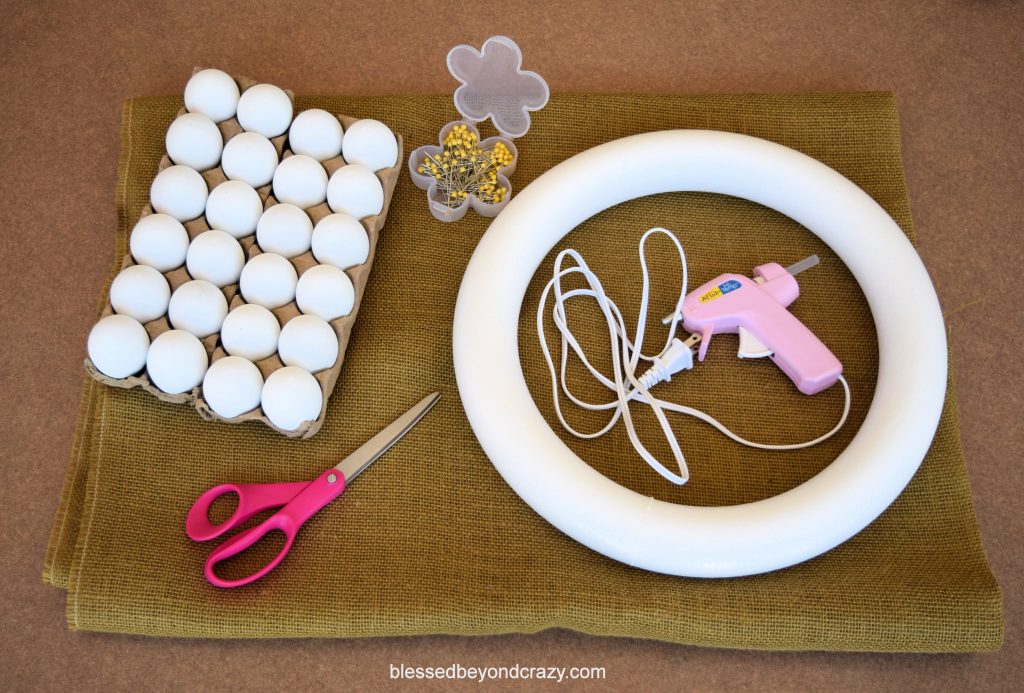
Supplies:
- 14-inch foam wreath
- 1 1/2 yards burlap
- 2 1/2 dozen faux eggs
- 1 3/4-inch quilting pins
- glue gun and extra glue sticks
- sharp scissors
- feathers (optional – although I think they really do add a nice touch)
Step 1.
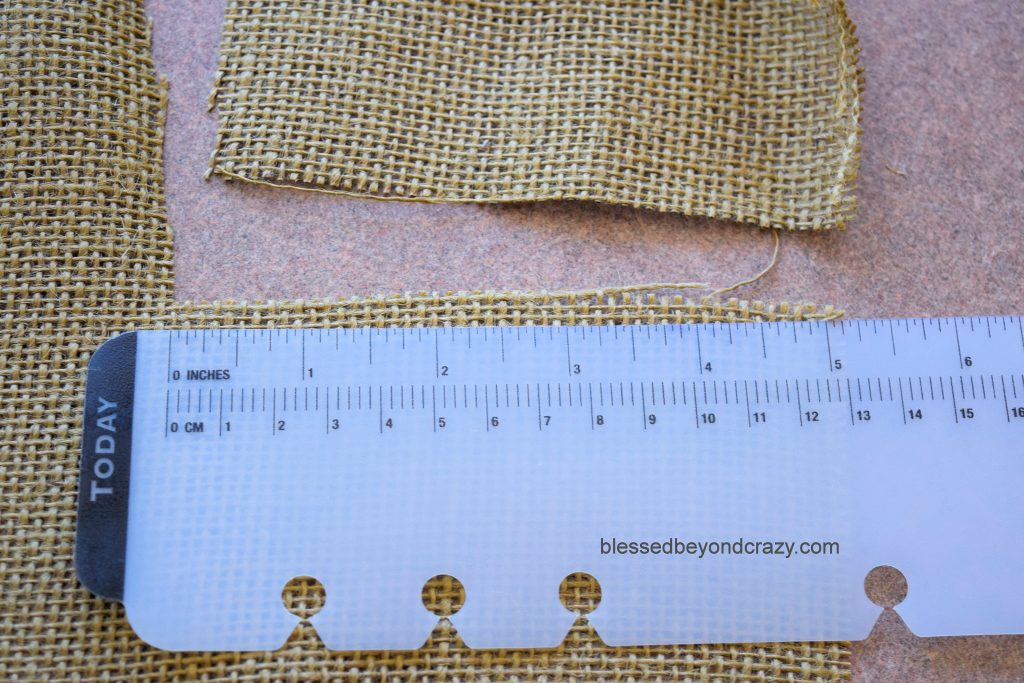
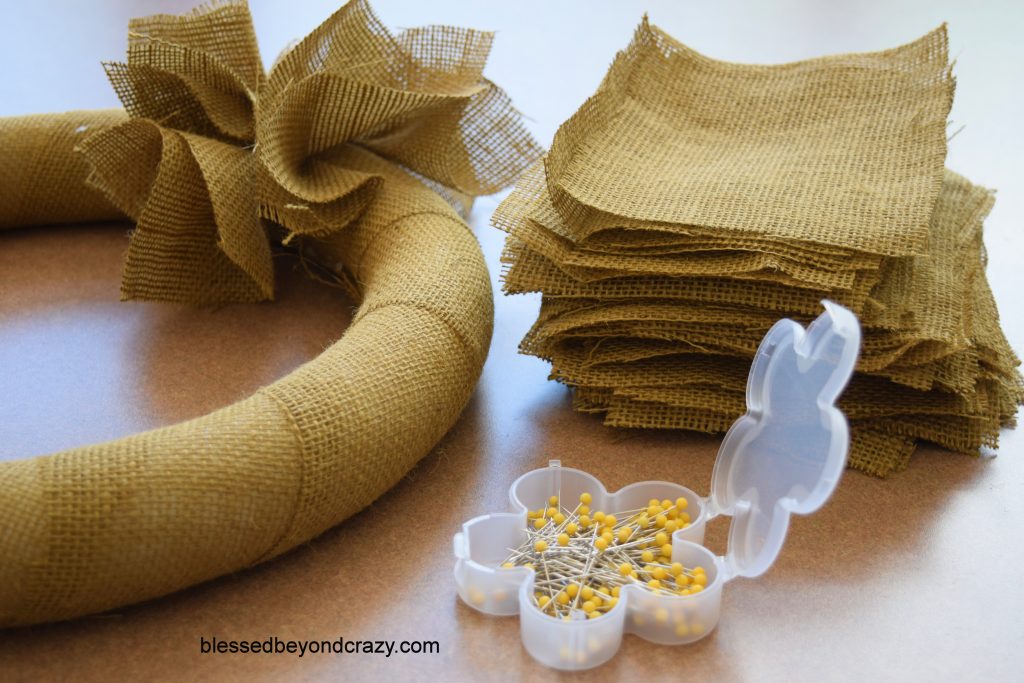
The first step is to cut two strips of burlap measuring 3 1/2 inches wide by 53 inches long. These two strips of burlap will be wrapped around the foam and secured with a little hot glue. Next, cut the remaining burlap into 5″ x 5″ squares. You should end up with 73 squares. These will be folded and pinned into the foam.
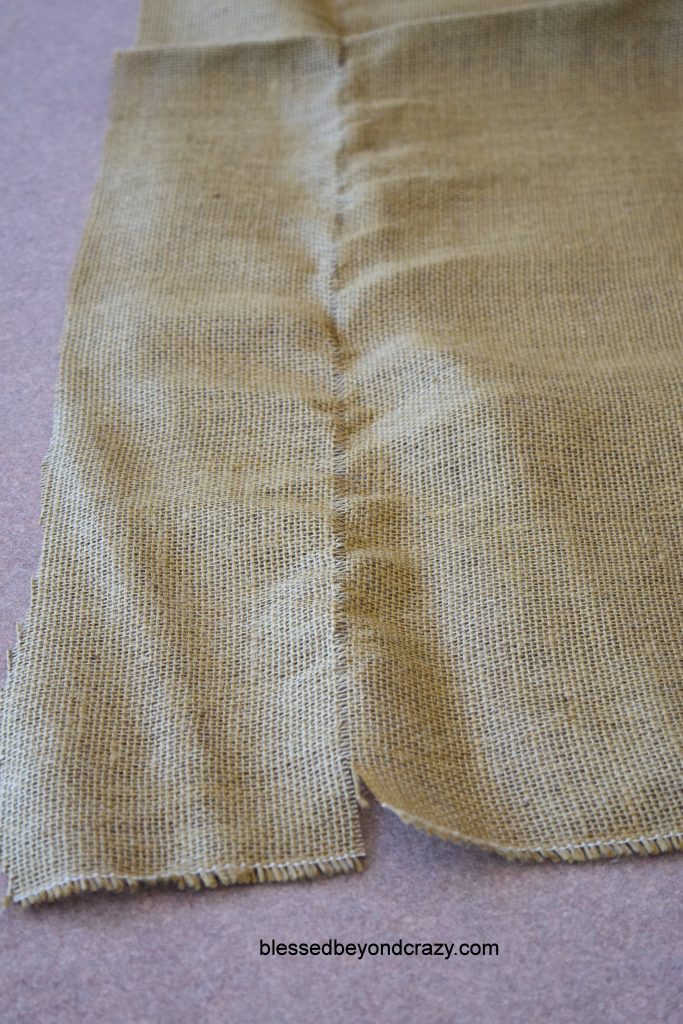
TIP: After measuring, if you pull one thread all the way out of the burlap you will have a straight line and easy mark for cutting. (See the above picture). Do the same in the opposite direction and you can quickly see where to cut the squares.
Step 2:
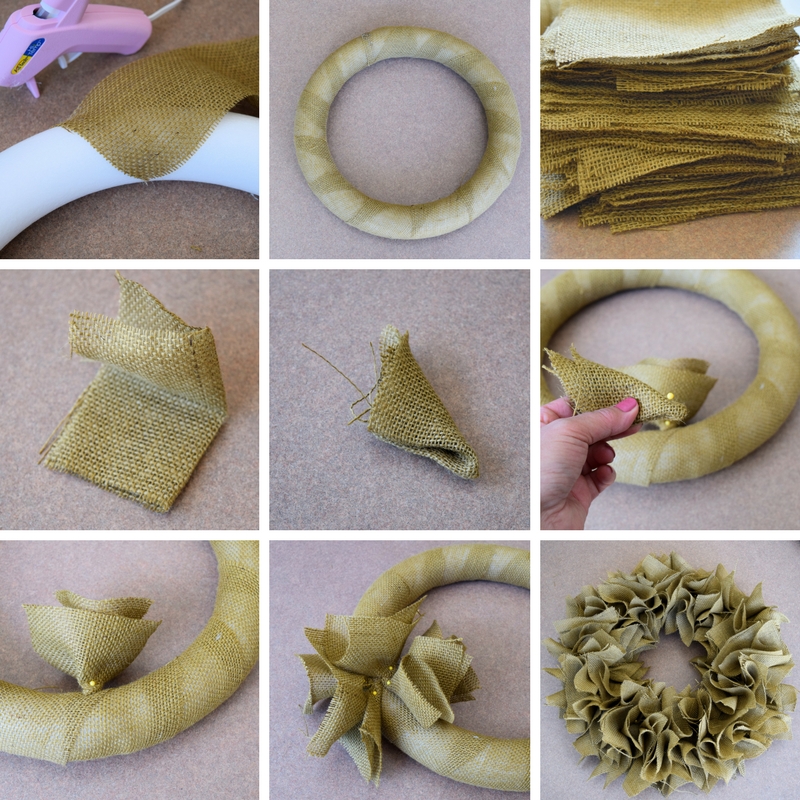
The second step starts by placing a little dap of hot glue at an angle halfway around the foam wreath. Working quickly, attach one end of a 3 1/2″ x 53″ strip of burlap. Tightly wrap the entire length of burlap around the foam and attach the final edge with another dollop of hot glue. Repeat the process again until the entire foam is covered. Two strips should be enough to cover the entire foam wreath. (I only needed to secure the ends with hot glue.)
Step 3:
Fold one section of burlap in half, then fold in half again making a small square (see the picture above). Now fold the square one more time making a triangle. (see the center picture above). Place one pin at the very tip making sure to pin through all of the folds. Stick the pin into the foam frame. Repeat folding and pinning the burlap squares until the entire wreath is covered.
Step 4:
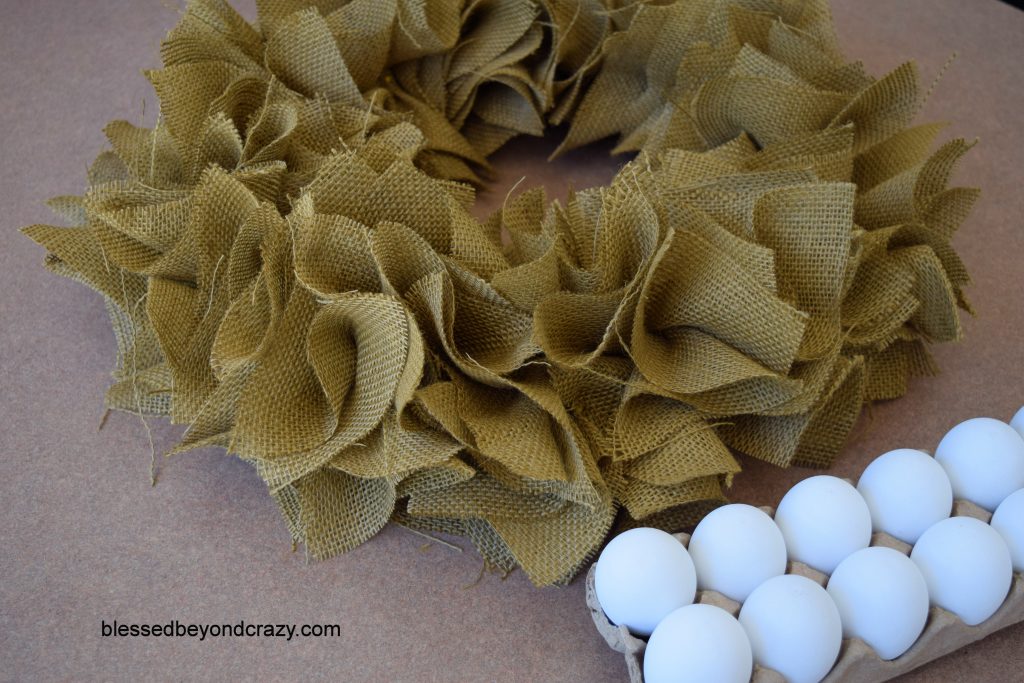
Fluff each pinned piece of burlap until the frame of the wreath does not show. Since each square of burlap is only pinned, it’s easy to move and manipulate the squares if you need to do so. If something doesn’t look quite right, now is the time to fix it and move things around a bit. No need to worry about the head of the pins showing because they will soon be covered by eggs. Also, don’t worry about any loose burlap strings. I personally think they add even more rustic charm. (You can see a few hanging strings in the picture below.)
Step 5:
Now comes the fun part! It’s time to add the eggs! I chose to use faux white eggs, however, feel free to use any color of eggs you want (think colorful eggs for Easter)!
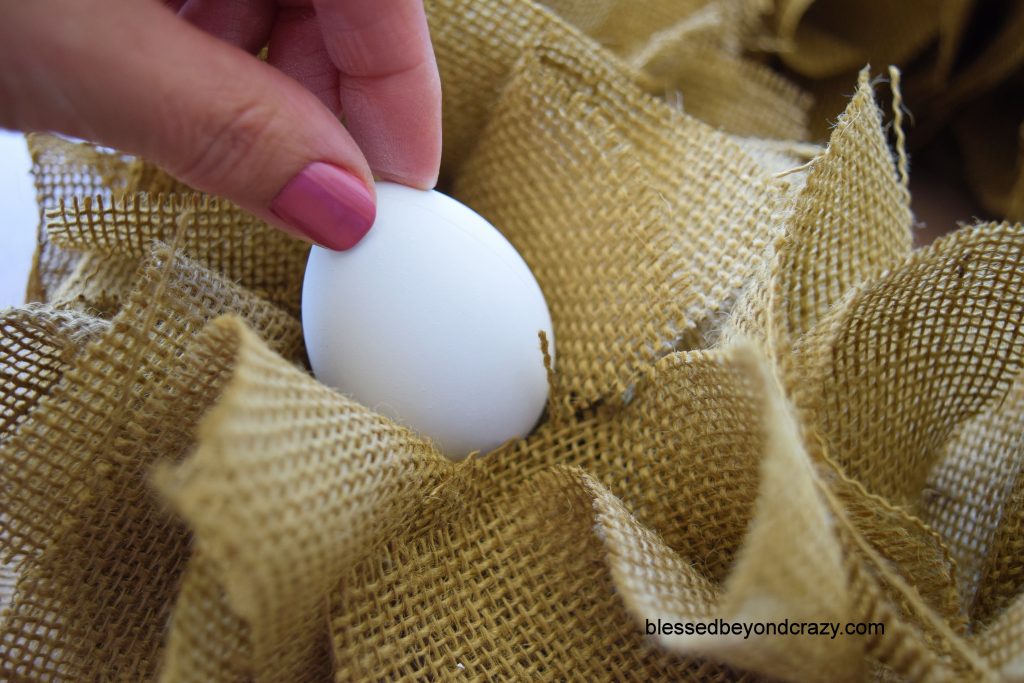
Add a generous dollop of hot glue to the bottom of an egg. While the glue is still warm, strategically nestle the egg between the folds of burlap. I also glued some eggs directly on top of a group of quilting pinheads (as seen in the collage picture above) or directly onto the frame of the wreath. The hot glue dries quickly so the eggs shouldn’t move much once you’ve placed them in the wreath.
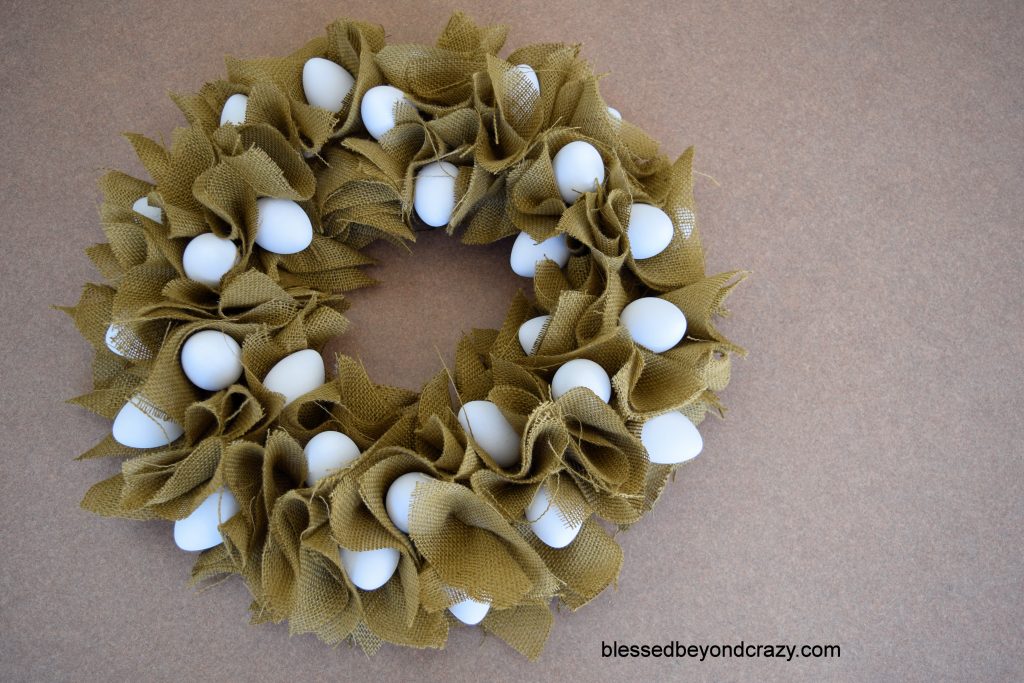
Continue strategically placing the eggs throughout the folds of burlap. Be careful not to leave any bare spots.
Notice how you can’t see any of the quilting pins once the eggs are in place?
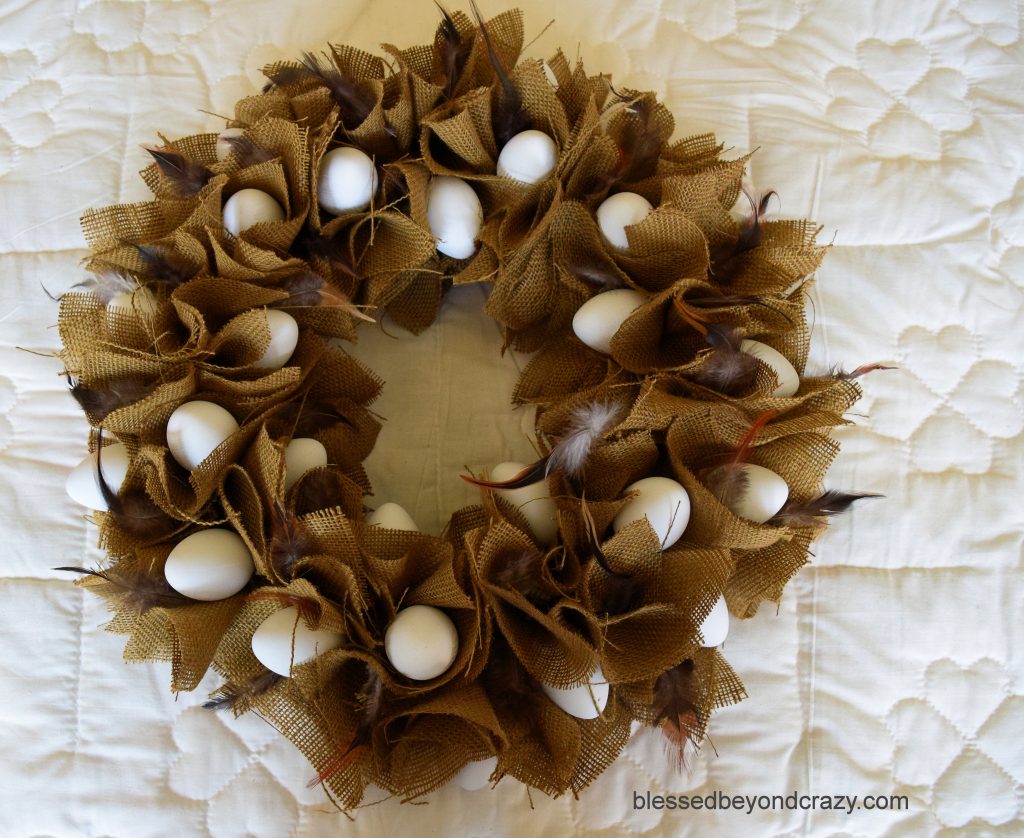
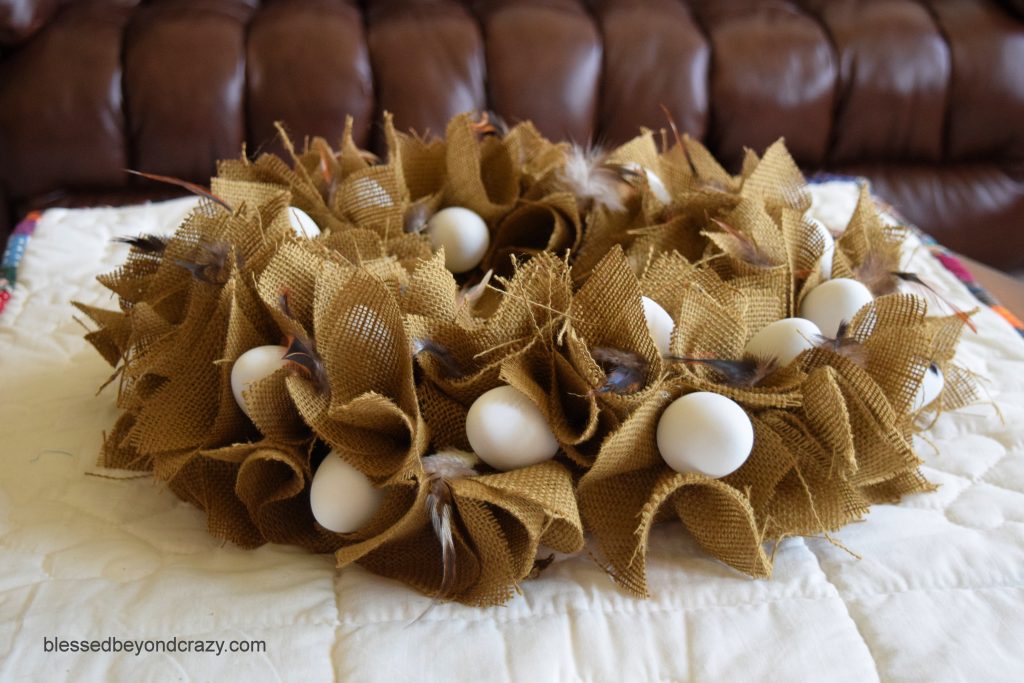
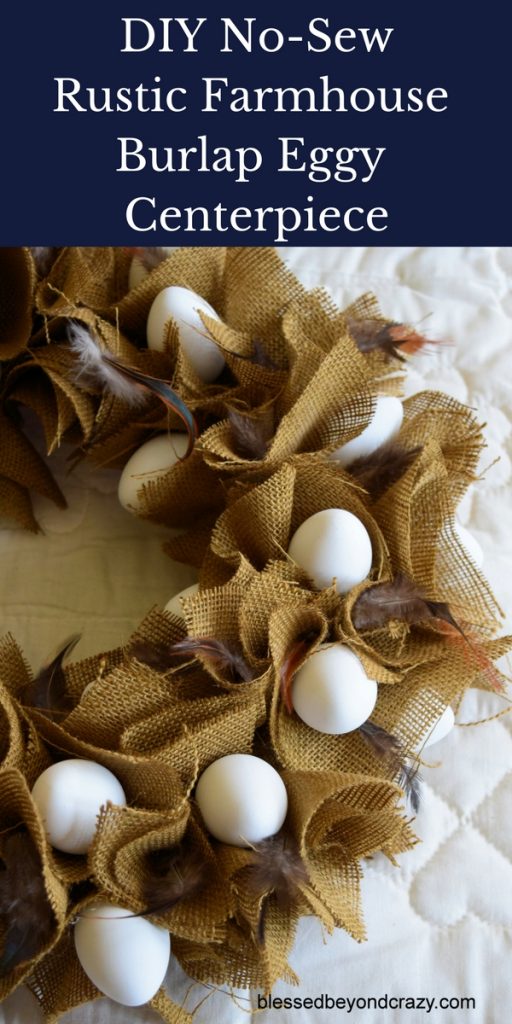
In the picture above you can see what the centerpiece looks like at this point. If you choose to, you can consider the wreath finished and proudly display it or you can take it one step further and add some feathers.
The picture above shows the wreath after the addition of feathers.
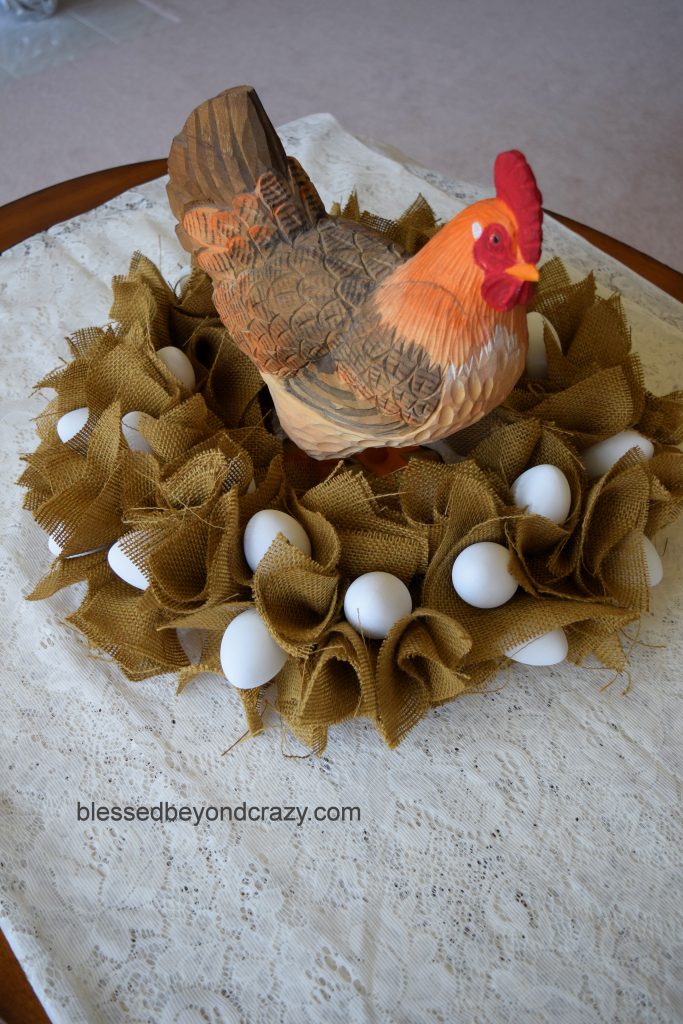
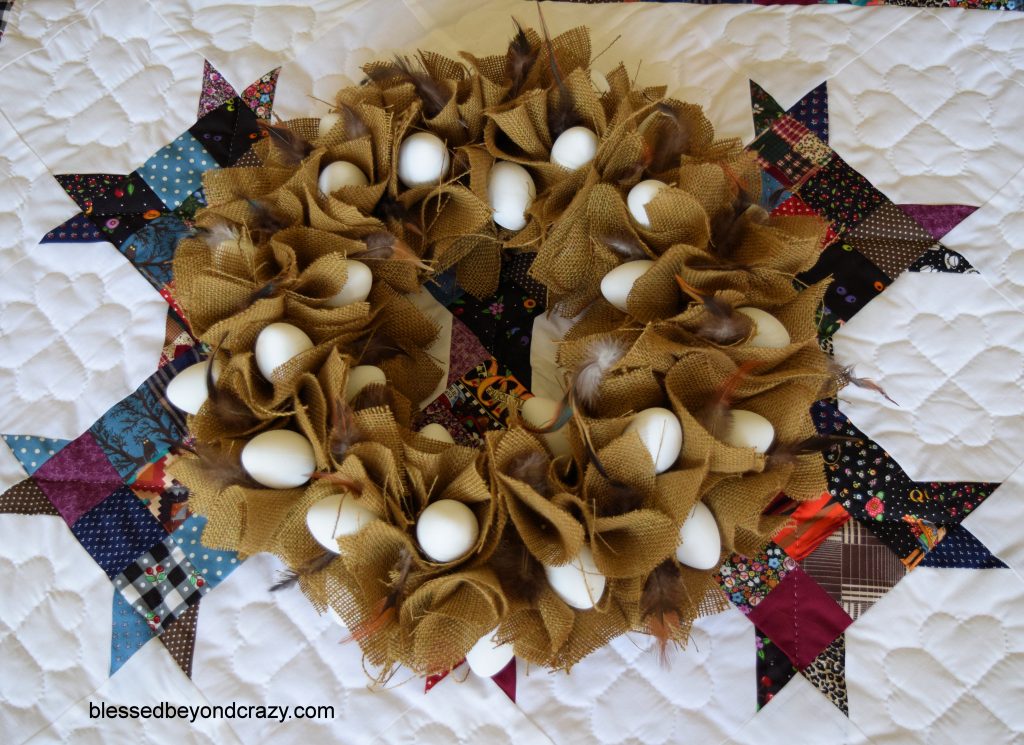
My mother crafted this beautiful handmade quilt piece shown in the picture above. In the previous picture, I flipped the quilt over to show the solid white backside so that the centerpiece would really stand out. The picture with the faux chicken in the middle of the center also belongs to my mom.
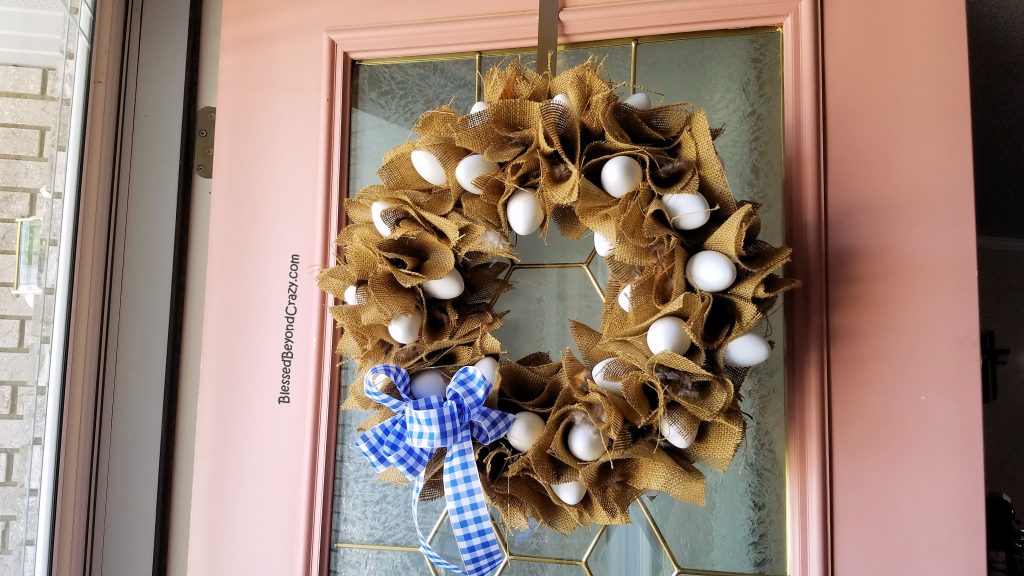
Another Option
Add a cute bow, and a wire on the back, and hang it on the door as a wreath.
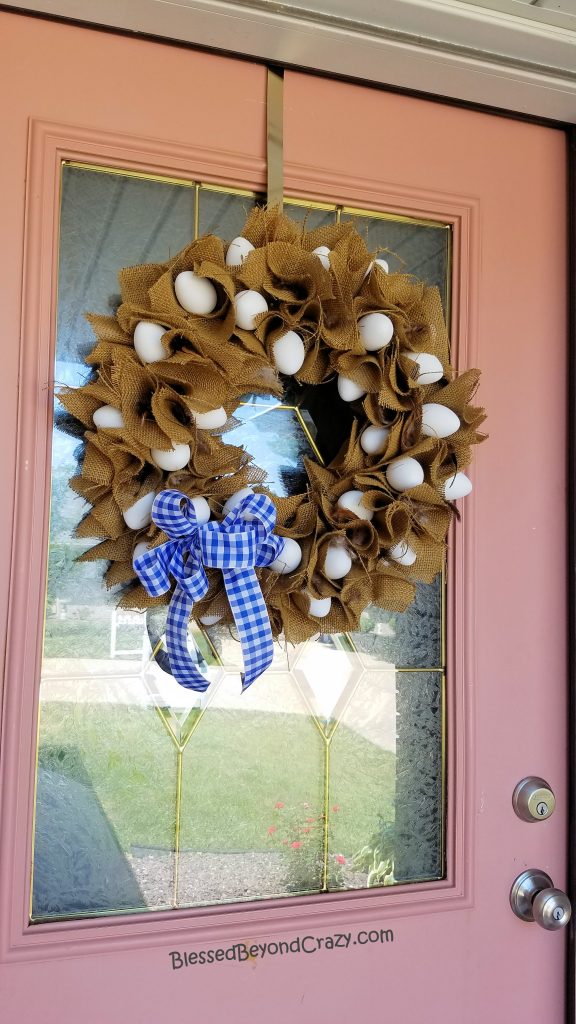
Here’s another look. I hope you have fun making your very own DIY No-Sew Rustic Farmhouse Burlap Eggy Centerpiece!
I hope you have fun creating your very own rustic centerpiece and be sure to check out our other Craft & DIY ideas!
Linda
Other great ideas:


Leave a Reply