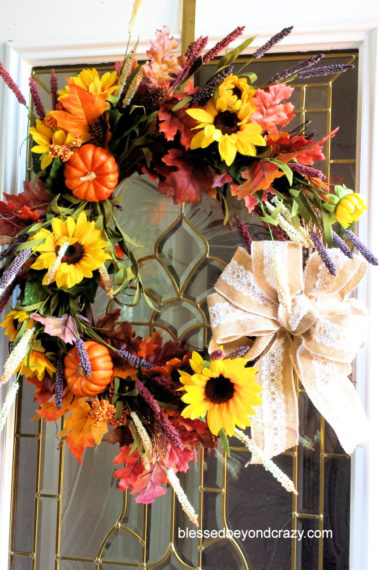
Fall is in the air and therefore it’s time to make a colorful, bright, and inexpensive DIY Fall Wreath!
I am one of those people who loves fall. I love seeing all of the beautiful leaves changing colors. The cooler weather means I can wear a hooded pullover and have gatherings around a toasty warm bonfire. It also means making big pots of chili soup and hot chocolate, watching the farmers harvest their crops, and so much more.
To help support our blogging activities, our site contains affiliate links. If you make a purchase from a link on our site, we may receive a small percentage of that sale, at no extra cost to you. Blessed Beyond Crazy is a participant in the Amazon Services LLC Associates Program, an affiliate advertising program designed to provide a means for sites to earn advertising fees by advertising and linking to amazon.com.
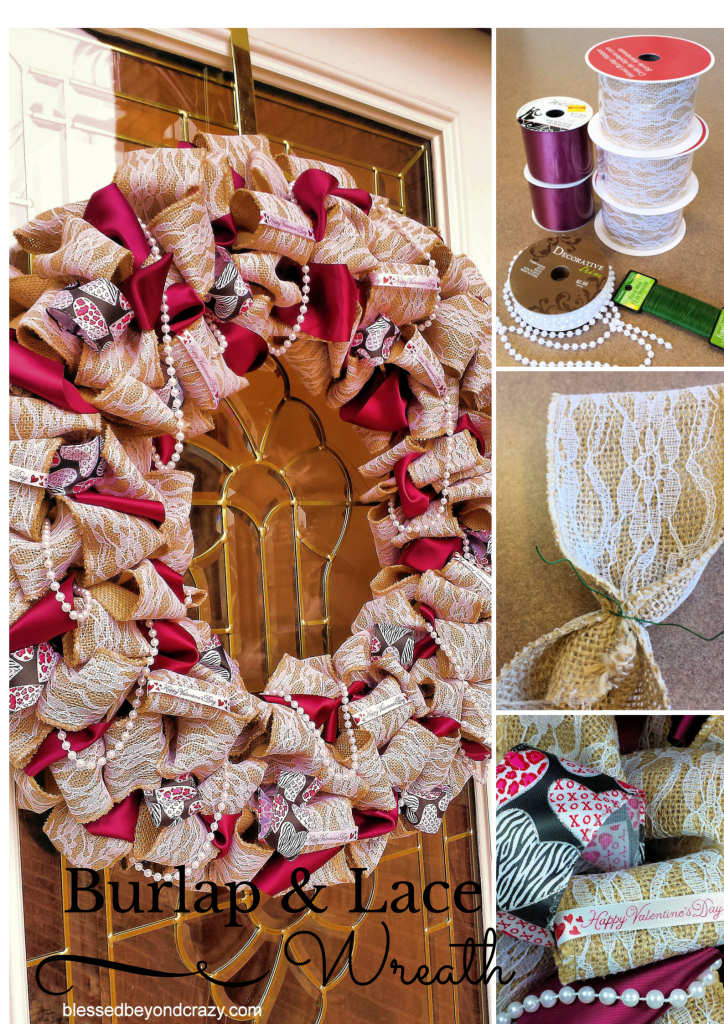
Since fall colors are so spectacular I love to bring a touch of them inside our home. One of the easiest ways for me to do that is to assemble a beautiful fall wreath. Last year I assembled a DIY Fall Burlap Wreath which I absolutely love, love, love!
This year I made a new wreath within a thirty-minute time frame. Because this wreath is a DIY project it cost a fraction of the price of a pre-made, store-bought fall wreath, especially if you purchase your supplies on sale.
I ran into our local Hobby Lobby store last week and while I was shopping I noticed that they were having a great 40% – 50% off of all of their fall floral supplies. Well “Hello there my pretty!”
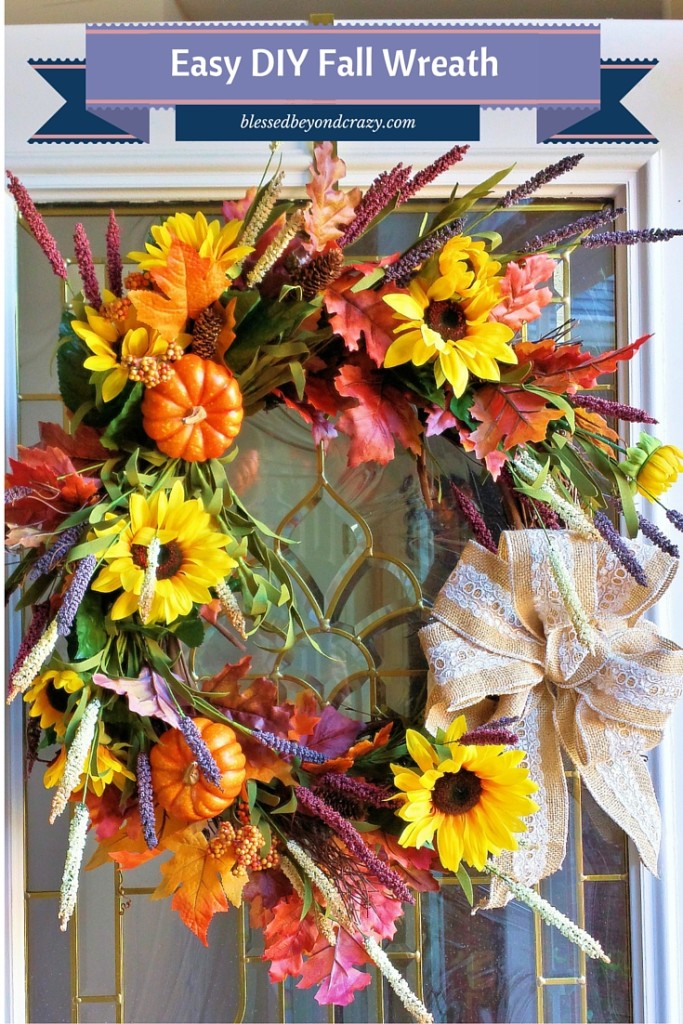
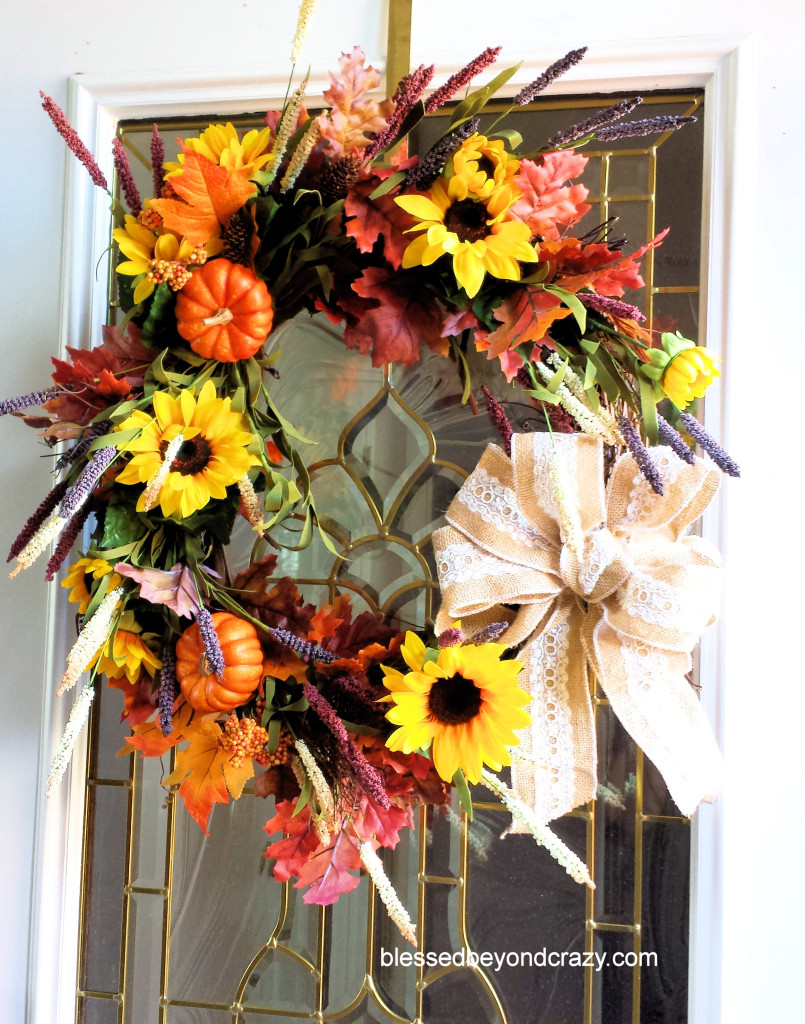
It seems like we have a gazillion doors in our home so I couldn’t resist picking up a few things to make another fall wreath. This one is made with a simple 12-inch grapevine wreath, craft fall foliage, and some Burlap Ribbon with Lace.

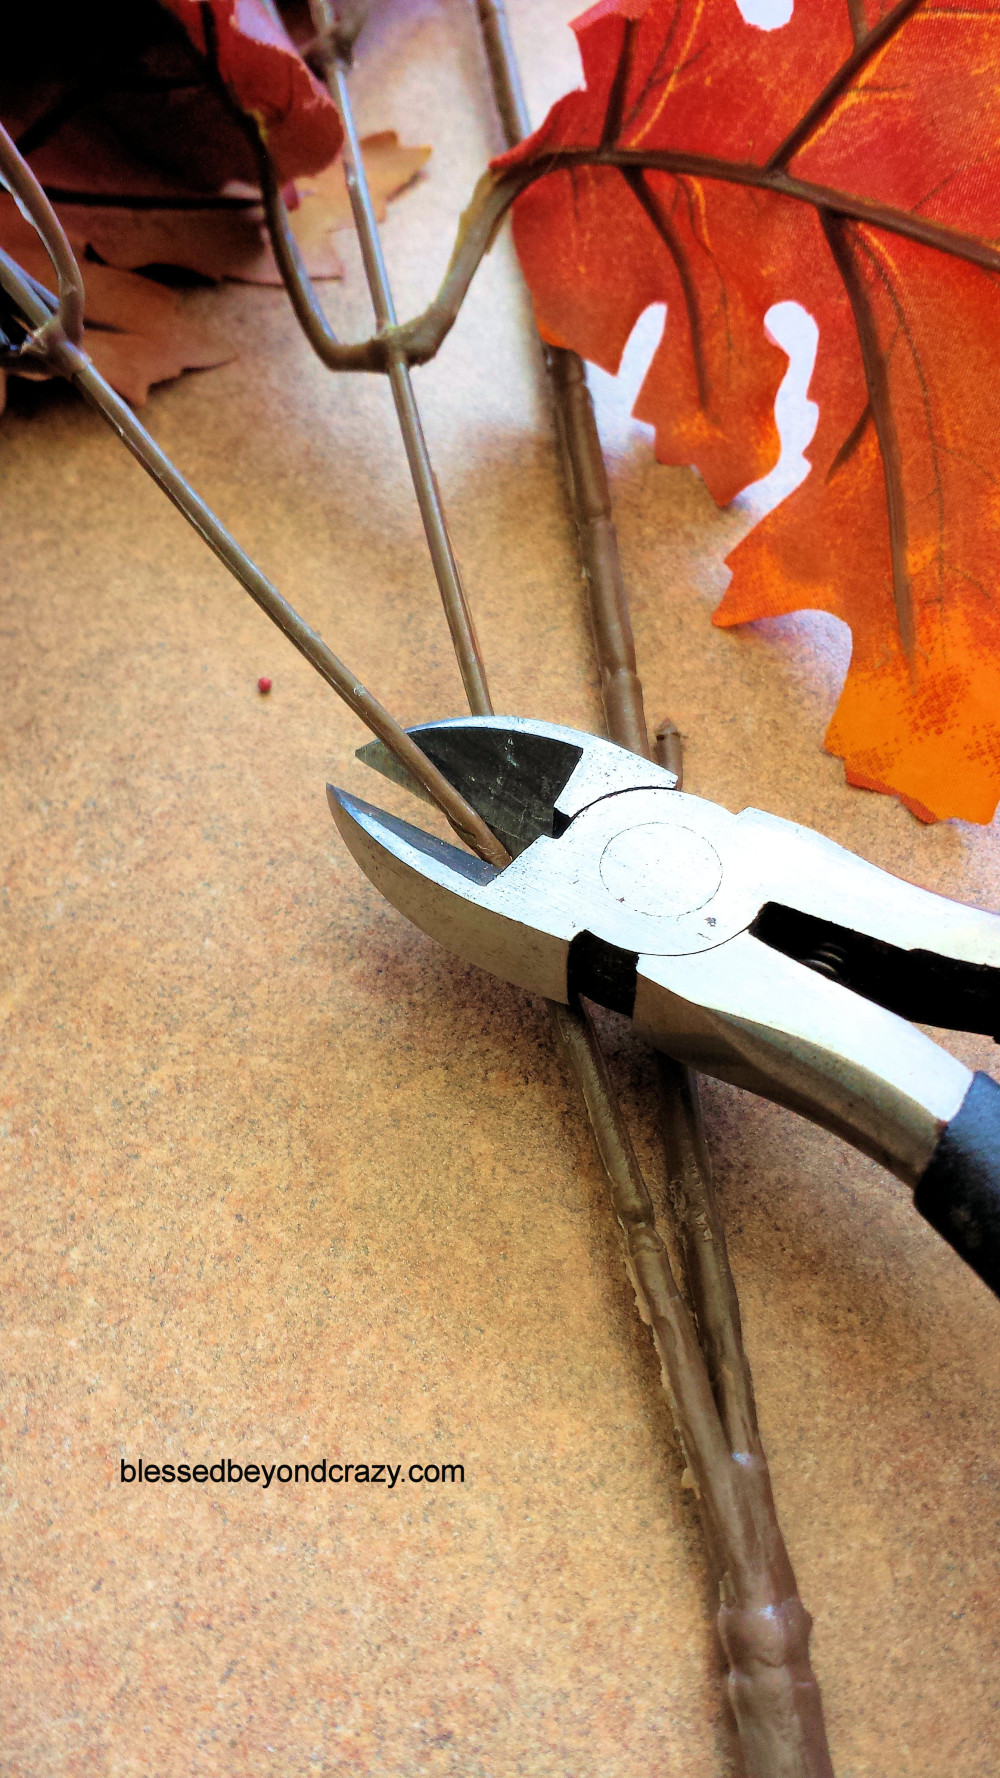
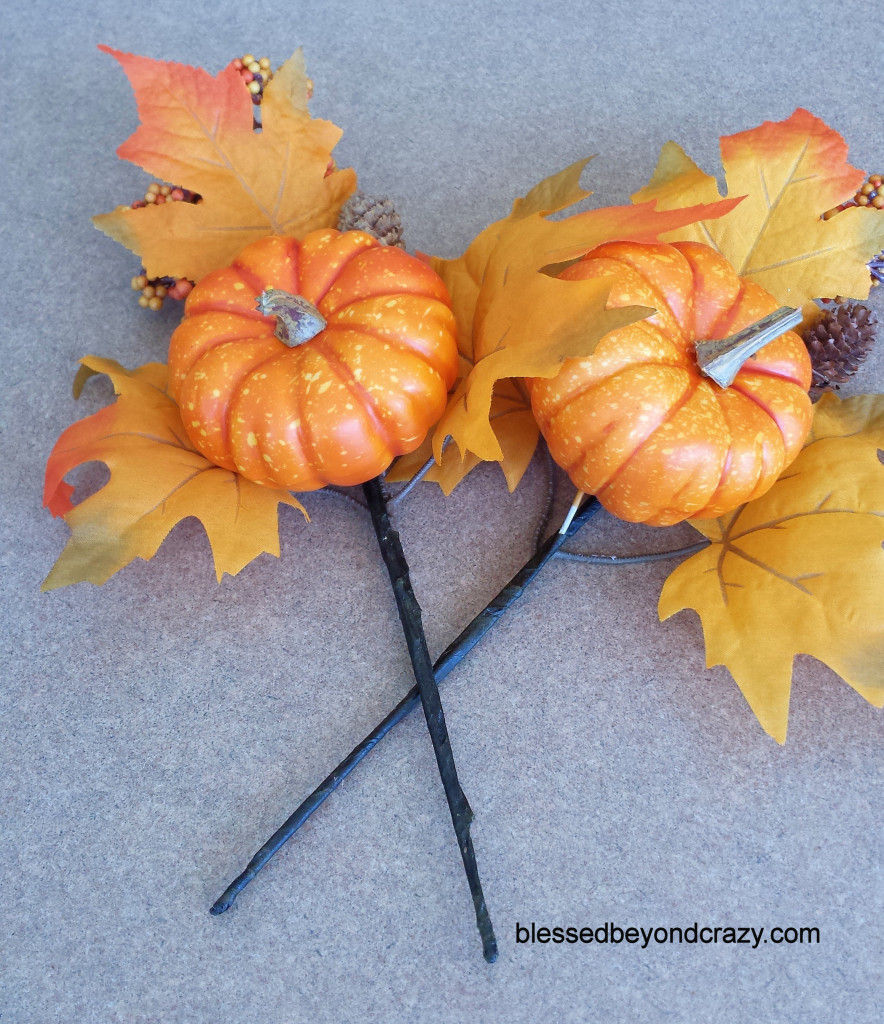
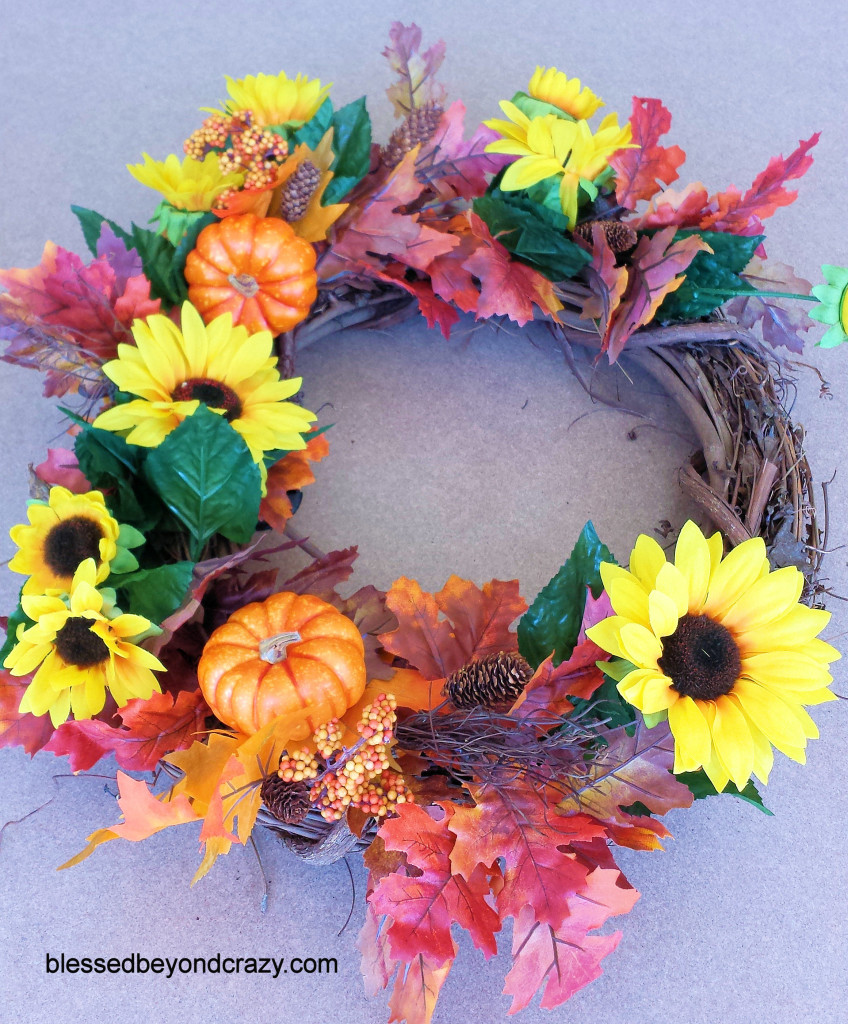
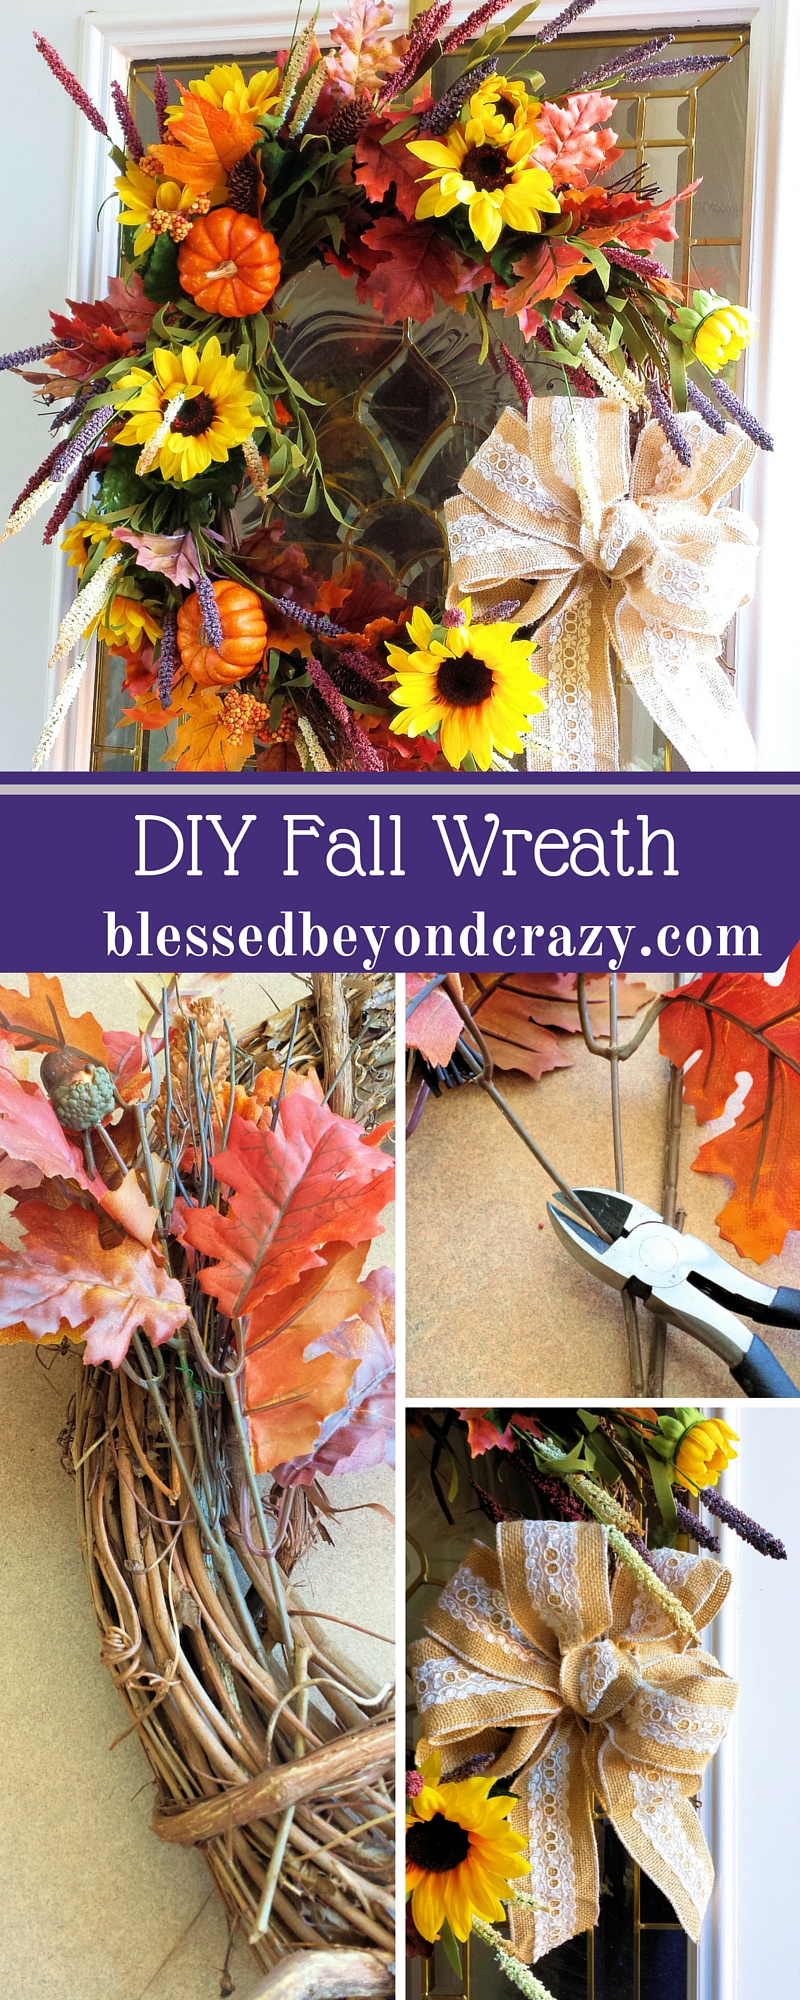
The wreath assembly starts by using a small wire cutter to separate the fall foliage from the main “stem” or wire. I left enough base wire on each section of foliage so that it could easily be stuck into the grapevine wreath.

Next, I gently inserted the wire “stem” into the grapevine wreath. Since the stem was long enough it didn’t need to be secured with any additional wire. It simply stayed where I placed it.
I added several different kinds of fall foliage, including cute little mini pumpkins and mini pinecones.
I kept snipping and tucking the various fall foliage into the grapevine wreath (covering most of it) however, I did leave a space to place a bow.
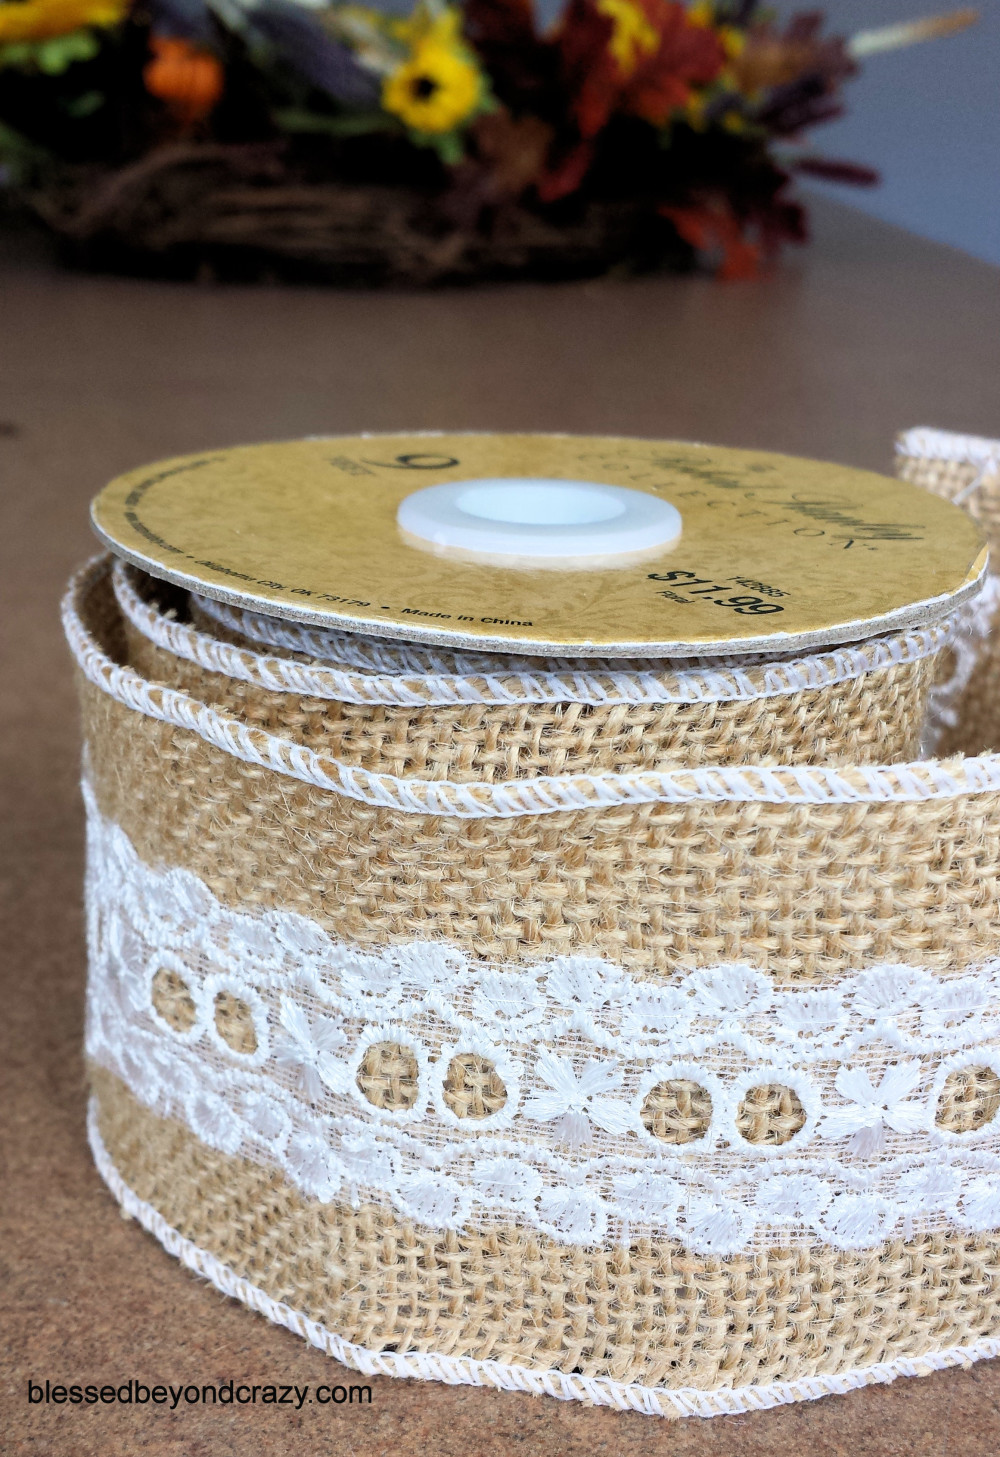
To make the bow I used a 9-foot spool of burlap/lace ribbon. This burlap ribbon had tiny wires on each end which helps keep the loops looking full and fluffed. To see how to make a ribbon you can refer back to my DIY Fall Burlap Wreath post for a picture tutorial.
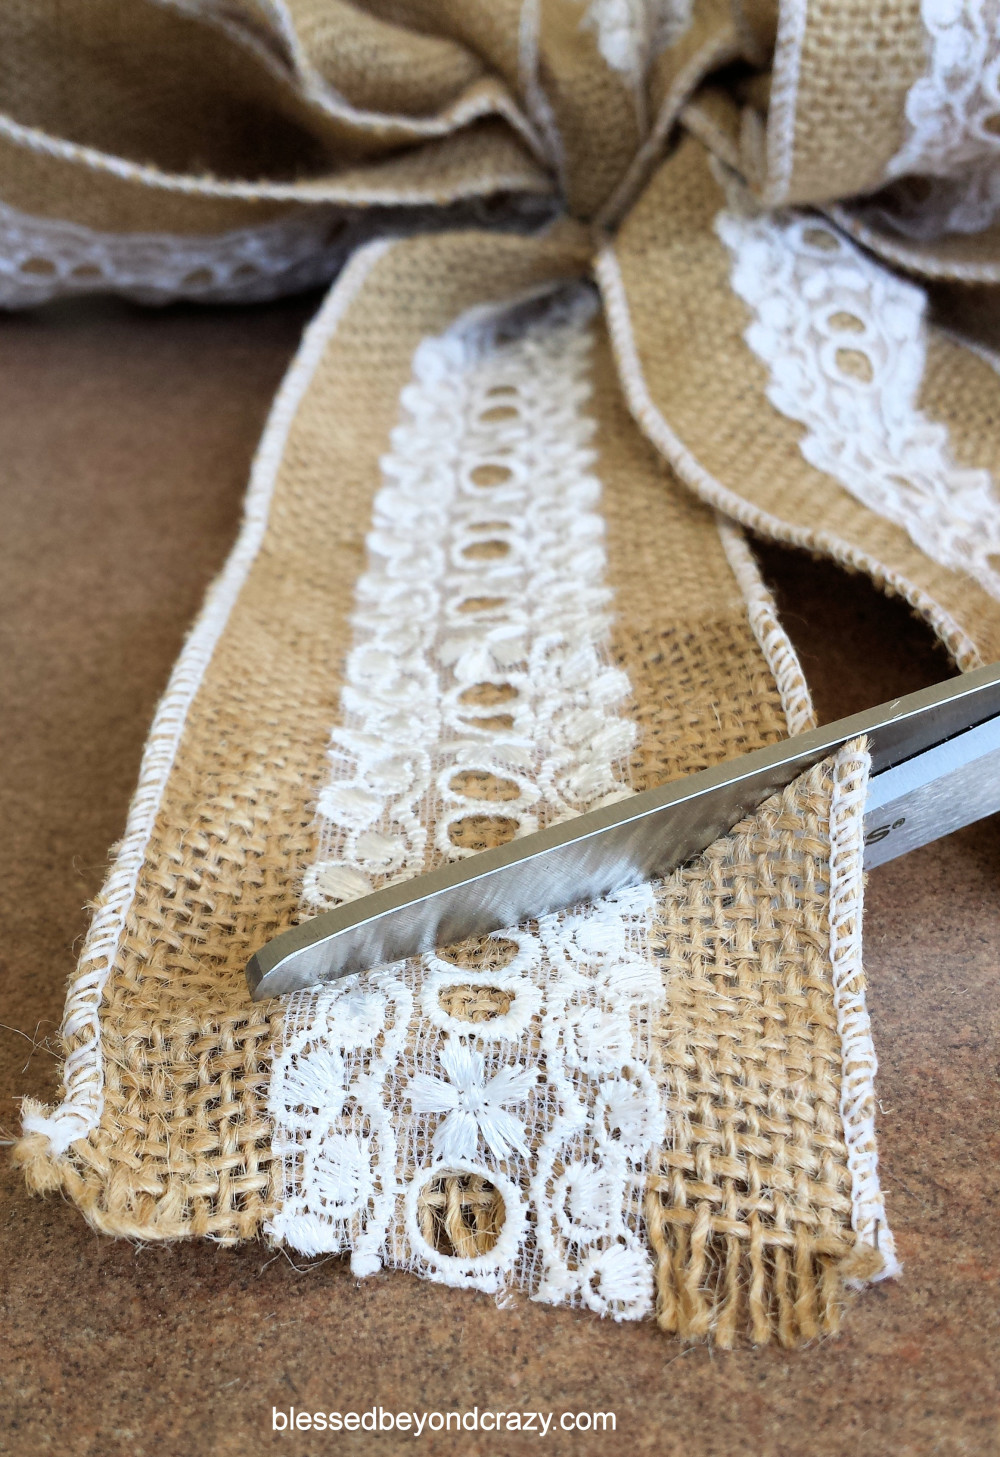
The final touch to the bow was to cut the two ends and opposite diagonal angles.
You can certainly use whatever kind of colorful fall foliage you like to make an Easy DIY Fall Wreath. Just make sure that you have enough “wire stem” on each section when you separate them from the main “stem.” That way you shouldn’t need to use any additional wire to attach each section to the grapevine.
I only used a 6-inch piece of floral wire to secure the burlap bow to the grapevine. Because the grapevine held each floral foliage section securely there was no need for extra wiring. This is why I was able to construct this wreath in only 30 minutes.
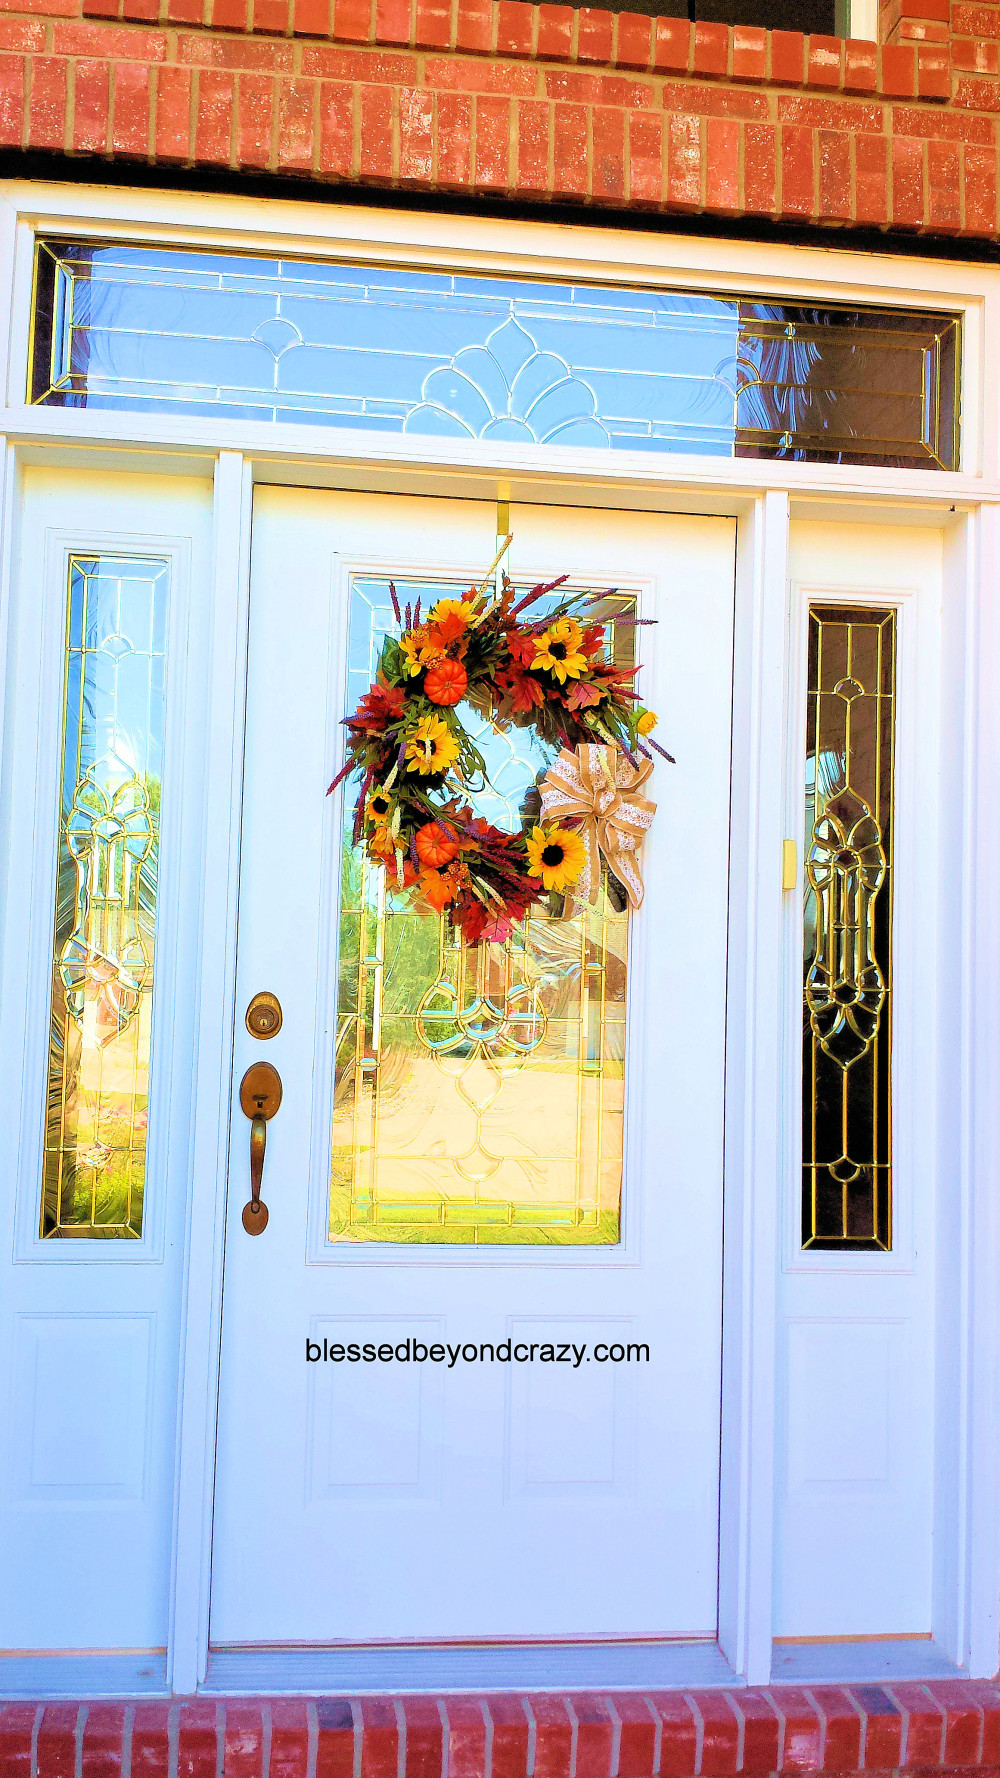
This colorful wreath is a striking contrast to the white door.
This gorgeous wreath truly is truly one of the easiest wreaths I have ever made. It would make a wonderful DIY project for your own decor or a lovely DIY gift for someone you love.
Do you have a favorite DIY fall craft?
Happy fall!
Linda







Pat says
Blessed Beyond Crazy says