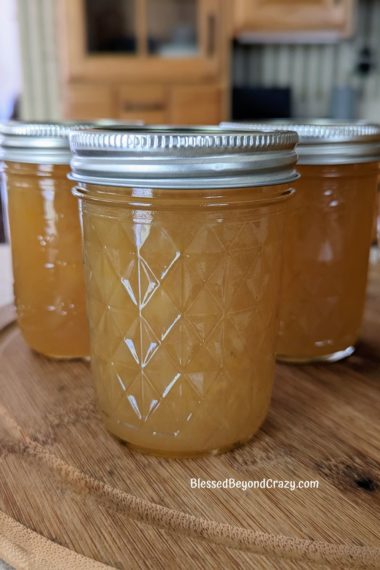
Recently, while going through some recipes my mother had stashed away in a cabinet, I stumbled upon this recipe for Pear Honey Jam. The recipe is simple and the required four ingredients are naturally gluten-free. Like any canning project, this recipe does require time. However, in the end, I believe it is definitely worth the time and effort.
To help support our blogging activities, our site contains affiliate links. If you make a purchase from a link on our site, we may receive a small percentage of that sale, at no extra cost to you. Blessed Beyond Crazy is a participant in the Amazon Services LLC Associates Program. This affiliate advertising program is designed to provide a means for sites to earn advertising fees by advertising and linking to amazon.com
Does Pear Honey Jam Contain Actual Honey?
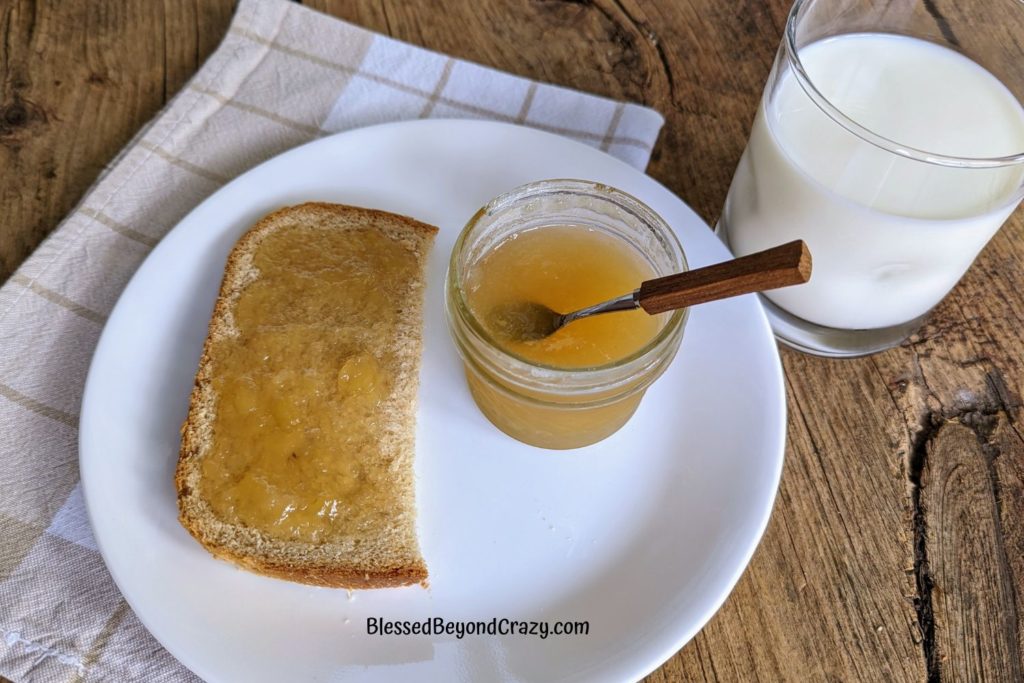
Despite the name, honey is not an ingredient in Pear Honey Jam. Rather, the jam resembles the color, nectar-like sweetness, and consistency of honey.
You should also be aware that the longer you cook the mixture, the thicker it becomes. Therefore, it comes down to your personal preference as to the thickness of the jam. I personally simmer the mixture for approximately 1.5 hours before canning it. To me, it’s the perfect consistency after this amount of cooking time.
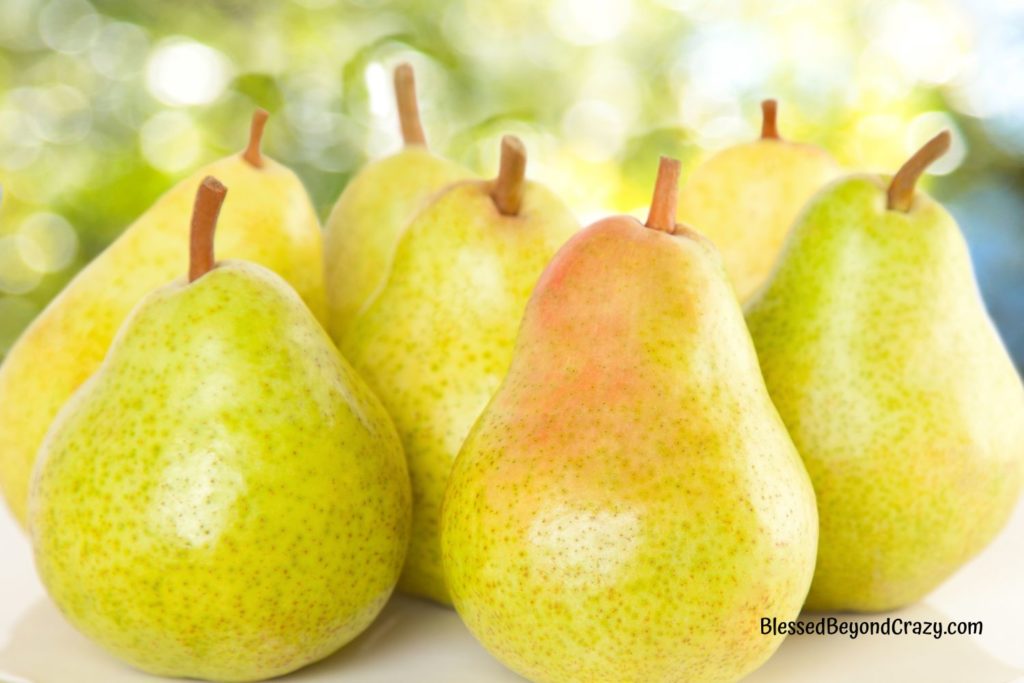
Glorious Pears
There’s something wonderful about biting into a sweet, juicy pear. This amazing fruit lends itself well to many recipes such as Old-Fashioned Pear Brown Betty and Easy Lime Pear Jello Salad.
If you do a little research you’ll quickly find that pears contain a good amount of fiber and are highly nutritious. They are good for your heart and digestion and help fight against free radicals. No wonder I love these tasty gems!

How to Make Pear Honey Jam
Pear Honey Jam begins with 12 to 14 medium-ripe pears. After rising and gently drying the pears, peel, core, and puree them in a food processor or blender. Once pureed, pour the mixture into a Dutch oven or a heavy 3-quart saucepan.

Next, stir in 8 cups of granulated sugar, 1 can (20-ounce) of crushed (undrained) pineapple and 3 Tablespoons of fresh lemon juice. Bring the mixture to a boil, then reduce the heat until it simmers. Continue to cook and stir the mixture for approximately 1.5 hours or until the mixture is thickened.

Remove the pan from the heat and ladle the mixture into sterilized, hot canning jam jars, leaving 1/4-inch headspace. Wipe the rims of the jars with a clean dry dish towel to remove any drops of jam. Place sterilized lids on top of jars and screw the rings on.
To ensure that the canning lids seal properly, process the jars for 20 minutes in a boiling-water bath. Next, using canning tongs, carefully remove the jars from the water and place them on a large wooden cutting board or a thick towel to cool. Allow the jars to cool completely in a draft-free place.
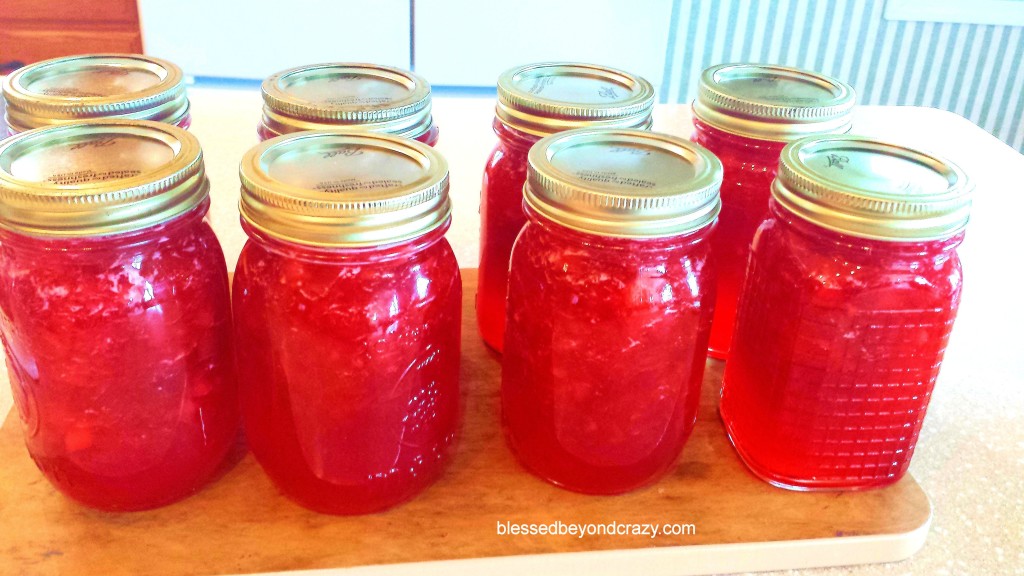
You may also enjoy Homemade Rhubarb Strawberry Pineapple Jam (as seen above).
Before Storing:
- Gently press down on the middle of each canning lid. If the lid stays flat and does not move when you remove your finger, it’s sealed properly.
- The lid is not properly sealed if it springs up after you remove your finger, therefore it should be stored in the refrigerator and used within 6 weeks.
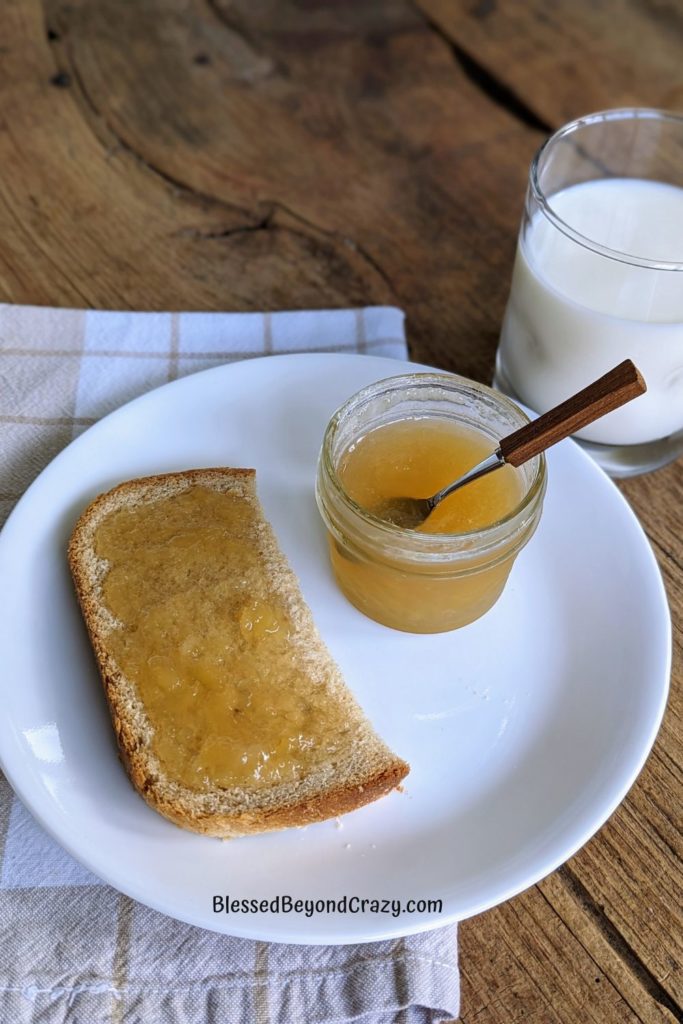
This Pear Honey Jam is delicious on warm biscuits and homemade bread such as whole wheat, oatmeal yeast, and peasant bread. It’s also great on vanilla ice cream or/and pound cake.
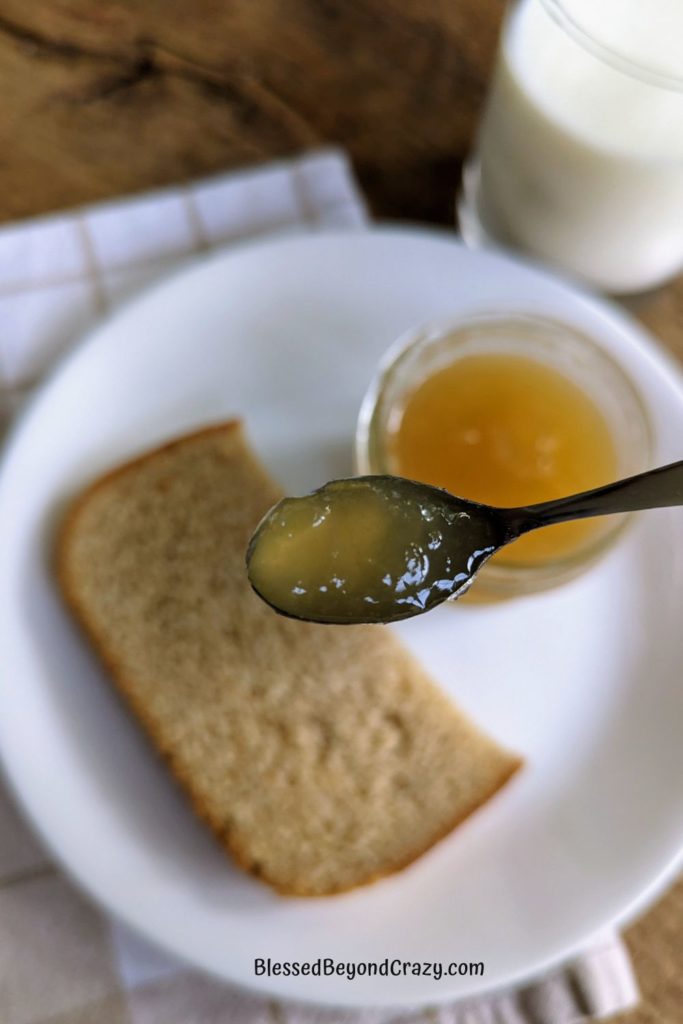
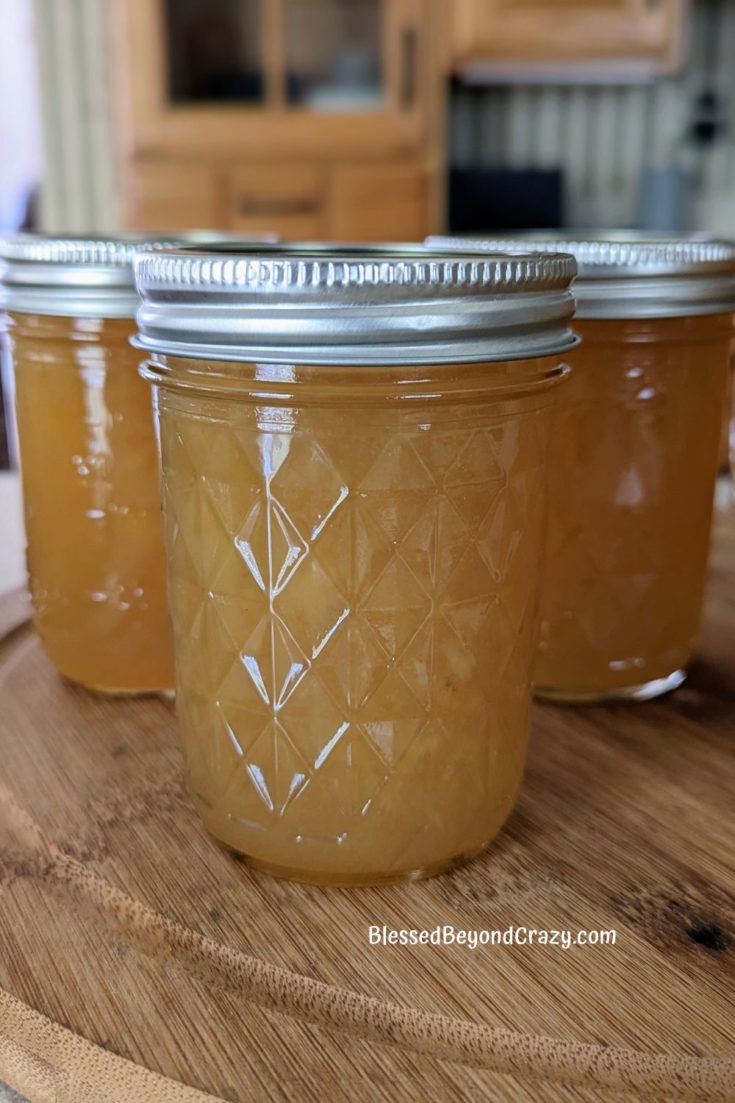
Pear Honey Jam
A deliciously sweet and naturally gluten-free condiment that is wonderful on biscuits, muffins, fresh bread, or toast.
Ingredients
- 12 - 14 medium-sized ripe pears, peeled and corded
- 8 cups granulated sugar (or less, depending on your taste)
- 1 (20-ounce) can crushed pineapple, undrained
- 3 Tablespoons freshly squeezed lemon juice
Instructions
- Puree pears in a food processor or blender. Pour into a Dutch oven or 3-quart saucepan.
- Add sugar, pineapple, and lemon juice. Bring to a steady boil then reduce heat to a simmer. Cook and stir, uncovered, for 1.5 hours or until mixture is thickened. (The longer you cook it the thicker it becomes.) Remove from heat.
- Ladle mixture into sterilized, hot canning jars, leaving 1/4-inch headspace. Wipe rims spotless with a clean dry dish towel. Place sterilized lids on top of jars; screw rings on jars.
- Process for 20 minutes in a boiling-water bath. Using canning tongs, carefully remove jars from the water and place them onto a large wooden cutting board or thick towel to cool. Allow the jars to cool in a draft-free place.
- Before storing, gently press down on the middle of each lid with your finger to make sure the lids are sealed properly. If the lid stays down after you release your finger, the lid is sealed. If the lid springs up when you remove your finger, the lid is not properly sealed and should be refrigerated and used within 6 weeks.
- Store properly sealed jars in a cool dark place. Keeps well for up to 1 year.
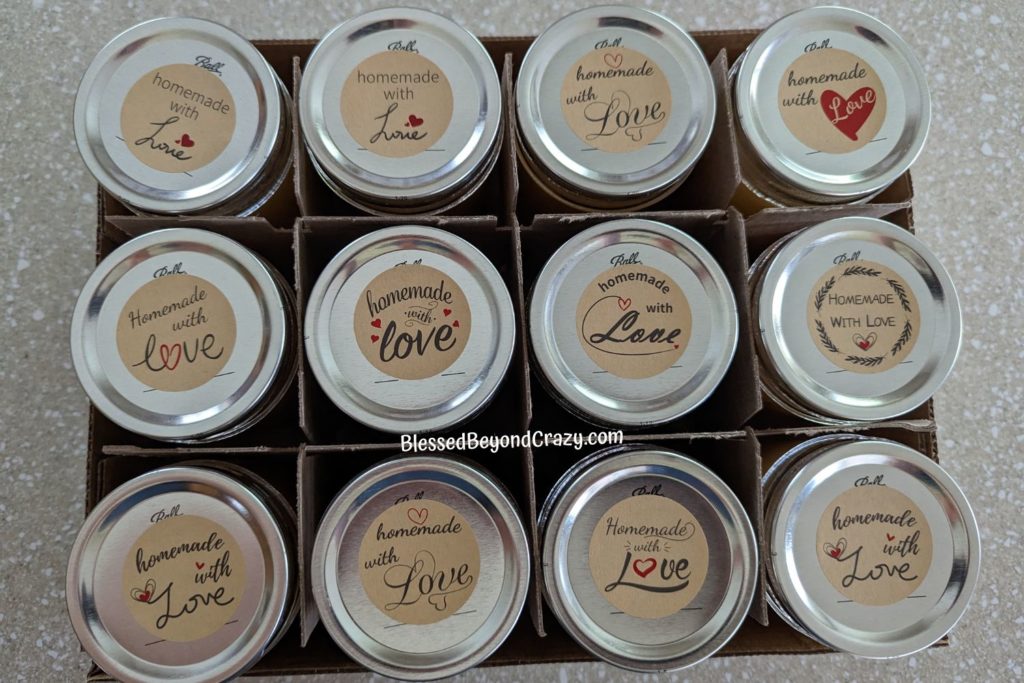
A jar of Pear Honey Jam also makes a tasty little homemade gift. I personally like to add cute little bakery stickers to each jar.
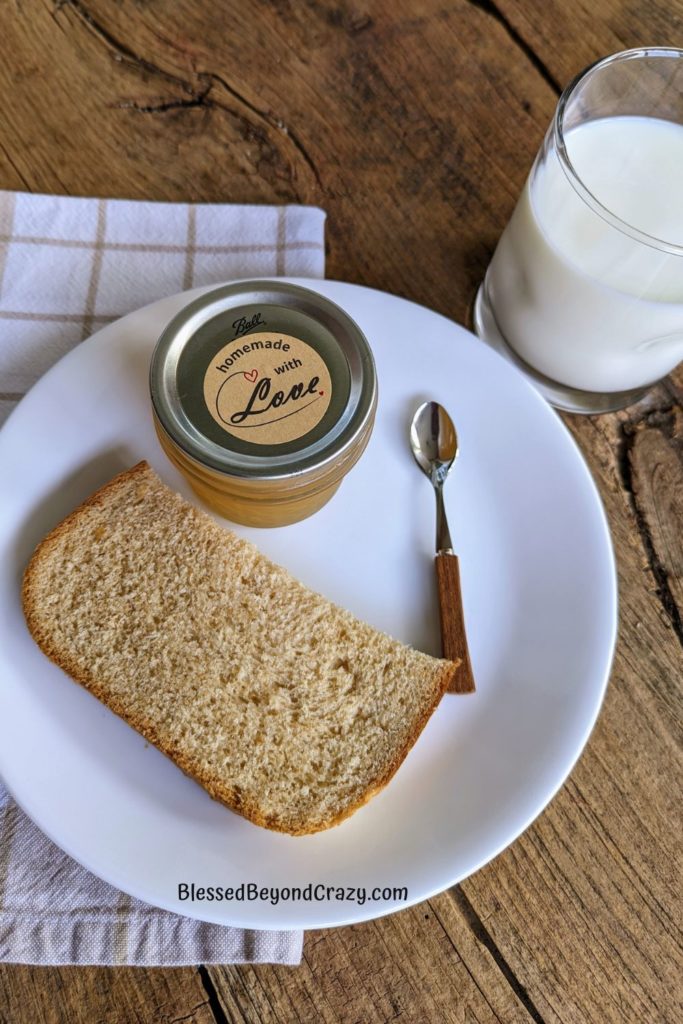
Another idea is to fill a small wicker gift basket with a loaf of fresh bread or biscuits, a jar of jam, a cute little jam and jelly spoon, and a cute note.
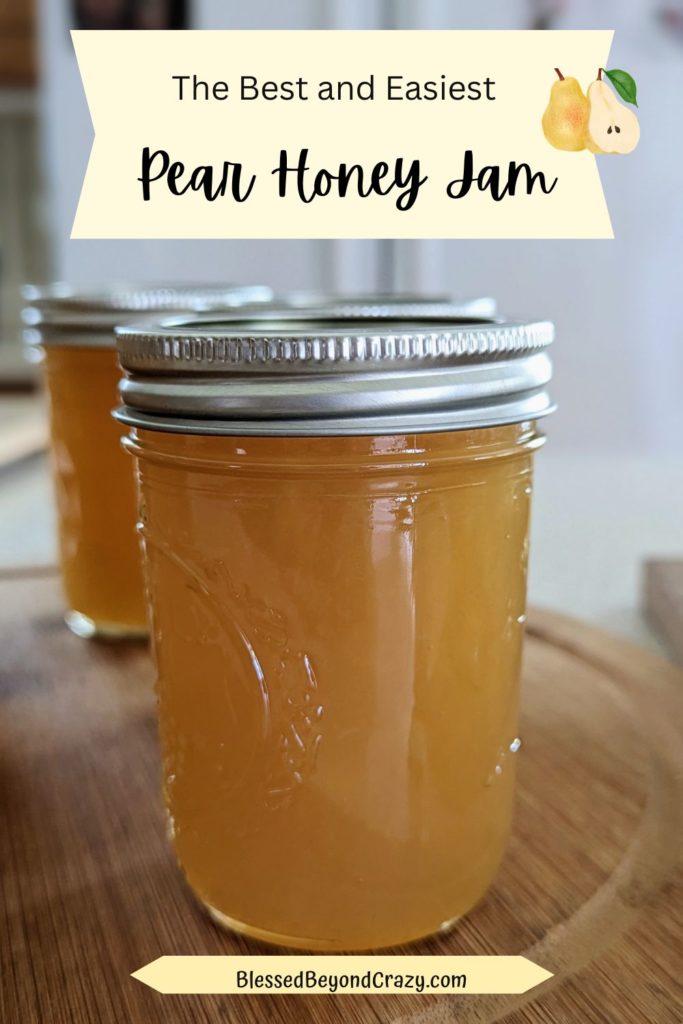
I hope you enjoy making your very own homemade jam!
More great ideas:

Deb says
What size jars and how many does this recipe fill? Pear Honey Jam sound delicious.
Blessed Beyond Crazy says
Hi Deb,
One recipe makes approximately 30 (4 ounce) jars or 15 (8 ounce) jars, or 8-pint jars. The results may vary depending on the size and the amount of pears you use. Enjoy! Linda & Anna