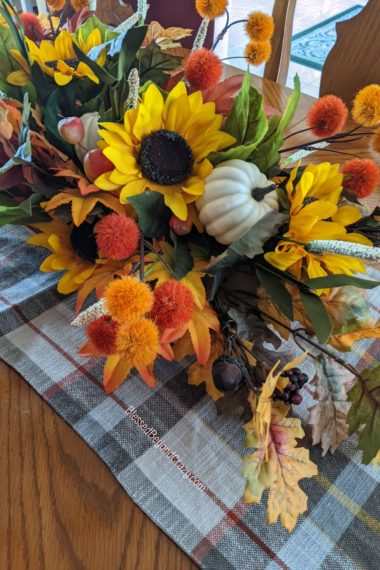
Every year I get excited when I walk through craft stores and see the fall decorations for sale. This year I decided it was time to create something new and fresh for my own home decor. I decided a new centerpiece was in order. Because I really like how this DIY Rustic Fall Centerpiece turned out I’m sharing tips on how you can make your very own.
To help support our blogging activities, our site contains affiliate links. If you make a purchase from a link on our site, we may receive a small percentage of that sale, at no extra cost to you. Blessed Beyond Crazy is a participant in the Amazon Services LLC Associates Program, an affiliate advertising program designed to provide a means for sites to earn advertising fees by advertising and linking to amazon.com.

This DIY Rustic Fall Centerpiece looks beautiful on a dining room table but it also looks fantastic front and center on a coffee table, buffet, or on a sideboard.

The supplies used in this faux floral project were all purchased from a local craft store. I always watch for sales and therefore that makes a craft like this much more affordable. As a matter of fact, if you were to buy a premade centerpiece similar to this from a store it would cost at least $85 to $95 dollars. How do I know this? Because I noticed smaller premade centerpieces for sale in the store, similar to the one I made, and the price tags were around $56 to $60. I created mine for around $45 and enjoyed doing so.
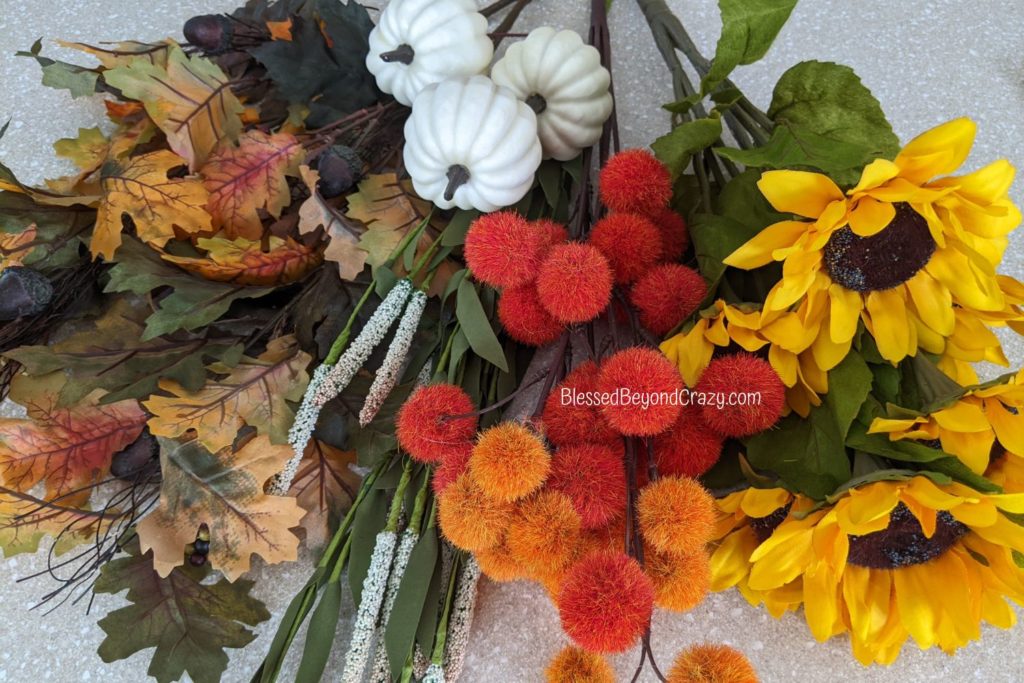
The list of supplies includes:
- Glue Gun and Glue Sticks – I own one so this isn’t factored into the cost of the project. NOTE: Feel free to use any kind of craft adhesive or craft glue instead of hot glue.
- Floral Wire Cutter – I own one so again, not factored into to cost.
- Floral Foam
- Oval Wooden Tray
- Moss Green Floral Stem Wrapping Tape – (**Optional – I had some on hand)
- Variety of Faux Fall Flowers, Foliage, and Mini White Pumpkins
- Wood Floral Picks with Wire – (**Optional – I also had some on hand)
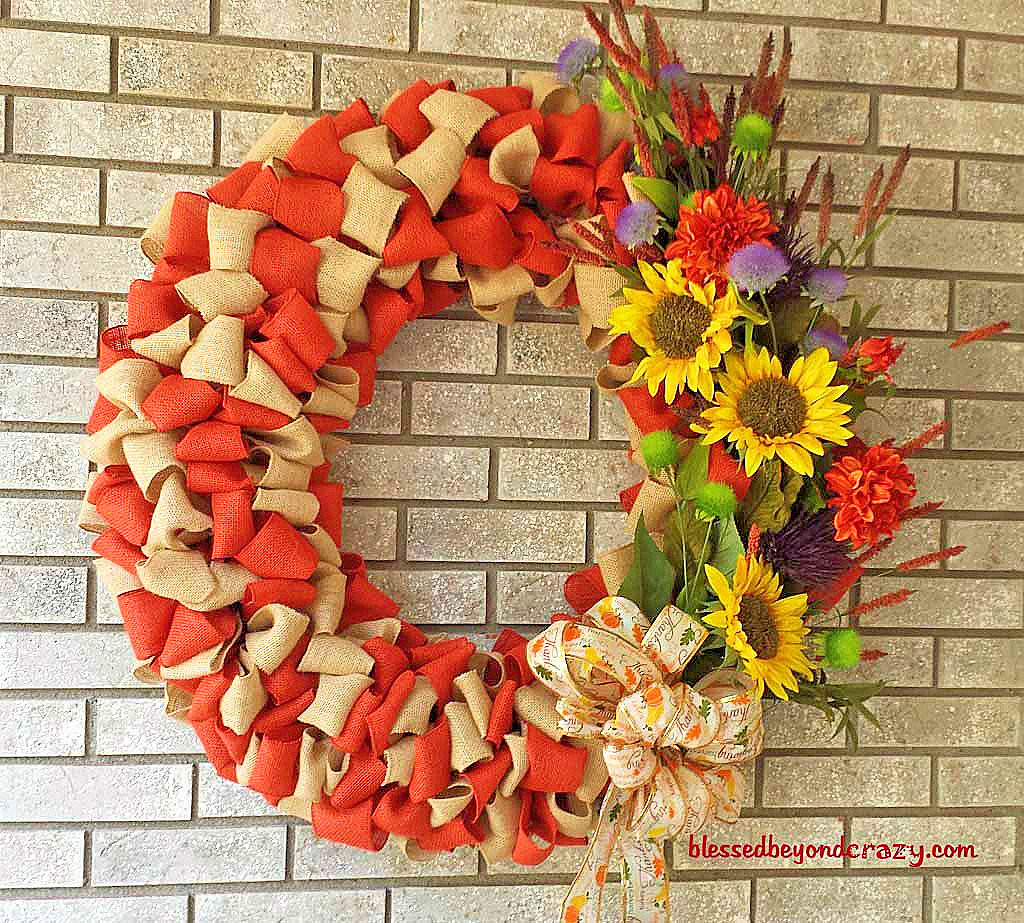
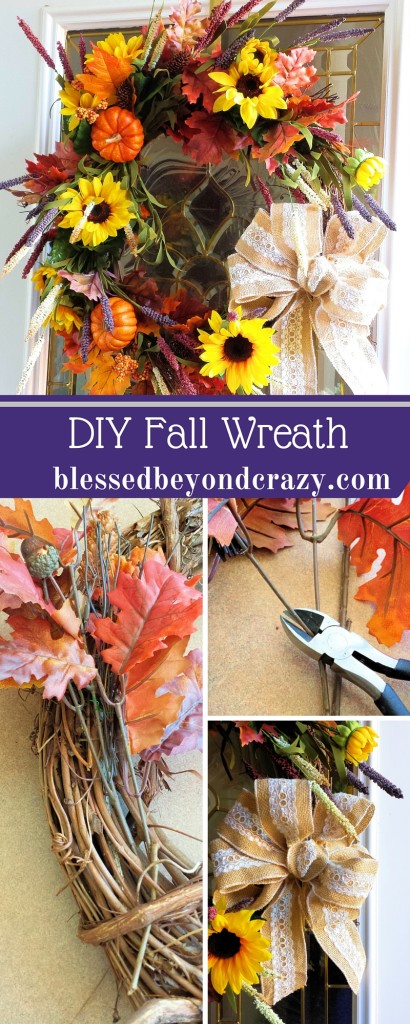
This DIY Fall Burlap Wreath (pictured above) is a fall craft project I did several years ago. and is one of our most popular DIY craft blog posts.
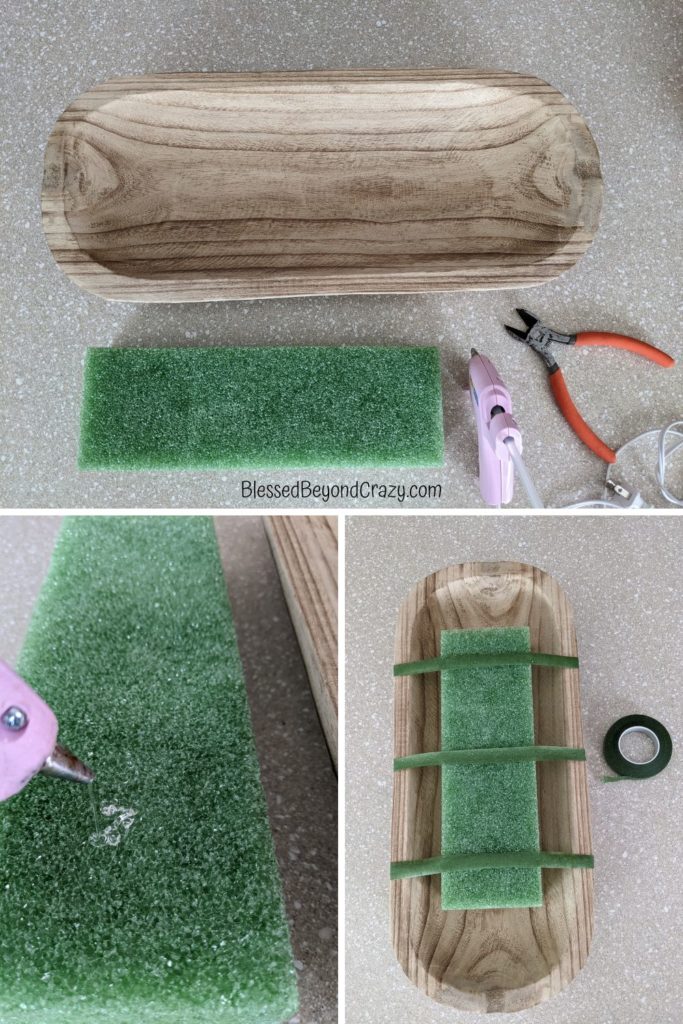
To make your own DIY Rustic Fall Centerpiece you’ll first need to gather all of your supplies.
Begin by hot gluing the floral foam to the inside of the wooden tray. Optional Step: secure the foam in three spots with floral stem wrapping tape and remove it once the project was completed.

The next step is to cut the faux fall flowers and foliage to the desired lengths. I like to stagger the lengths and therefore several stems needed to be cut.
I personally like to save the leaves, attach them to a wood floral pick, and wrap the tops with floral stem wrapping tape (as seen in the photos above). This is an optional step, however, I add them because it helps the centerpiece to be fuller.

Now comes the really fun part. Assembling a DIY Rustic Fall Centerpiece!
Begin by poking the ends of the cut flowers/foliage into the floral foam. I recommend that you start with your base flowers or foliage and continue filling in with extras such as mini pumpkins. (See photos above.)
You may also want to use additional items to use as fillers. Things such as pinecones, craft acorns, or craft cotton picks.
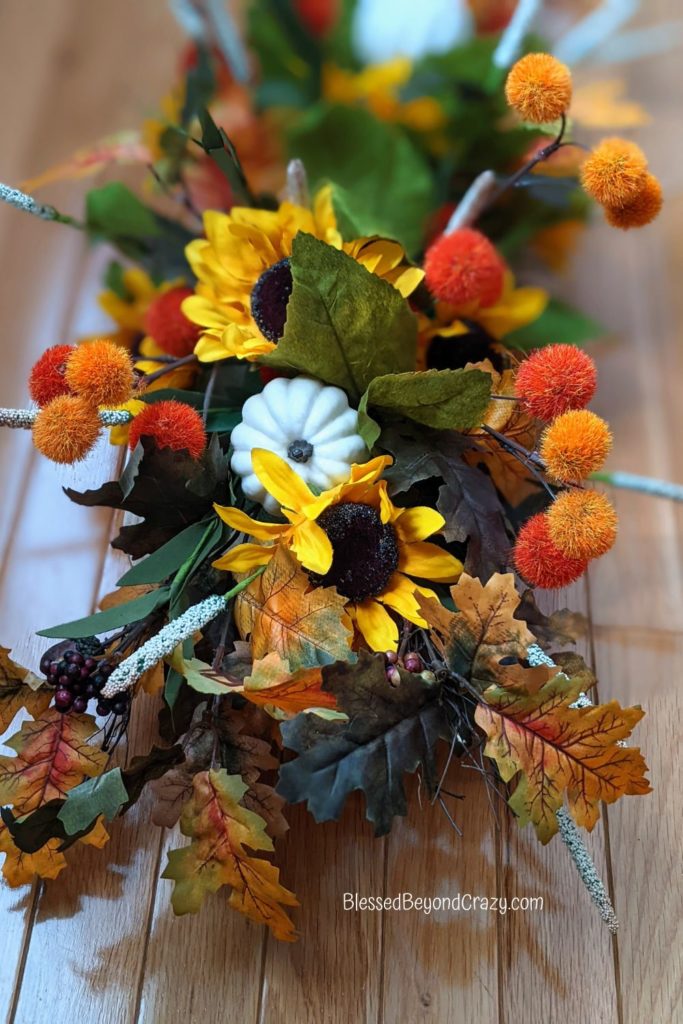
Keep filling in the blank gaps until your centerpiece is nice and full.
NOTE: If you use floral stem wrapping tape to secure the floral foam you can go ahead and cut and remove it now. It should easily slip out from among the flowers/foliage.
Yet another option is to use faux craft moss to cover any floral foam that is still exposed. (I didn’t add moss but you certainly can tuck it in to help cover any exposed areas.)

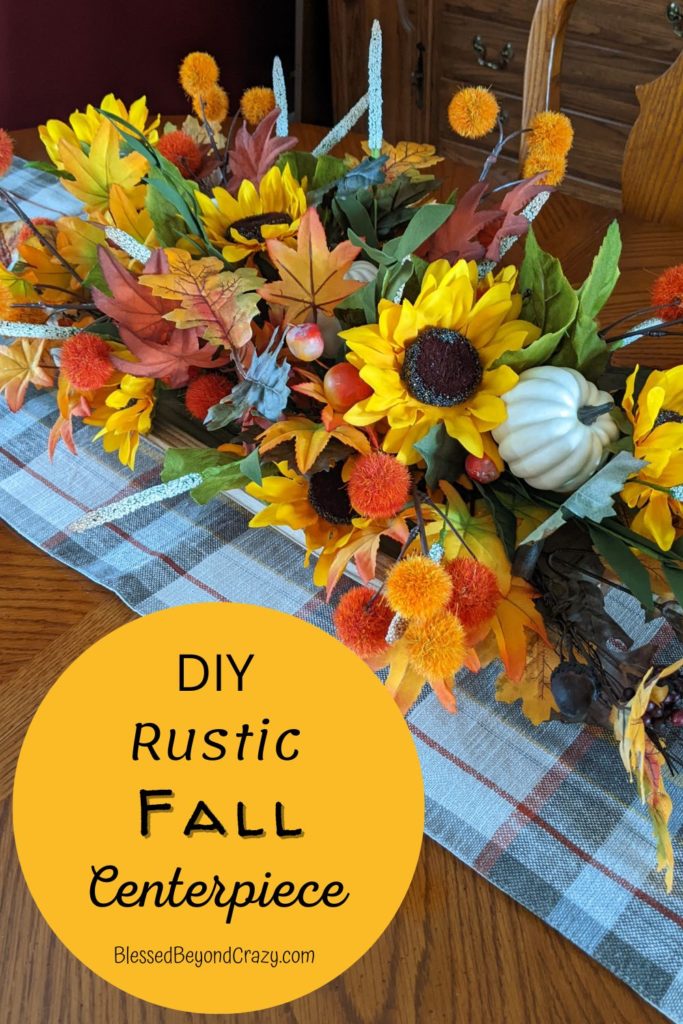
The above photo is an overhead view of my finished DIY Rustic Fall Centerpiece.
Have fun creating your very own DIY Rustic Fall Centerpiece!
Happy Fall!
Linda
More Great Ideas:

Leave a Reply