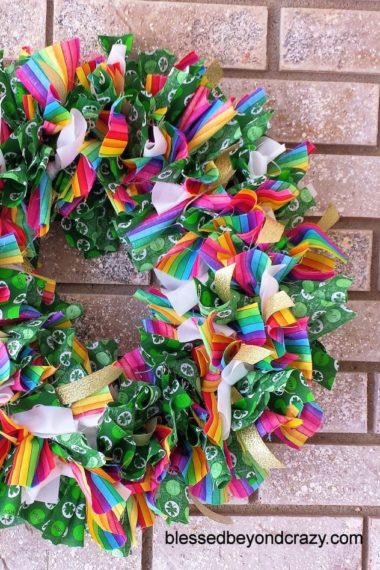
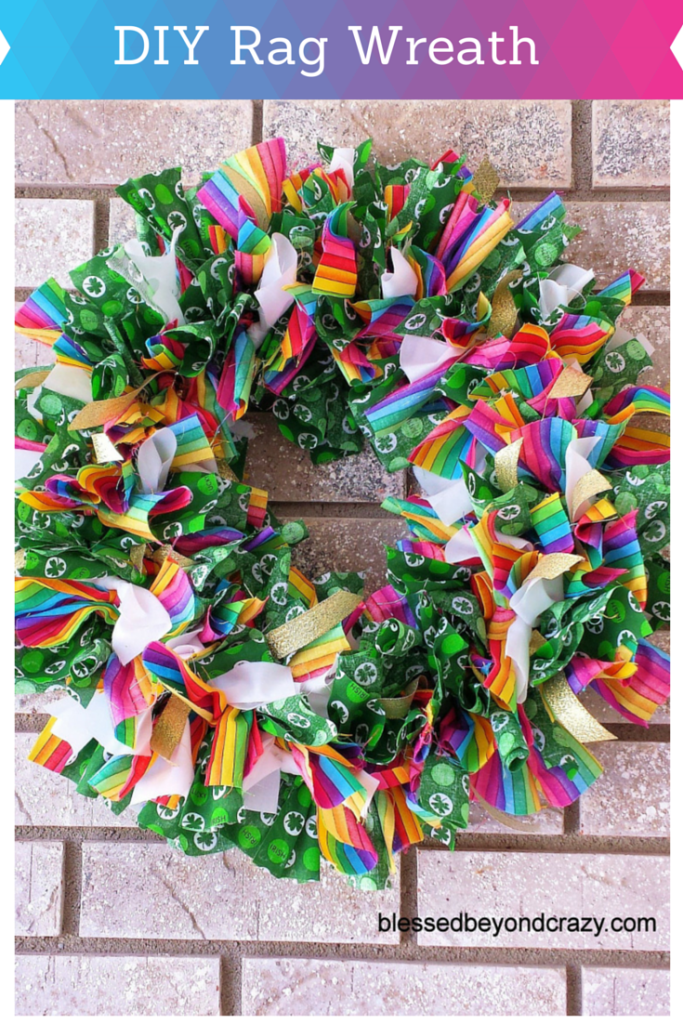
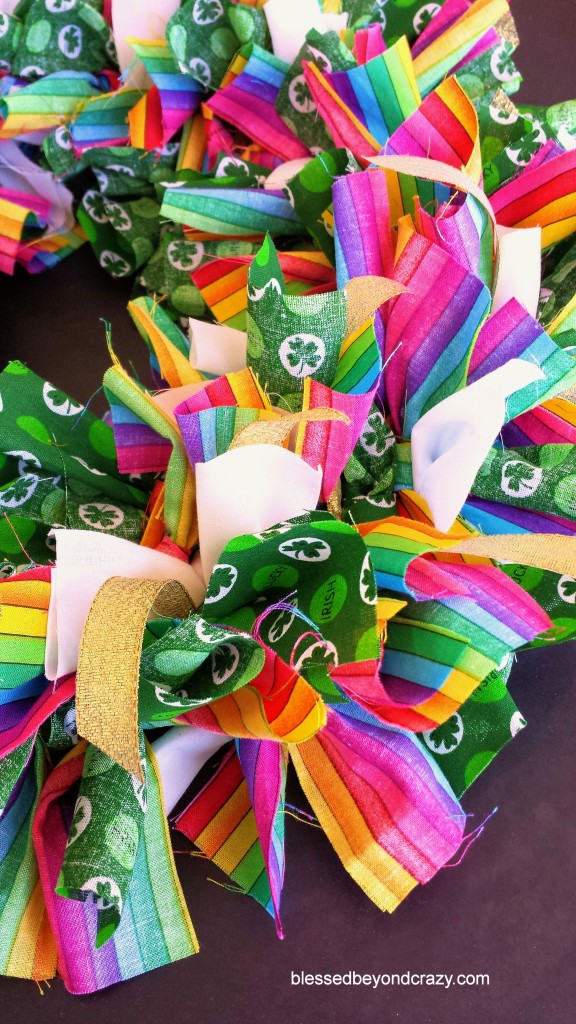
Rag wreaths are super fun to create and they are a great way to use up leftover scraps of fabric. One of my favorite rag wreaths is this bright and colorful DIY St. Patrick’s Day Rag Wreath. Let me show you step-by-step how to make one.
To help support our blogging activities, our site contains affiliate links. If you make a purchase from a link on our site, we may receive a small percentage of that sale, at no extra cost to you. Blessed Beyond Crazy is a participant in the Amazon Services LLC Associates Program, an affiliate advertising program designed to provide a means for sites to earn advertising fees by advertising and linking to amazon.com.
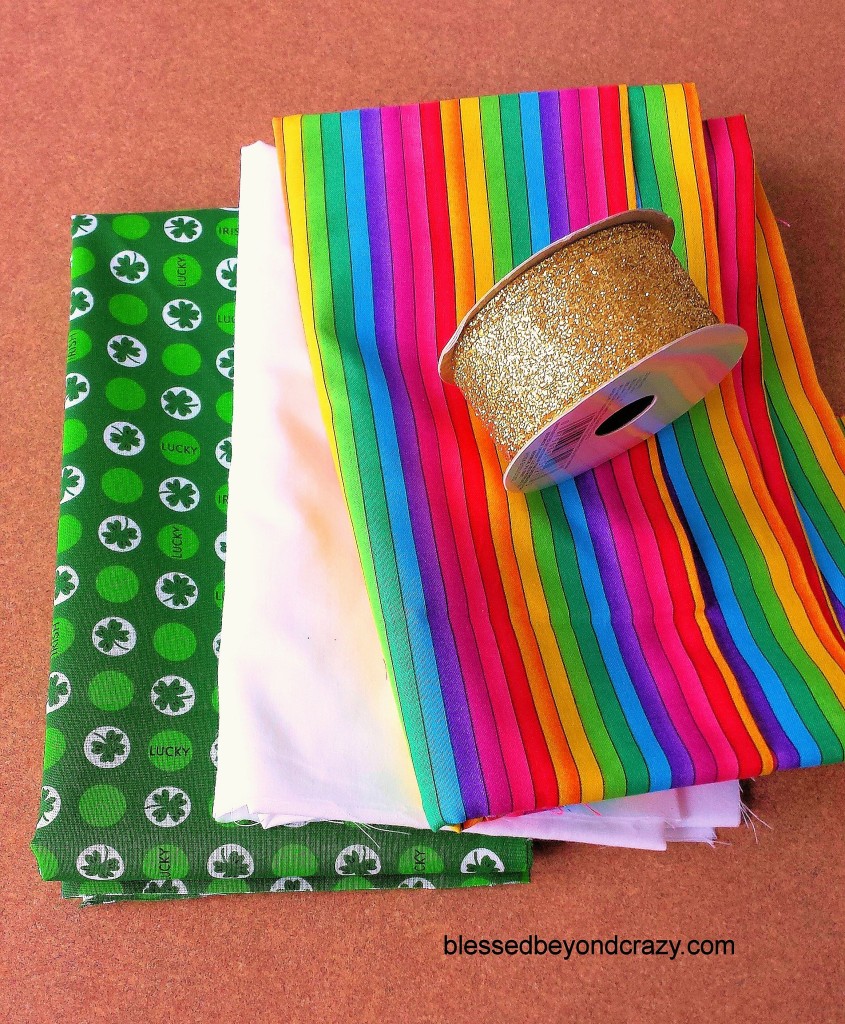
Recently I was looking through my craft closet and to my delight, I found some leftover supplies. The pretty rainbow fabric and white fabric were leftovers from a DIY Easter Rag Wreath project I made previously.

Once I had all of my supplies ready, it only took me one hour to construct this DIY St. Patrick’s Day Rag Wreath. (My total cost is approximately $10.)
With just a little supervision, older kids can even make their very own personalized rag wreath and hang it on their bedroom door. They could even use sports-related fabric and ribbon!
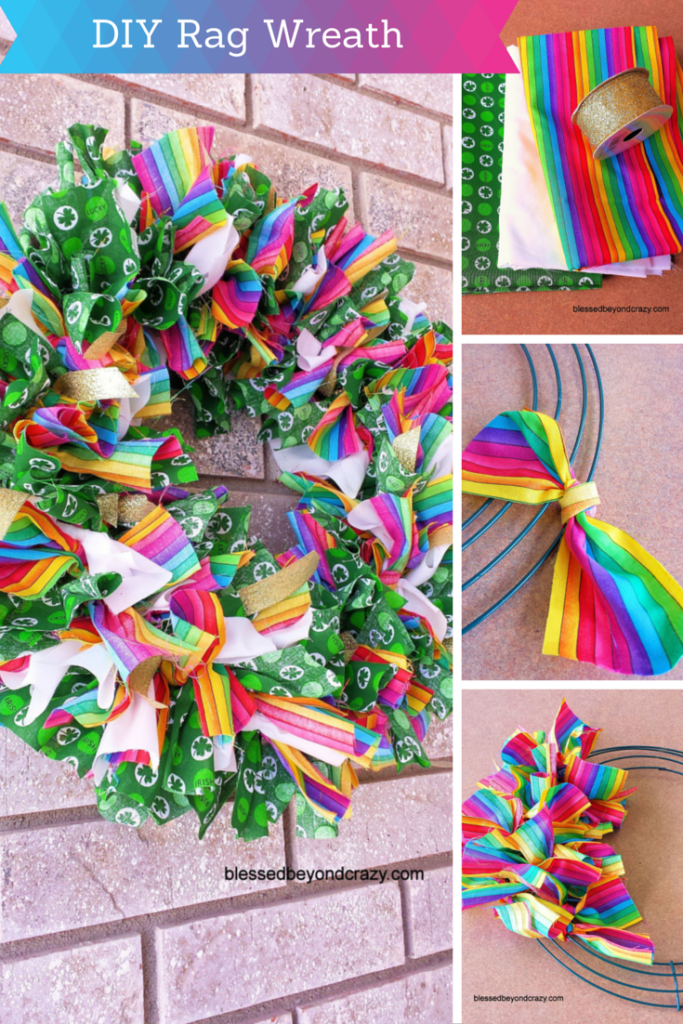
To make this a St. Patrick’s Day rag wreath I purchased one yard of green lucky four-leaf clover fabric, plus a spool of gold ribbon at Walmart for a whopping $3.50! Score for Linda! 🙂
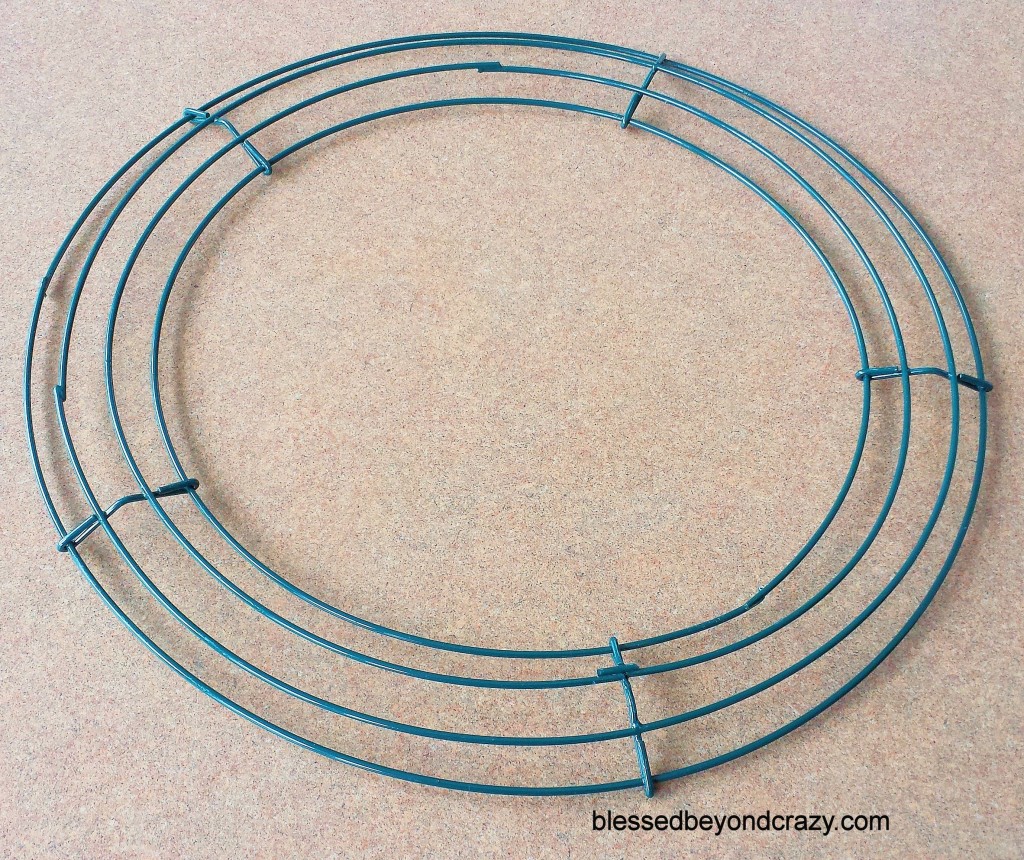
I also found that I had a 12″ diameter wireframe that I had tucked away in my craft closet. These frames are very inexpensive, come in various sizes, and you can find one like mine here:12 inch Wire Wreath.

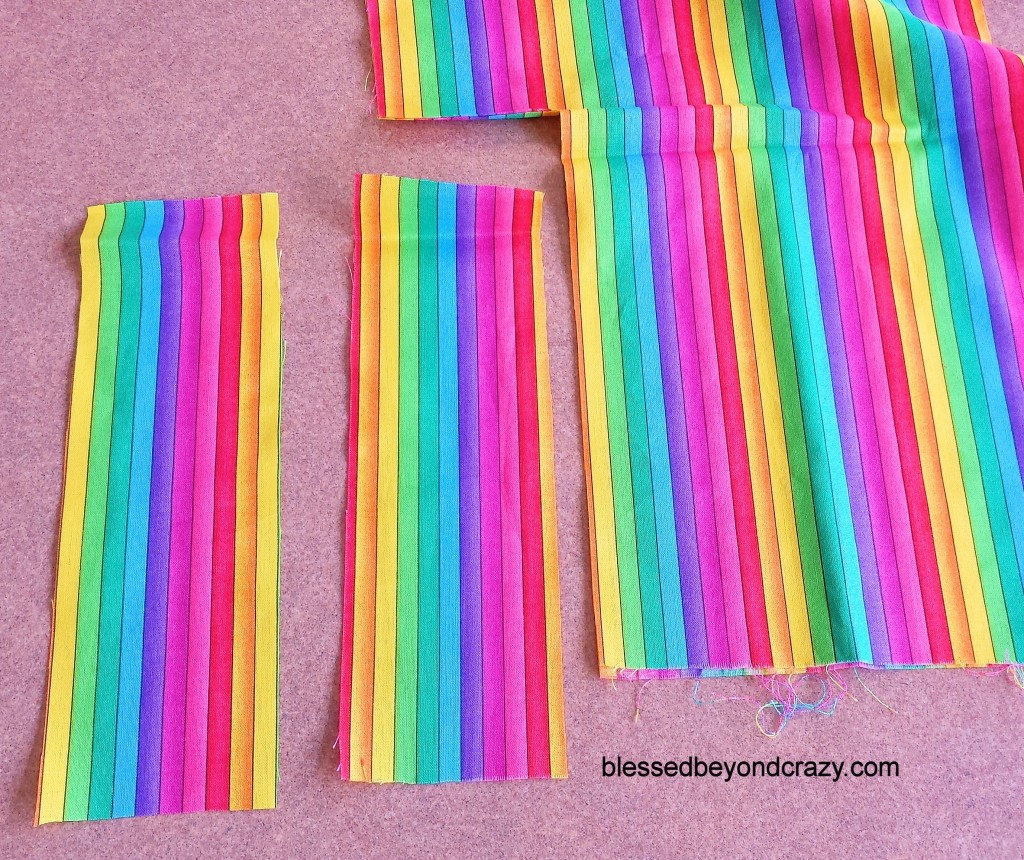
Once I had gathered all of my supplies I began cutting the different fabrics into strips that measured 2 1/2″ wide x 9″ long. I laid them in piles until I was ready to begin assembling the wreath.
I used a total of 1-yard green four-leaf clover fabric, 1 yard of the rainbow fabric, 1/2 yard of white fabric and 9 feet of gold ribbon. This amount of fabric with strips cut, (as mentioned above), nicely filled the 12″ diameter frame.
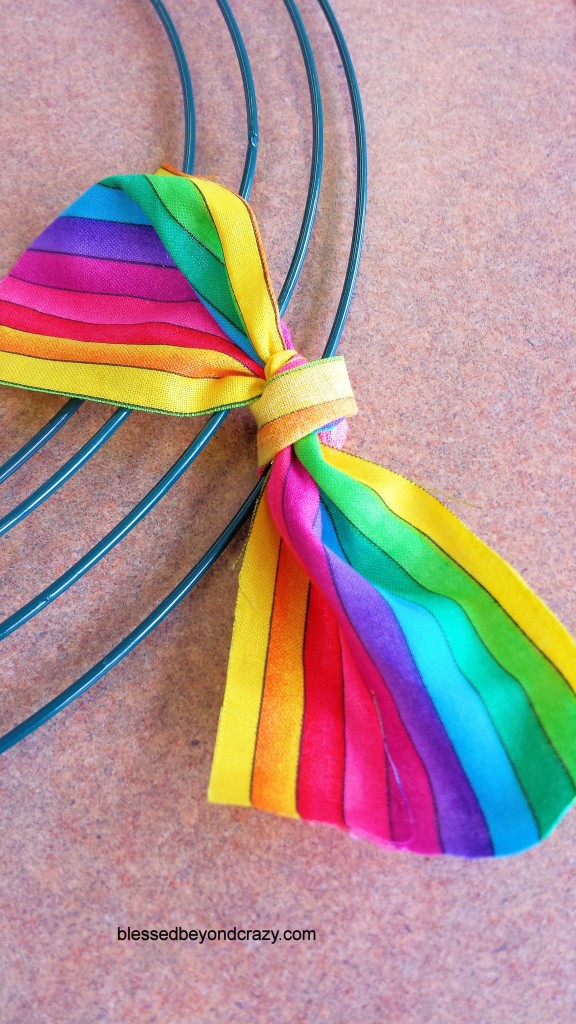
Here comes the fun part! Simply take one strip of fabric and tie it anywhere onto the wireframe. I did not make a knot, just a simple tie.
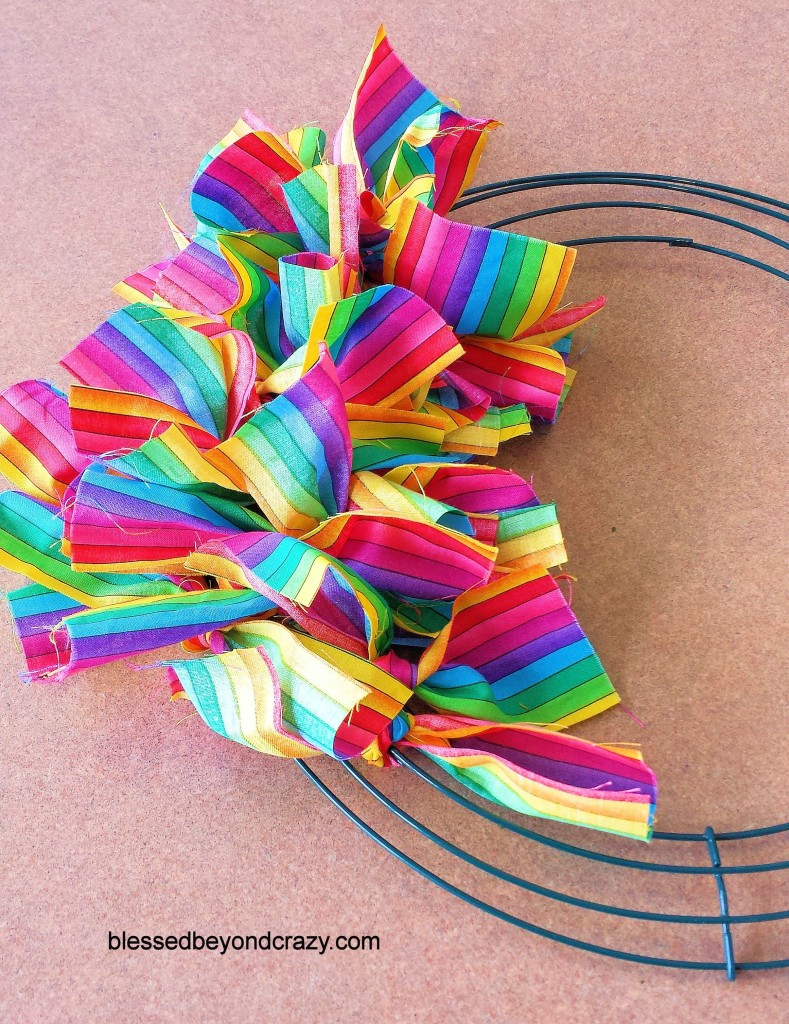
First, tie one pattern of the fabric onto the frame until the frame is scarcely covered. Next, tie the other patterns of fabric on, scattering the different selection of fabrics evenly around the frame.
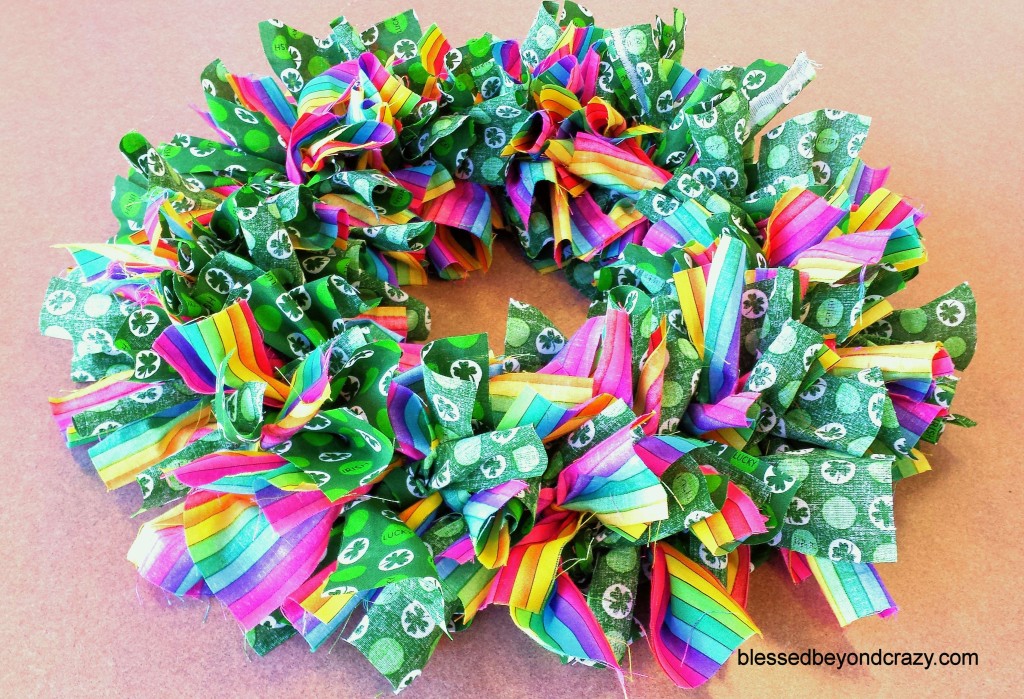
Do the exact same thing with the green cloverleaf fabric and scatter it between the rainbow fabric.
This is what the wreath should look like at this point.
To put a few final touches on the wreath add a few strips of white fabric and the gold ribbon. After adding the gold ribbon, cut each end of the ribbon at an angle. I really like the additional little touch of gold for St. Patrick’s Day.
I love how bright and cheery this wreath turned out. It certainly will add a nice ‘pop’ of color to any home decor.
Have fun making your very own DIY Rag Wreath.
Happy St. Patrick’s Day!
Linda
More great ideas:




Jane says
Dear Linda,
I loved your St. Patrick’s wreath so decided to make one. My fabric shop didn’t have any rainbow-striped fabric, but they did have a bright jelly-bean print, so I made a combo-St. Patrick’s/East wreath. It came out great.
Thanks so much for the idea and instructions.
Blessed Beyond Crazy says
Hi Jane,
How wonderful! I’d love to see a picture of your wreath!
Thanks so much for stopping by and leaving a message.
Linda