Day 2 of our Christmas Crafts Countdown! Only 11 Days until Christmas!
This year we are counting down to Christmas by creating a new Christmas craft each day! Now don’t panic and get overwhelmed by me! I tried to keep it simple!
In order for a craft to make this list it had to meet several criteria:
- FUN
- Easy!
- Not too messy or time-consuming
- Require only normal household items (also it cannot be expensive)
- Is not food (Christmas food is great! I just didn’t want to cook desserts/junk food 12 days in a row)
I did not list any age requirements or which steps parents should help with. I left that for each parent to decide based on their own children and their ages.
2. Make a homemade Christmas Ornament
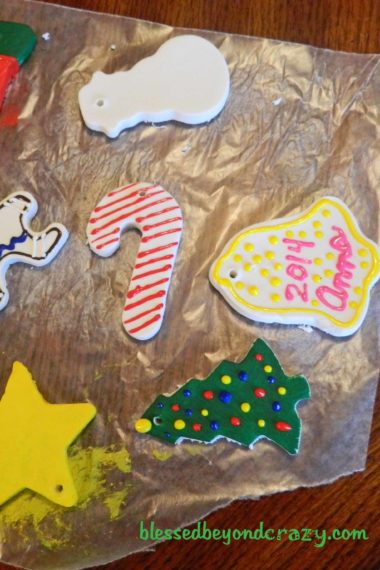
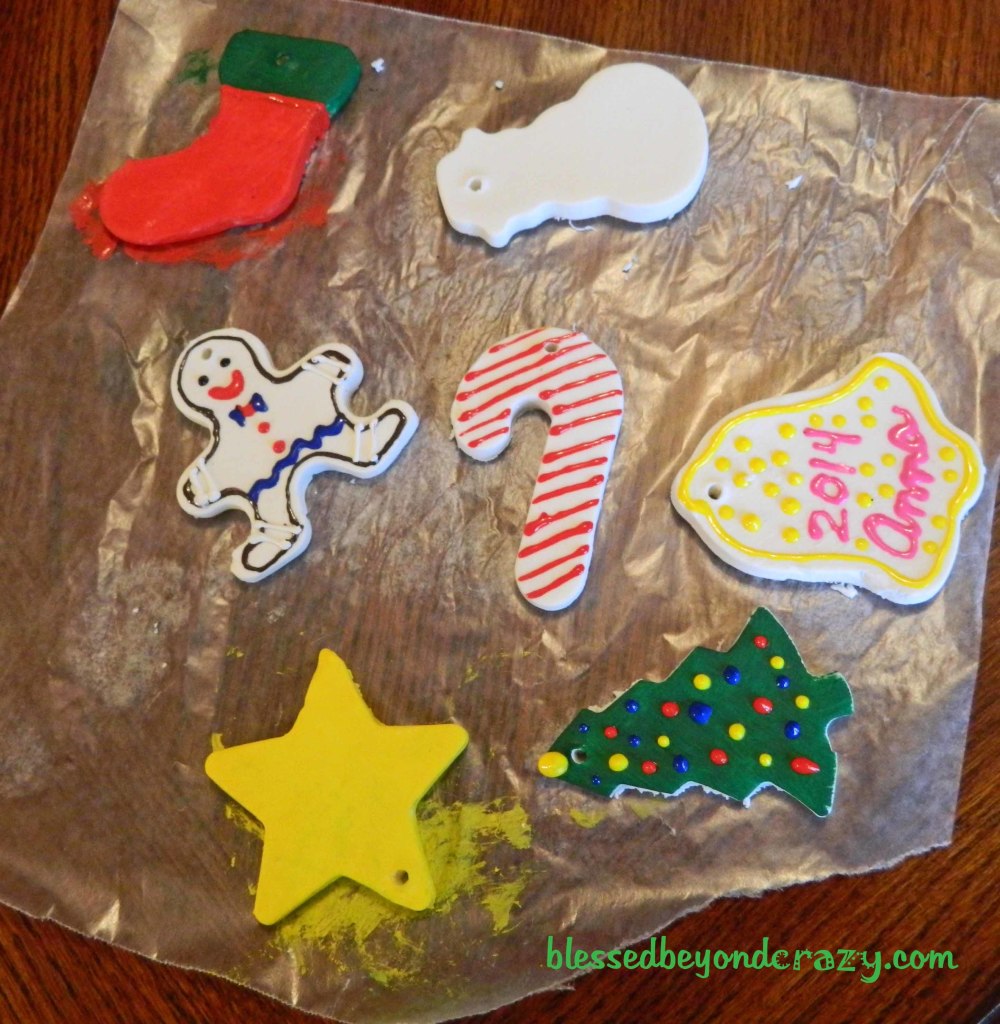
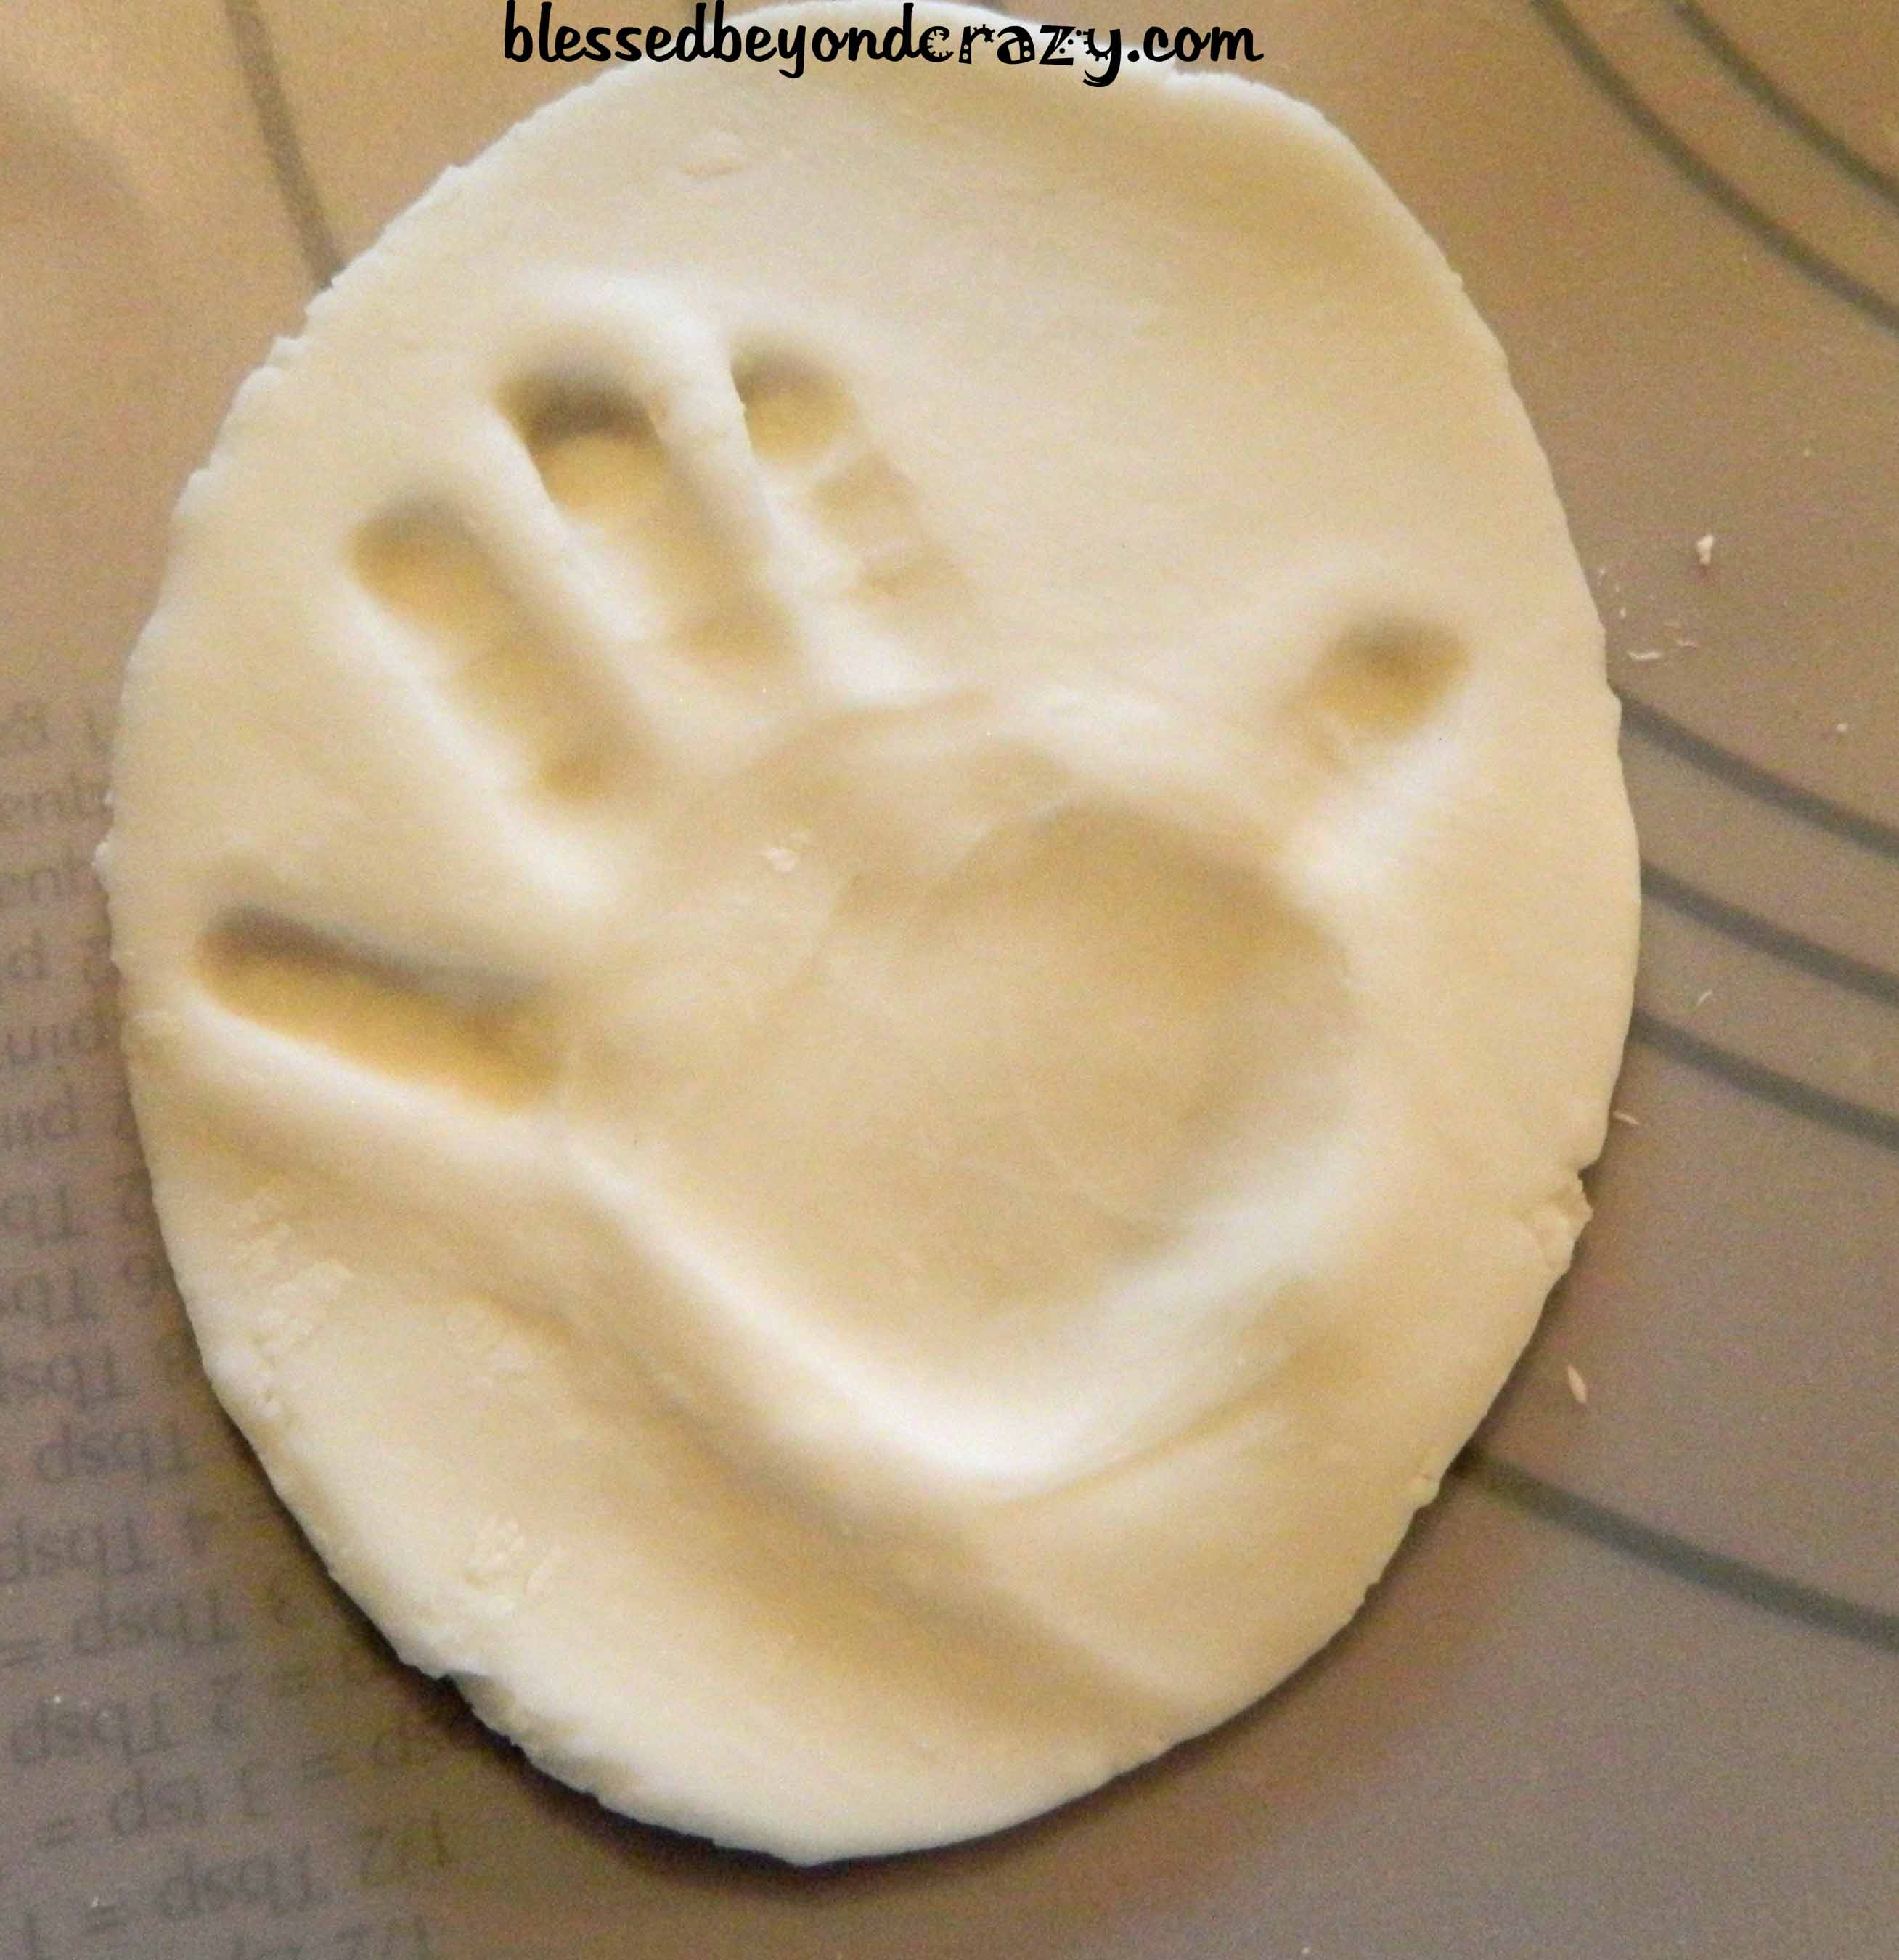
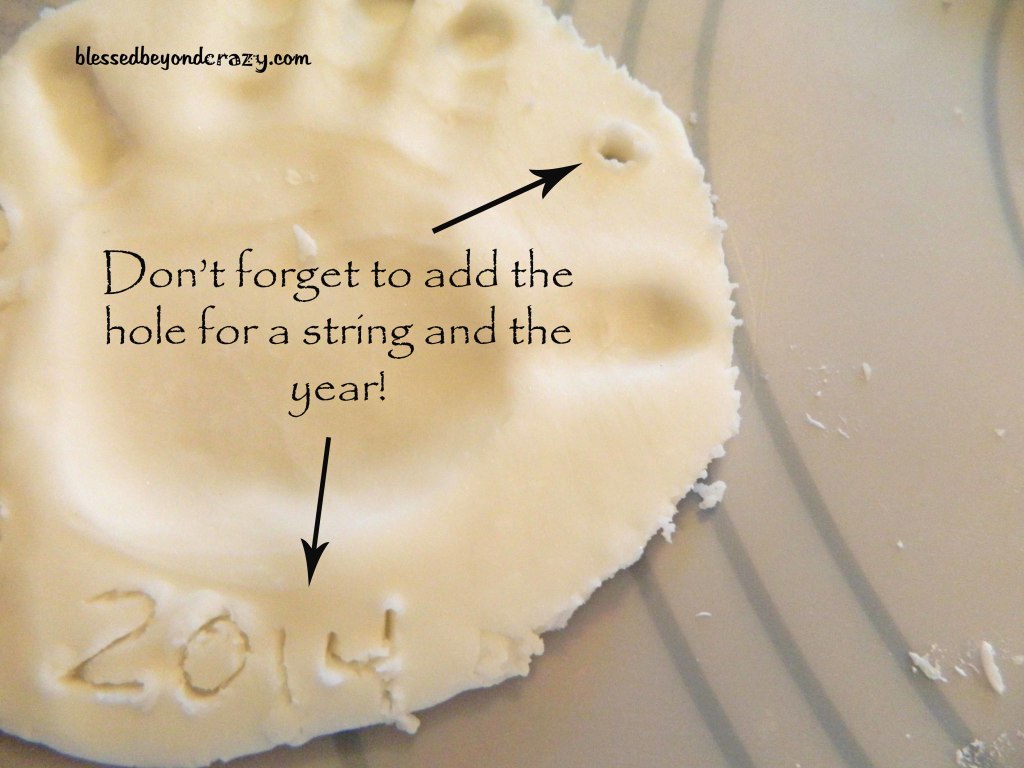
When my husband was born, my mother-in-law, started a tradition that every Christmas they would make a homemade ornament. When I married my husband he brought with him 18 homemade ornaments to put on our first Christmas tree. Now that we have children, each year my MIL has us over to her house for a special day of ornament making. Our tree is full of so many memories. Depending on the shape and size of the ornament we may write some special things on the back, like the age, hobbies, interests, and new milestones reached that year. No matter what type of ornament it is we always write the person’s name and the year somewhere on it. While the possibilities of what type of ornament to make are absolutely endless, we are making salt dough ornaments!
I prefer the dough recipe that calls for baking soda and cornstarch instead of flour and salt. The texture is much smoother, the color is pure white instead of tan, and it’s supposed to be more durable (I haven’t tested how breakable it is…yet).
Supplies:
- 1 Cup Corn starch
- 2 Cups (one box) Baking Soda
- 1 1/2 Cups Water
- Cutting board
- Rolling pin
- Christmas cookie cutters
- Toothpick, or something to make a small hole with
- Paint
Directions:
- Add cornstarch, baking soda, and water to a pan. Cook on medium heat, stirring constantly until dough gets thick.

- Let sit for 15 minutes to cool
- Knead dough until it is smooth
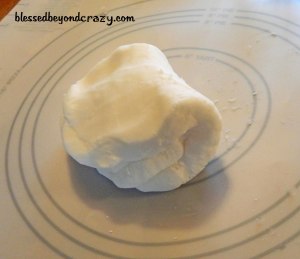
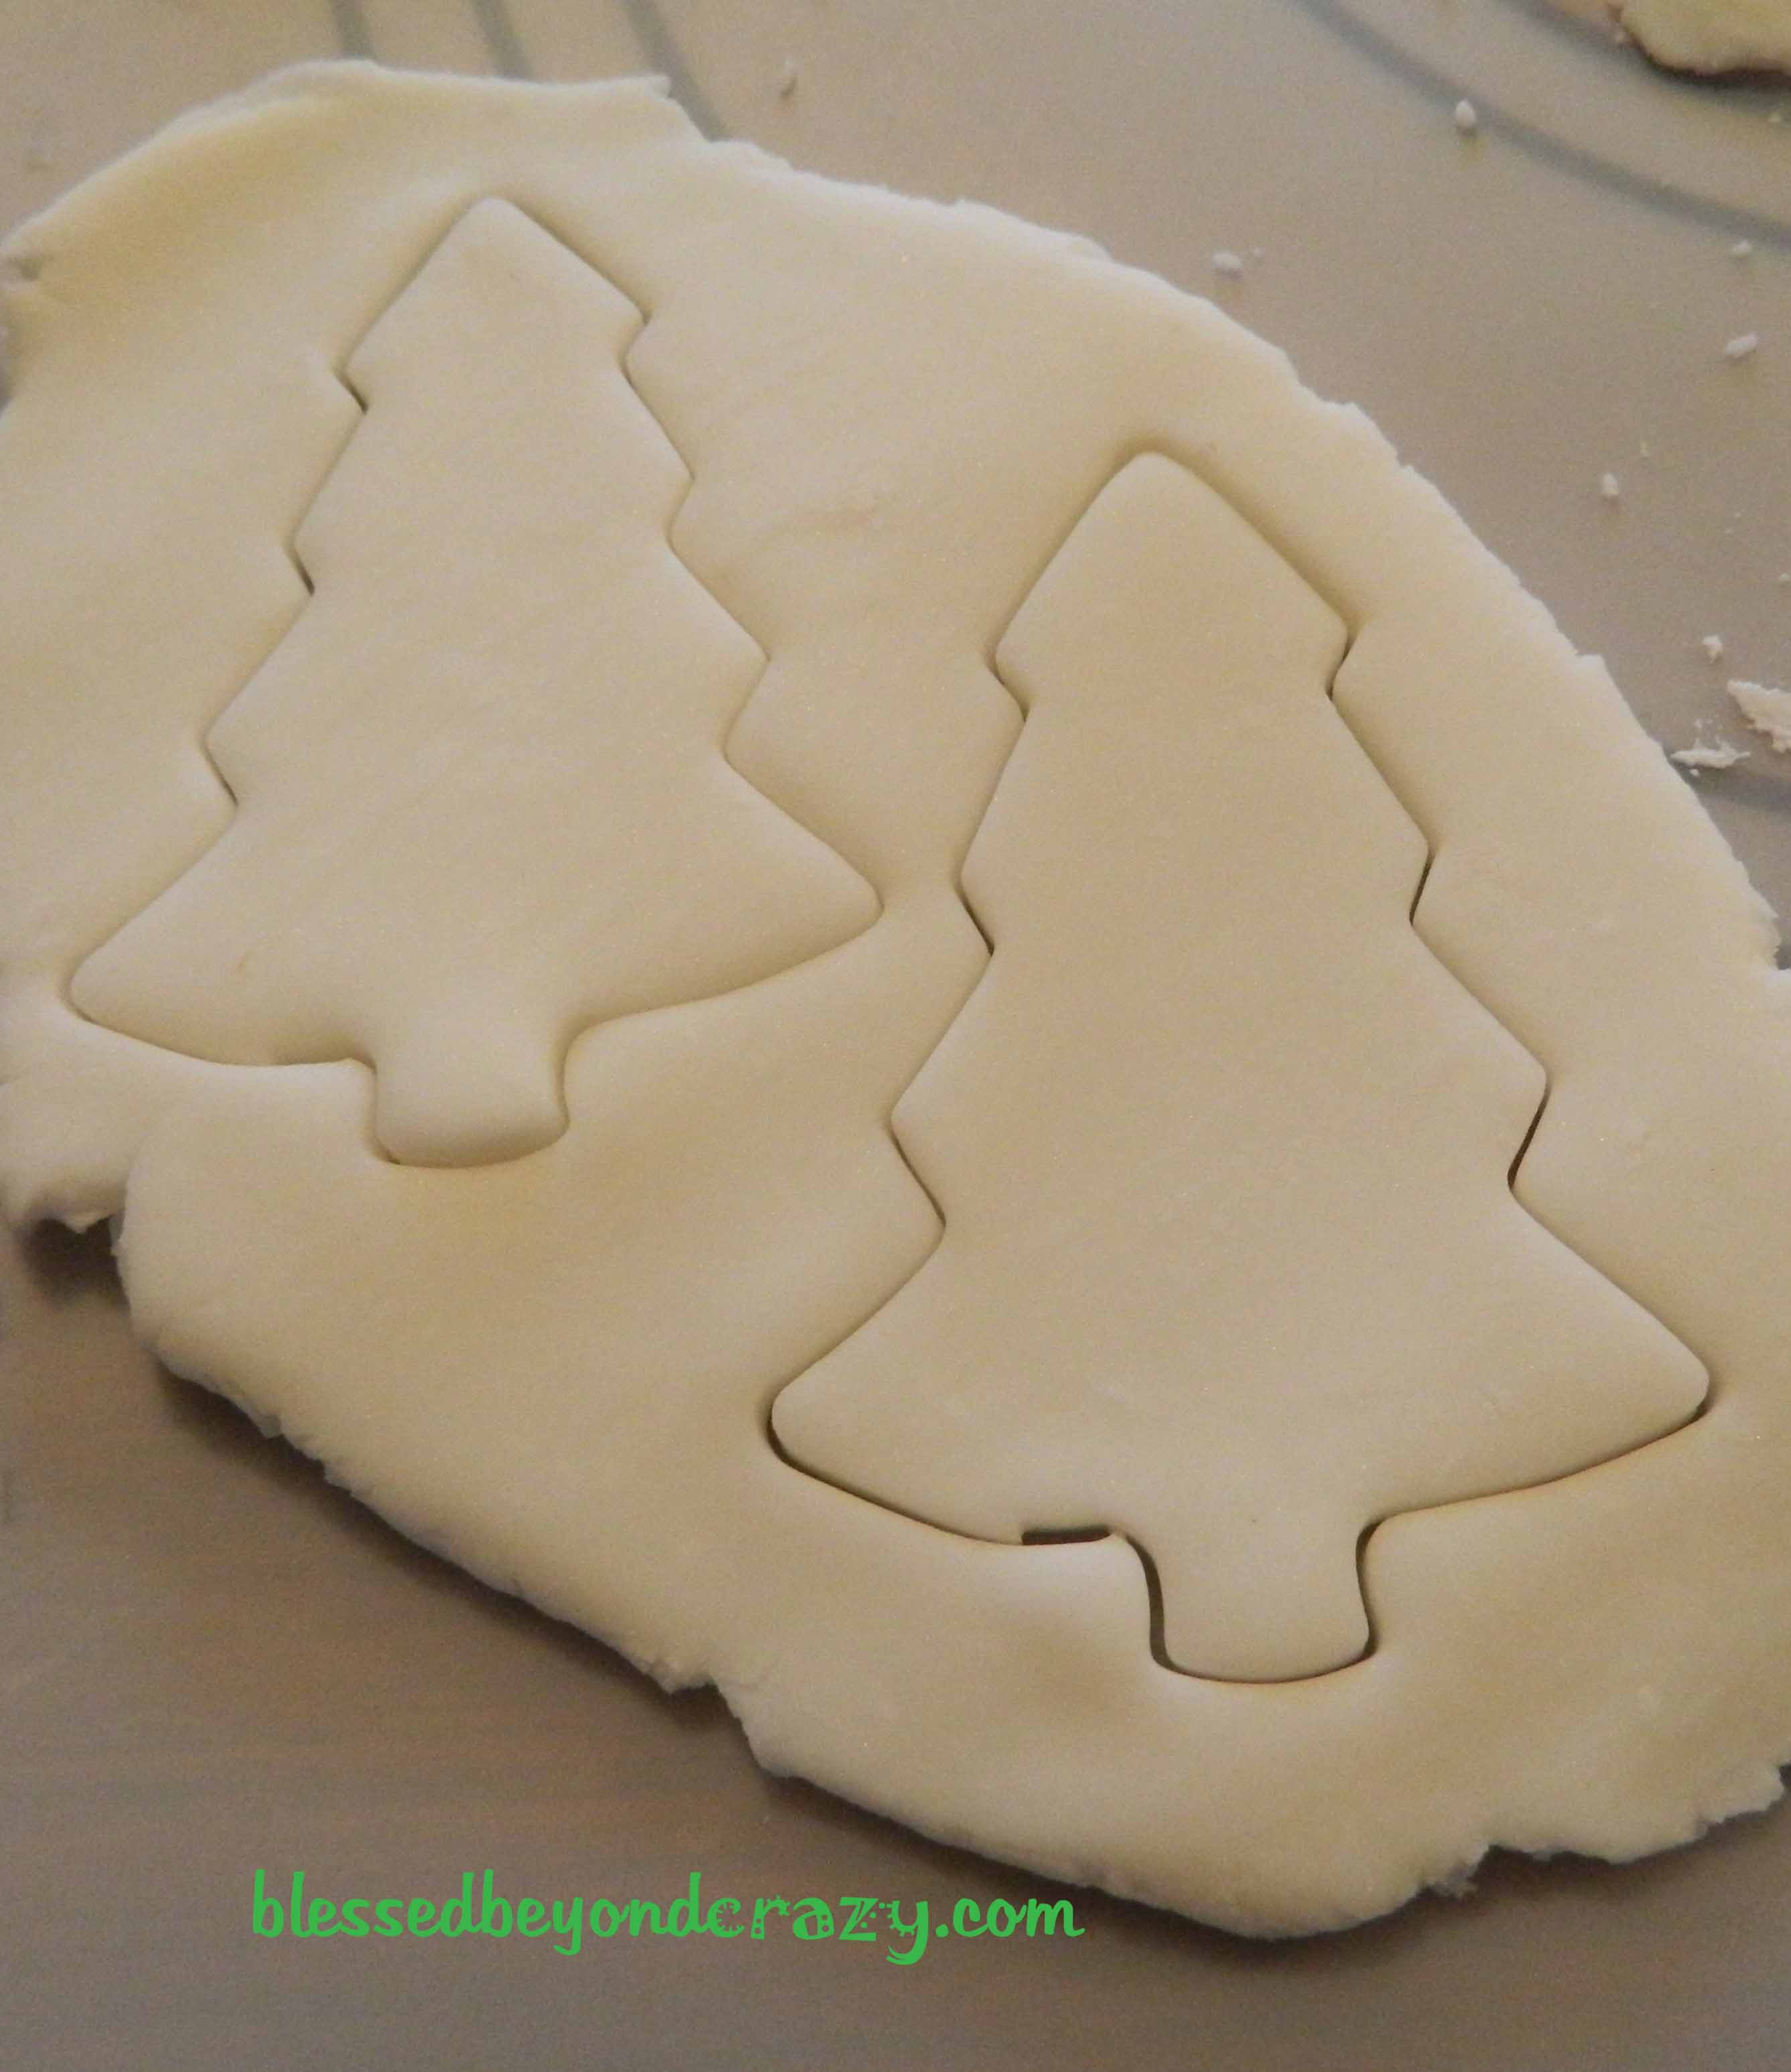
- Roll out on a cutting board with a rolling pin
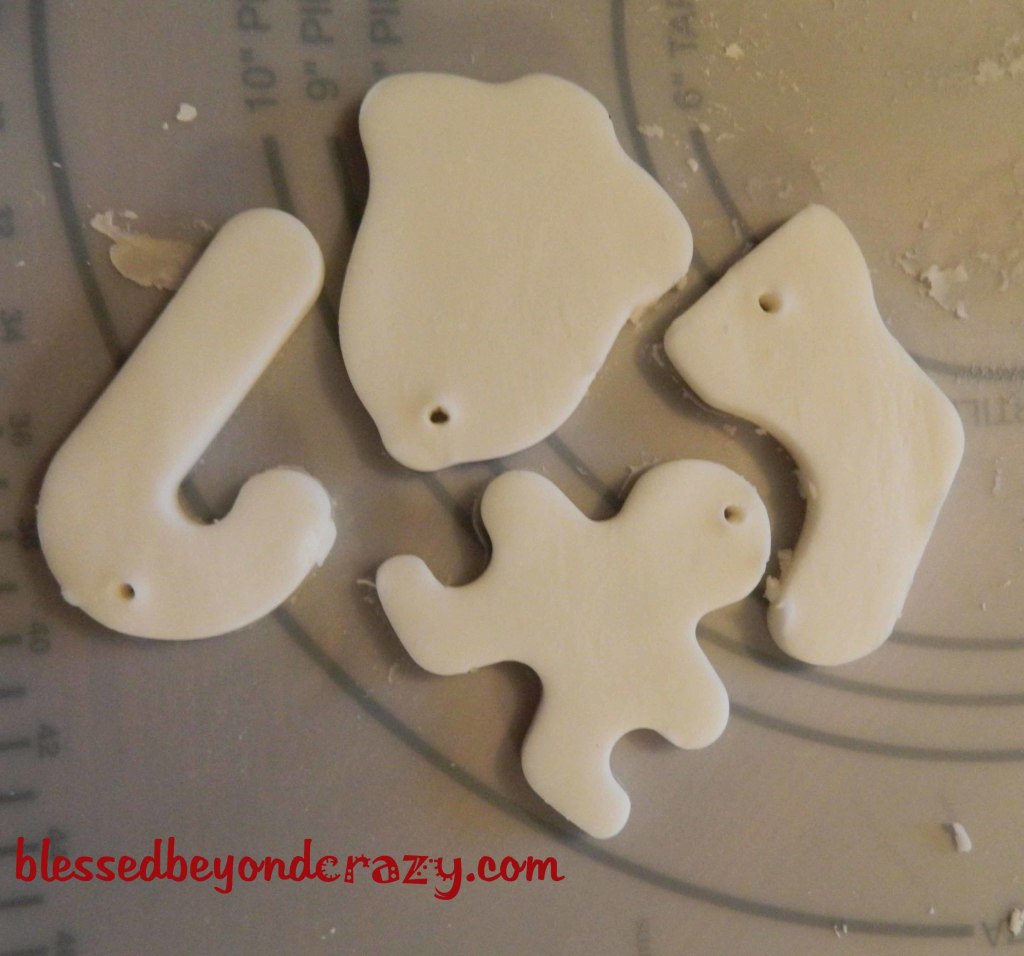
- Use cookie cutters to cut out shapes
- Use a toothpick to make a small hole, big enough for a string or ribbon to go through.
- Personalize as you wish.
- Let dry for 1-2 days until the clay is completely hard. Paint if desired.
Make it meaningful: Ornaments should be customized based on the personality, hobbies, interests, and tastes of your child (or participating family members). Therefore, it will be up to you to find an opportunity to point this activity back to Jesus. I believe that making meaningful, wholesome memories with your family is meaningful in itself. If you have extras left over you and your children could make some for friends or neighbors.
Check out the other posts in this series!
12 Days of Christmas Crafts for Kids-Day 1: Make Window Stickers
12 Days of Christmas Crafts for Kids– Day 3: Make a Drum for Little Drummer Boy
12 Days of Christmas Crafts for Kids–-Day 4: Footprint Art
12 Days of Christmas Crafts for Kids-–Day 5: Turn your Door into a Snowman
12 Days of Christmas Crafts for Kids– Day 6: Make Snowflakes from Popsicle Sticks
12 Days of Christmas Crafts for Kids– Day 7: Made Homemade Christmas Cards
12 Days of Christmas Crafts for Kids– Day 8: Make a Nativity Scene
12 Days of Christmas Crafts for Kids– Day 9: Hanging Paper Ornaments
12 Days of Christmas Crafts for Kids– Day 10: Make a Sock Snowman
12 Days of Christmas Crafts for Kids– Day 11: Paper Plate Crafts
12 Days of Christmas Crafts for Kids– Day 12: Make an Elf Hat
Merry Christmas!
Anna
Suzanne Holt says
I haven’t seen this particular type of homemade dough before. What a creative idea. Thanks for sharing the pictures as well.