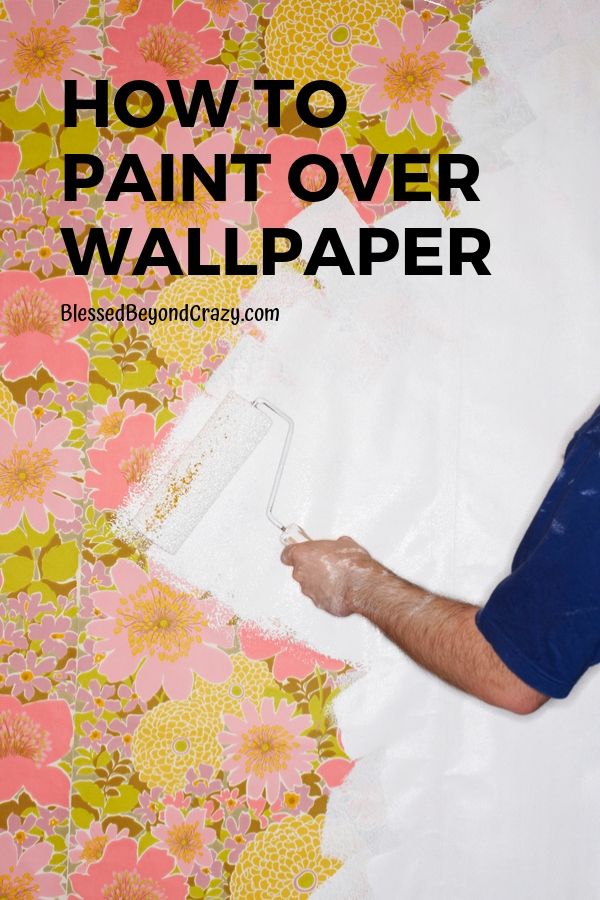
If you are having trouble removing wallpaper in your home, (or you don’t want to take the time to strip it), then perhaps you should consider other options. One option is to cover wallpaper with shiplap or other wall coverings. Another option is to strip it, then skim-coat the walls afterward. Yet another option is to simply paint over wallpaper.
(Before we begin… I’m NOT paid by, nor am I receiving any kickback to promote Benjamin Moore’s paint. However, through the years I have found that I love working with their paint, mainly because it covers well and goes on like a dream! It’s really the only paint I buy anymore.)
To help support our blogging activities, our site contains affiliate links. If you make a purchase from a link on our site, we may receive a small percentage of that sale, at no extra cost to you. Blessed Beyond Crazy is a participant in the Amazon Services LLC Associates Program, an affiliate advertising program designed to provide a means for sites to earn advertising fees by advertising and linking to amazon.com.
Much Needed Kitchen Update!
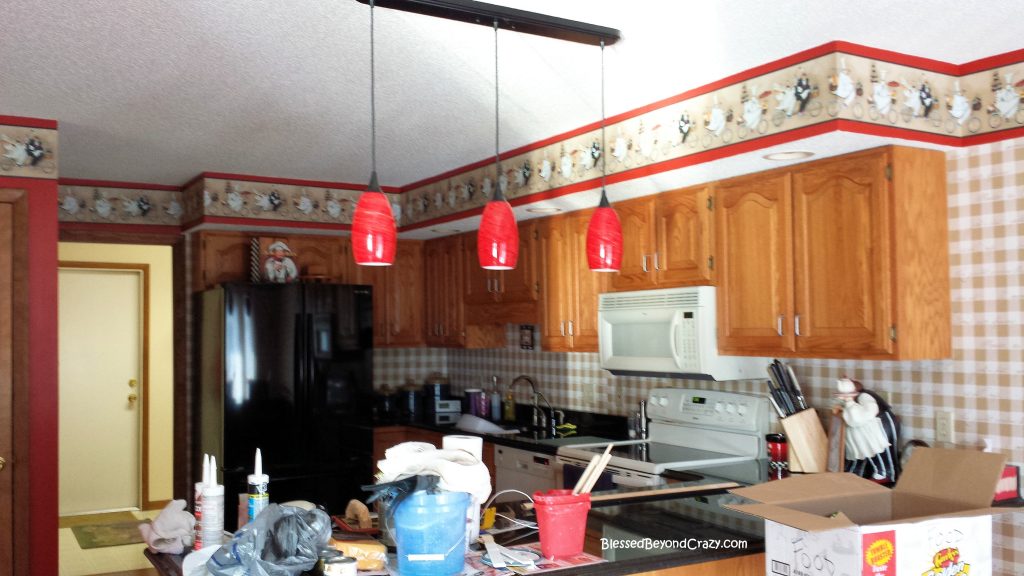
I have always known that my kitchen needed an update since the first day I bought the place nearly six years ago. One wall was painted in solid red while the other walls were covered in a French motif wallpaper and border. Although the paper and border were in great shape, this style just didn’t suit my particular taste. Naturally, a kitchen update was in order!!!
Wallpaper
Through the years I have had quite a bit of personal experience with wallpaper. I have experience hanging wallpaper and removing it. I’ve had both good experiences with wallpaper and some not-so-good. Through it all, I have learned that when updating any wallpapered wall, it’s always best to remove it whenever possible.
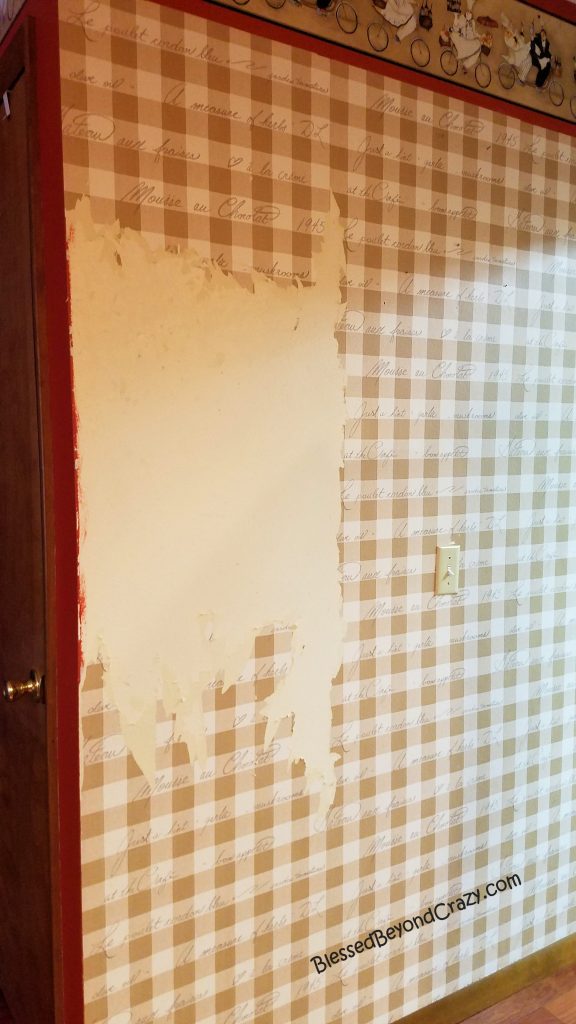
However, having said that, sometimes it’s nearly impossible to remove wallpaper without damaging the drywall in the process. This was the case in my current kitchen. I tried everything I could to remove the French motif wallpaper and border, but it didn’t want to budge and came off in little tiny pieces.
Although I used a product specifically designed to loosen wallpaper, I found myself gouging the drywall in my attempt to peel away the stuff! Ugh! This was going to take me FOREVER to remove all of it! And… I would ultimately need to skim-coat the walls afterward before painting them. No thank you. 🙂
Getting Ready to Paint!
Because I was having great difficulty removing the wallpaper I finally decided to move on to Plan B – paint over wall paper!
The first step: prep the walls! Using an Exacto knife, I removed any loose pieces or segments of wallpaper/border. This also included cutting away segments of loose wallpaper seams. (Oops, sorry! I didn’t take any pictures of this step. I didn’t think about it until after I had the paint on the walls!)
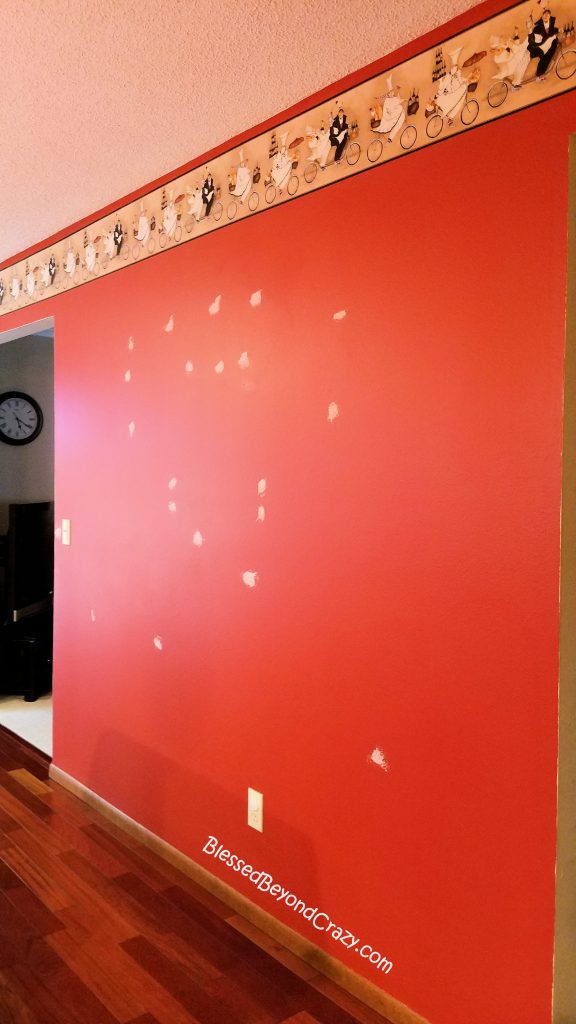
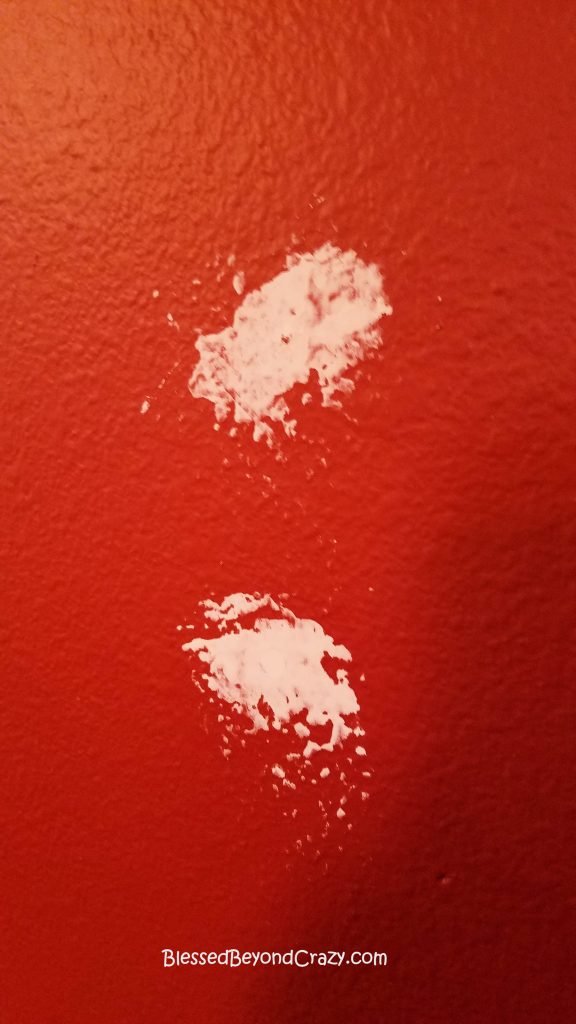
Next, I used a small amount of drywall spackling to fill in nail holes, as well as uneven or damaged areas in the walls. (That’s what the white stuff is on the walls in the pictures above and below.)
Sanding
I allowed the drywall spackling to dry overnight, then using fine-grit sandpaper I lightly sanded over the spackling, smoothing the wall surface. Following the sanding process, I used a clean and slightly damp grouting sponge to remove dust and residue from the walls.
NOTE: remember to trim any wallpaper/seams that are loose and use small amounts of spackling to fill in uneven areas. Then repeat the previous drying/sanding process.
You may also be interested in an update that my daughter and son-in-law made in their bathroom > How to Paint Countertops – Don’t Make These Mistakes!
Primer
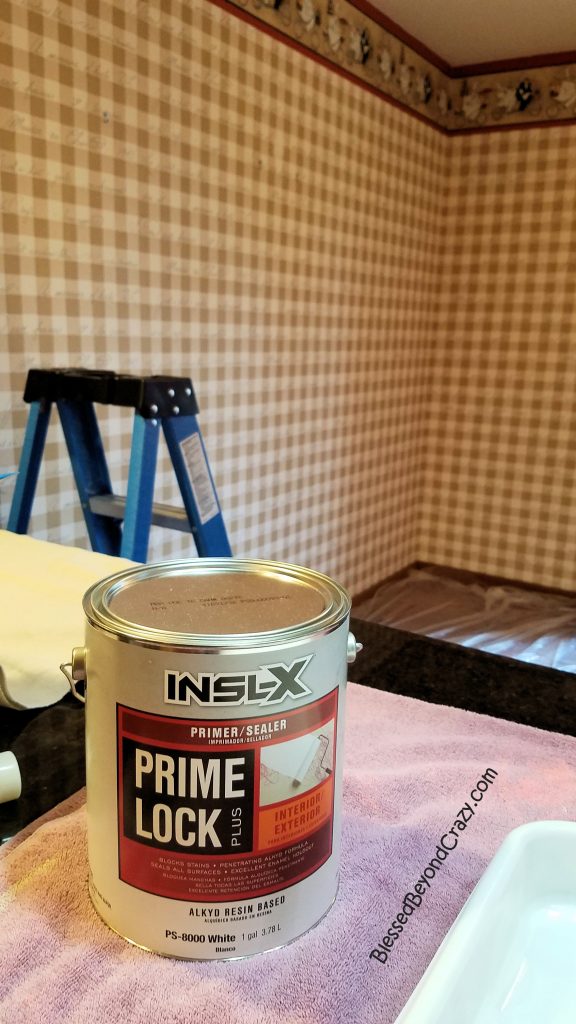
Next up on the list of How to Paint Over Wallpaper is to apply a high-quality oil-based primer to all of the walls. The primer helps seal the adhesive in the paper and prevents the moisture from paint from loosening wallpaper glue, causing bubbles, and peeling.
NOTE: both oil-based primers and oil-based paints have a very strong, pungent odor. Therefore, be sure to wear a respirator mask and have good ventilation in the room. It will take a few days but eventually, the smell gradually diminishes.
Base Coat!
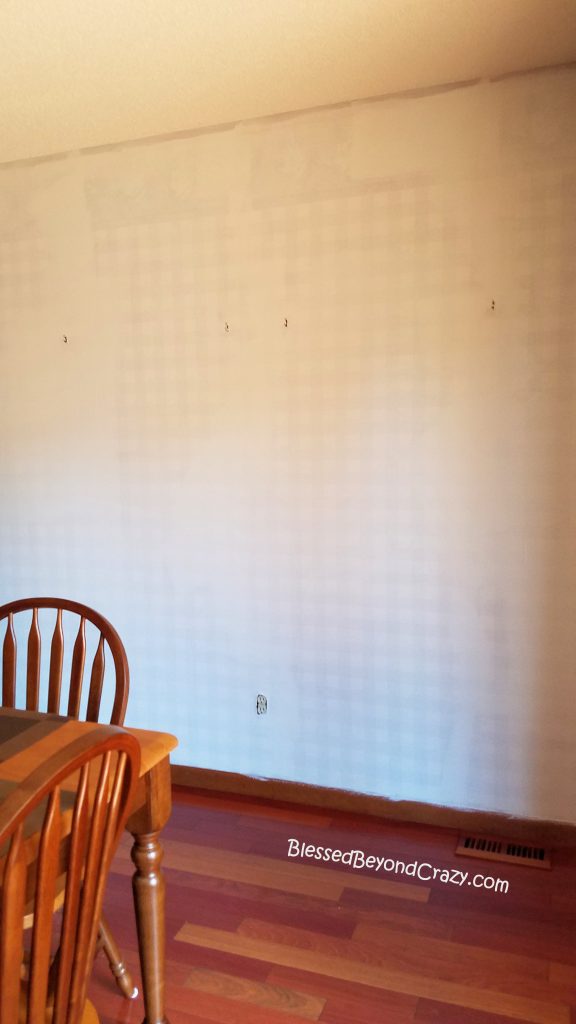
As you can see in the picture above, you can vaguely see the wallpaper after one base coat of oil primer. (Notice the dark-colored baseboard.) I decided to leave the wall-hanging hooks in place because I was going to hang my wall decor back in the same exact spot. (Maybe that’s not the most professional thing to do, but oh well… I’m just keeping it real. LOL)
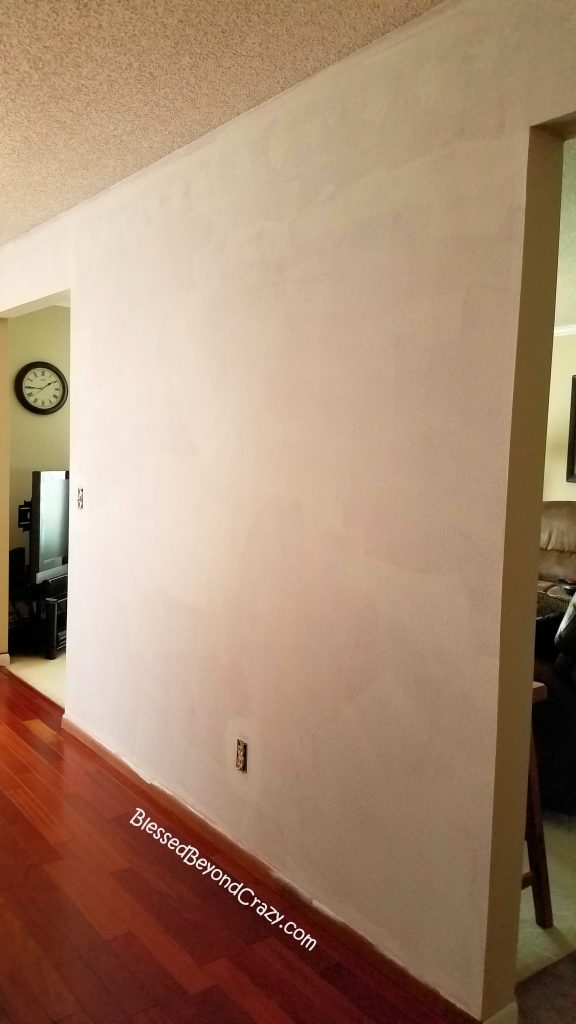
Prepping Painted Walls!
I also used the same primer to paint over my red walls. Can you see the hint of red showing through the coat of primer?
NOTE: I toyed with the idea of replacing my baseboards but in the end, I painted them white.
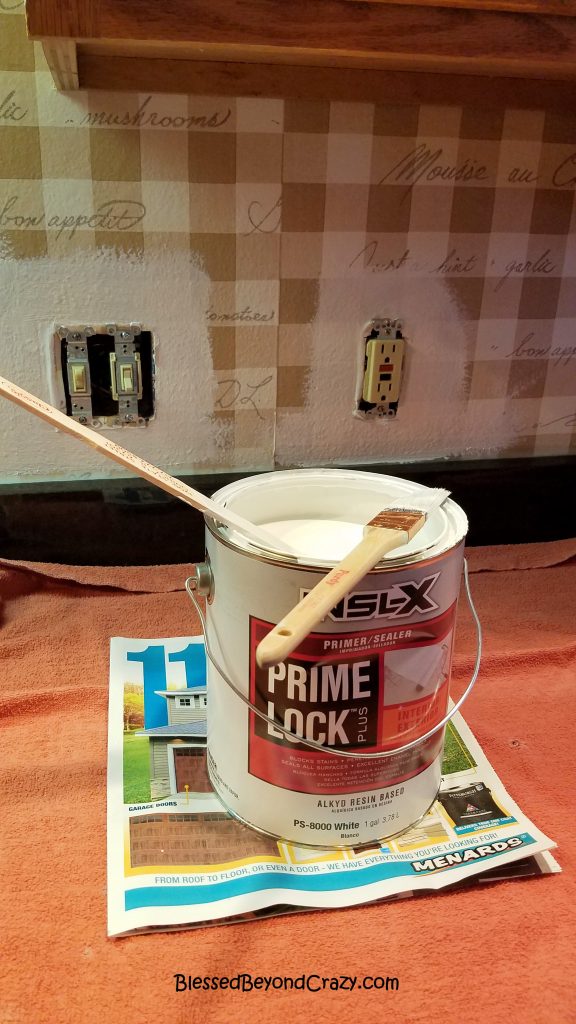
Prepping My Backsplash!
Using a small angled paintbrush I carefully painted around light switches and outlets in the walls behind the sink and stove area. Because it would be covered up with ceramic tile, I didn’t bother sanding the wallpaper seams on this particular wall.
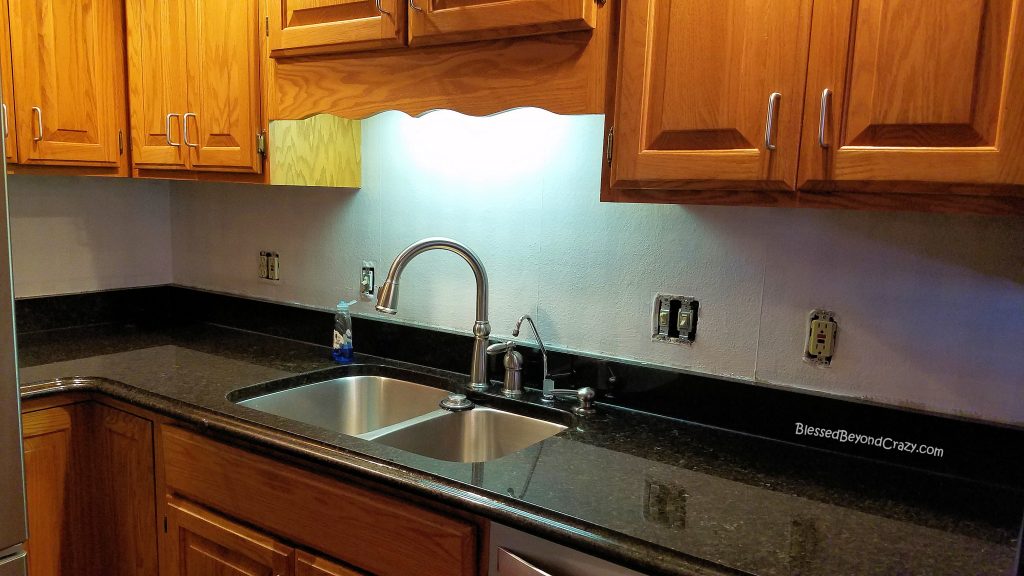
Ready to Tile!
Now, with a finished fresh, dry coat of primer, it was time to install a new backsplash! Since I love the new ceramic tile that was recently installed in my master and guest bathrooms, I decided to go with the same tile for my kitchen backsplash. Rather than using the big ceramic floor tiles I chose smaller brick-shaped tiles.
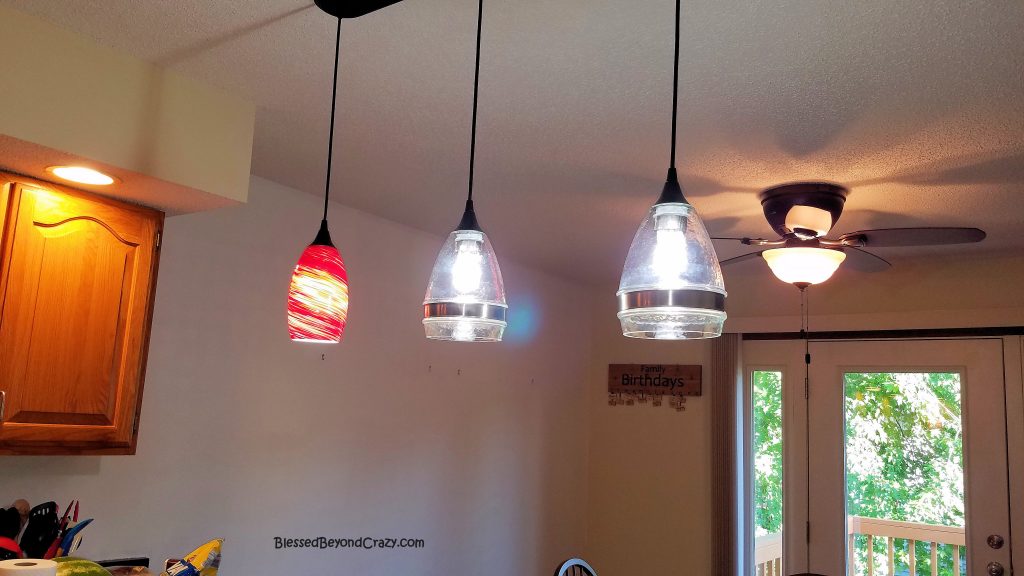
New Light Fixtures!
As seen in the picture above, I exchanged the existing red pendant light globes with clear globes, each embellished with a stainless steel ring. This simple change created so much more light in my kitchen!
NOTE: someday I may switch light blubs and use vintage Edison light bulbs in the pendant lights.
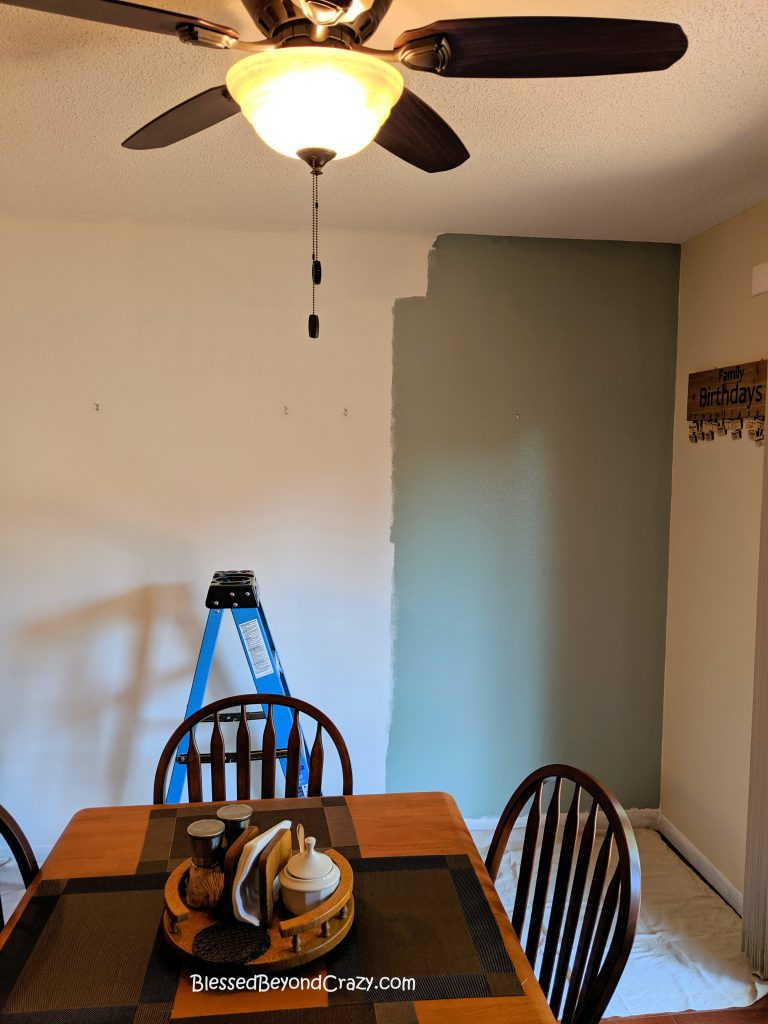
Painting!
Next, it was time to paint an accent wall! The paint I chose was #704 Del Mar Blue from Benjamin Moore. It’s hard to describe, but it’s sort of a medium shade of blue/green. When I first moved into my home, I painted my bedroom walls in this color and I loved it! It seems soothing and relaxing.
Fyi… my master bathroom is painted two shades lighter and is #702 Bali, also by Benjamin Moore. Personally, I think that both colors look marvelous with white doors/trim.
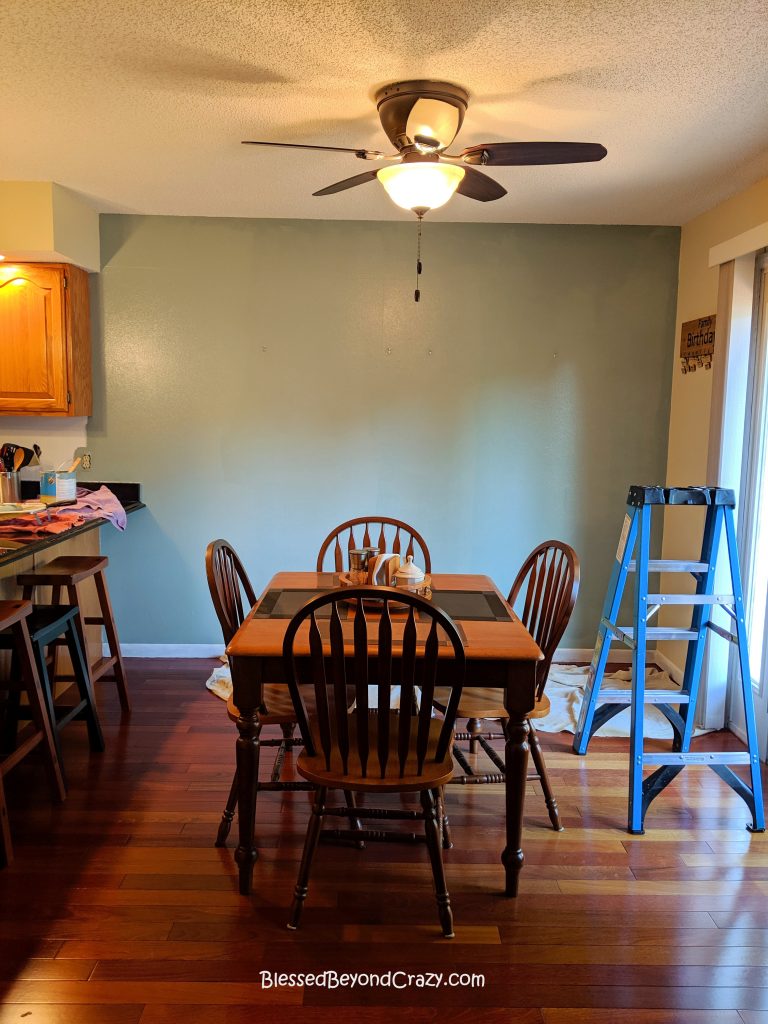
Second Coat!
This is what the accent wall looked like with a freshly painted second coat of paint.
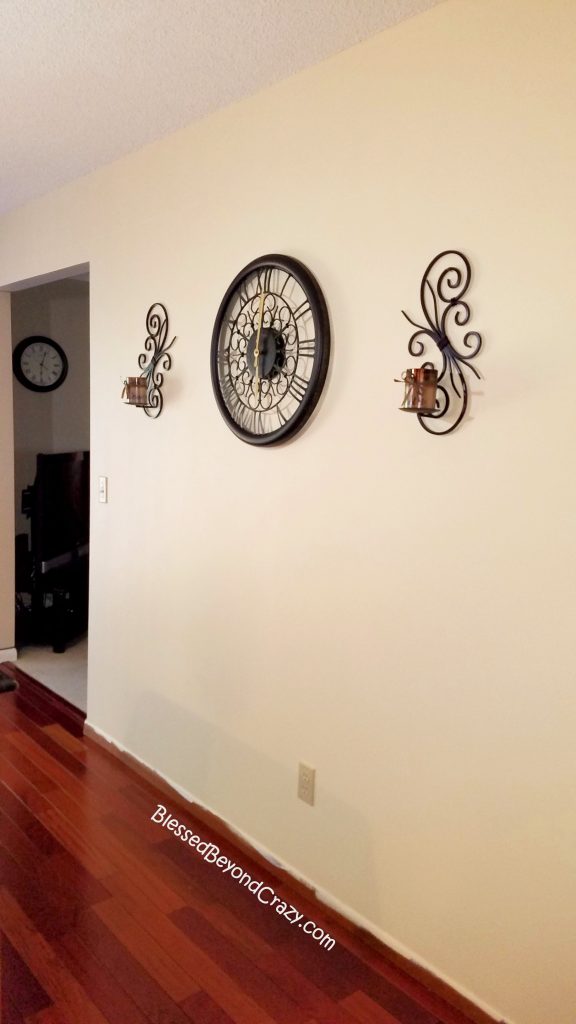
Fresh New Paint!
In case you were wondering, I painted the other walls in #1058 Mohair, also from Benjamin Moore on the remaining kitchen walls. It’s a rich, warm tan/cream color.
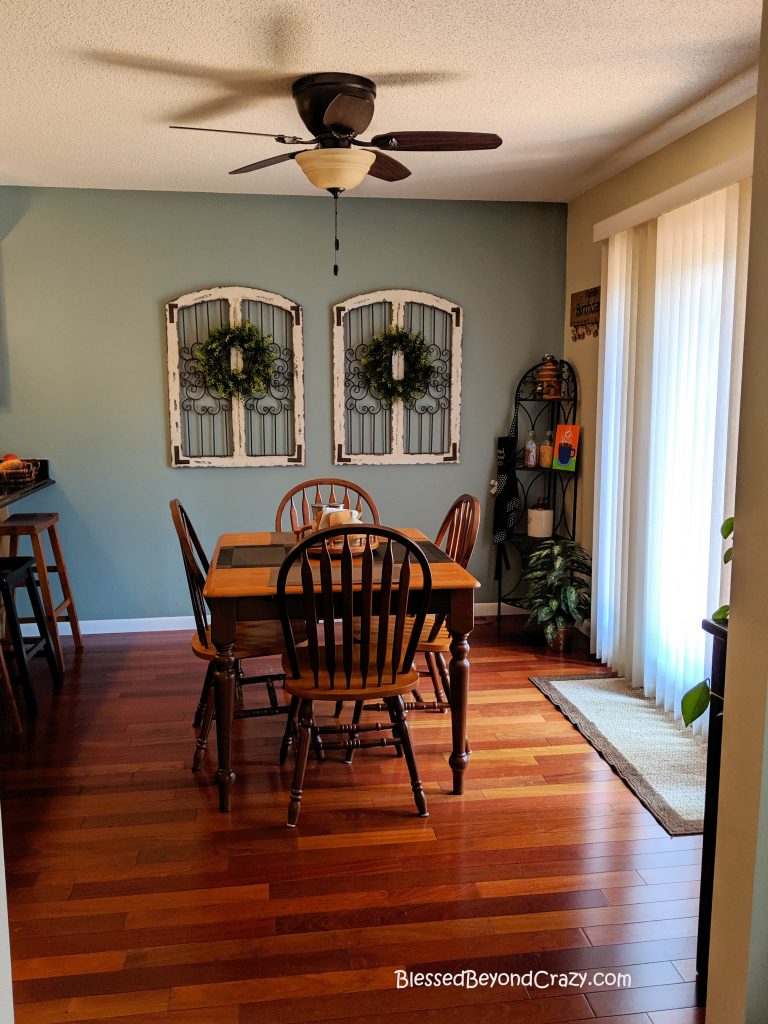
Home Decor!
Now, the fun began! I added some new wall decor pieces to the accent wall after the paint was completely dry. (Notice that the base trim is now painted white. I’ll share those pics in an upcoming post!)
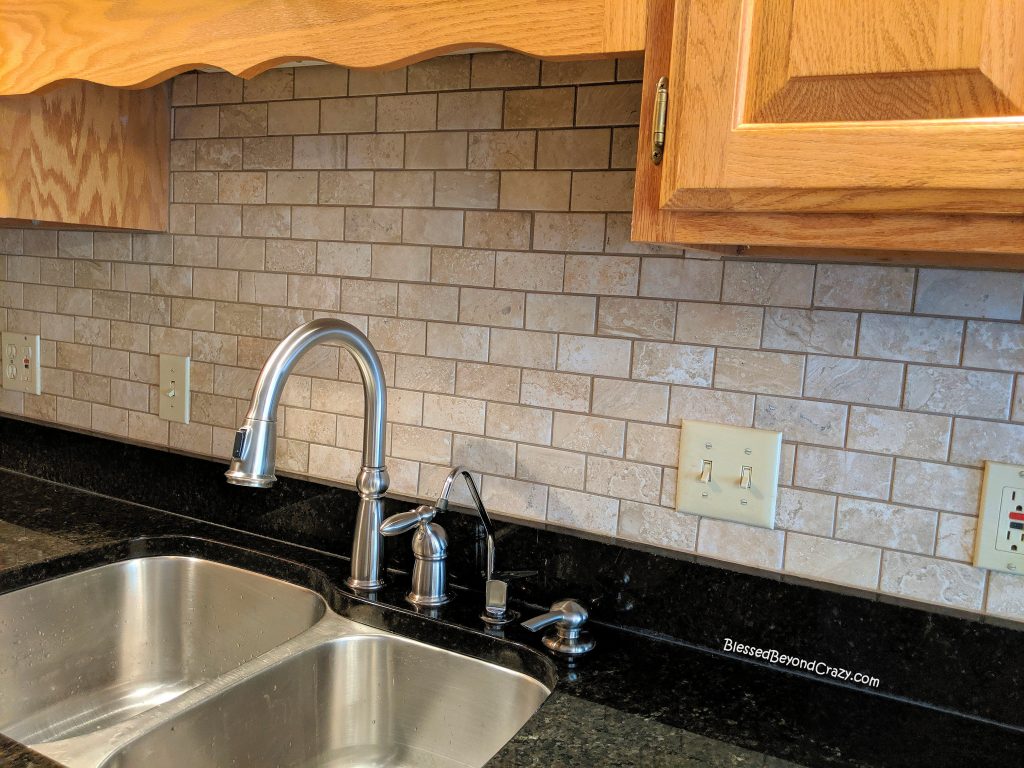
Ceramic Tile Backsplash!
At first, I wanted to try to install the ceramic tile backsplash myself, however, I didn’t want to invest in a wet saw and other tools in order to do the job right. Therefore, in the end, I hired a friend to install it and he did a fabulous job!
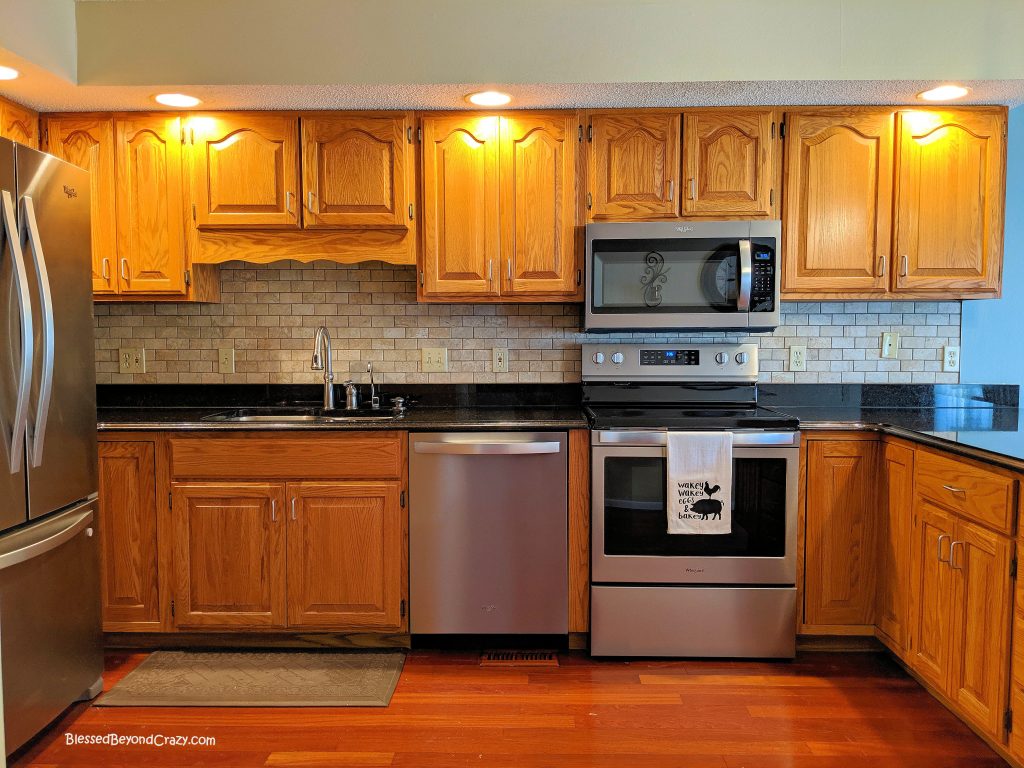
New Look!
My kitchen now feels updated with a fresh, new ceramic tile backsplash and brand-new stainless steel kitchen appliances.
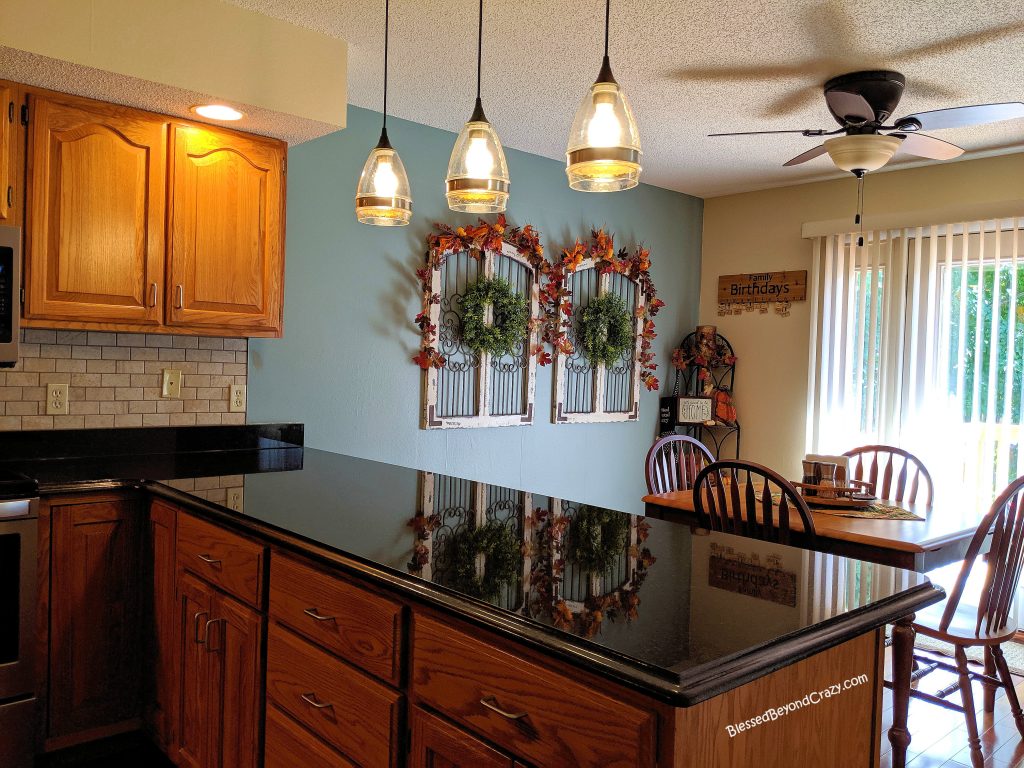
Here’s a picture of my new pendant globes and wall decor with some fall foliage accents. (Gosh, my black granite countertops are super reflective in this photo.)
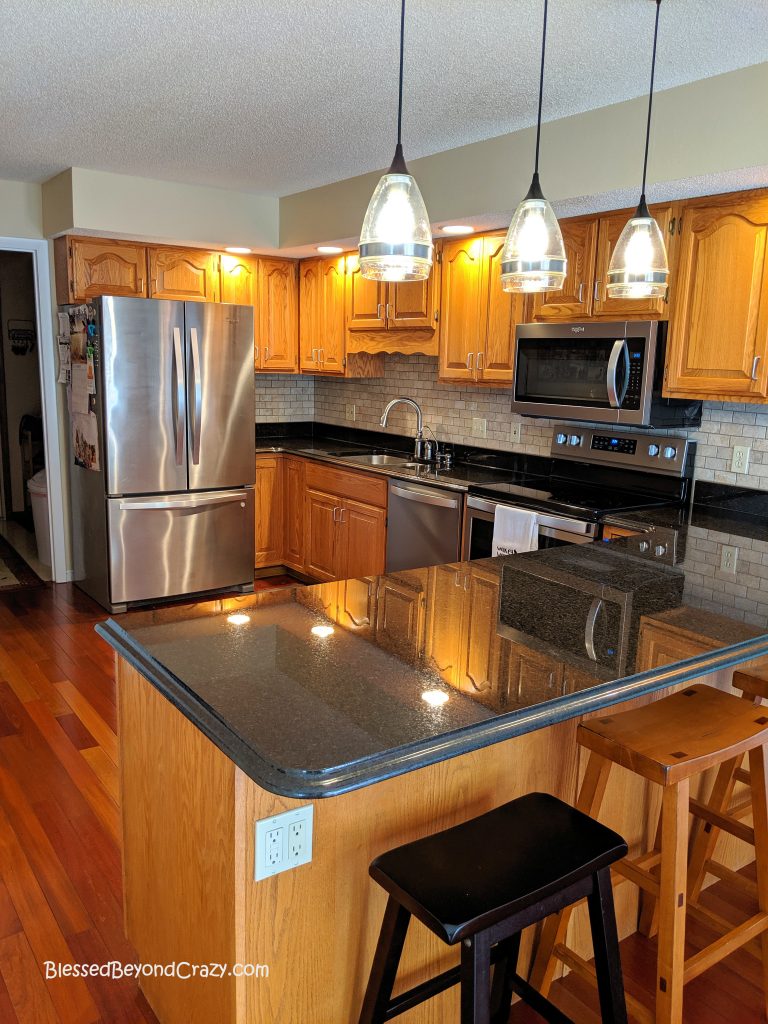
Here’s another view of my kitchen.
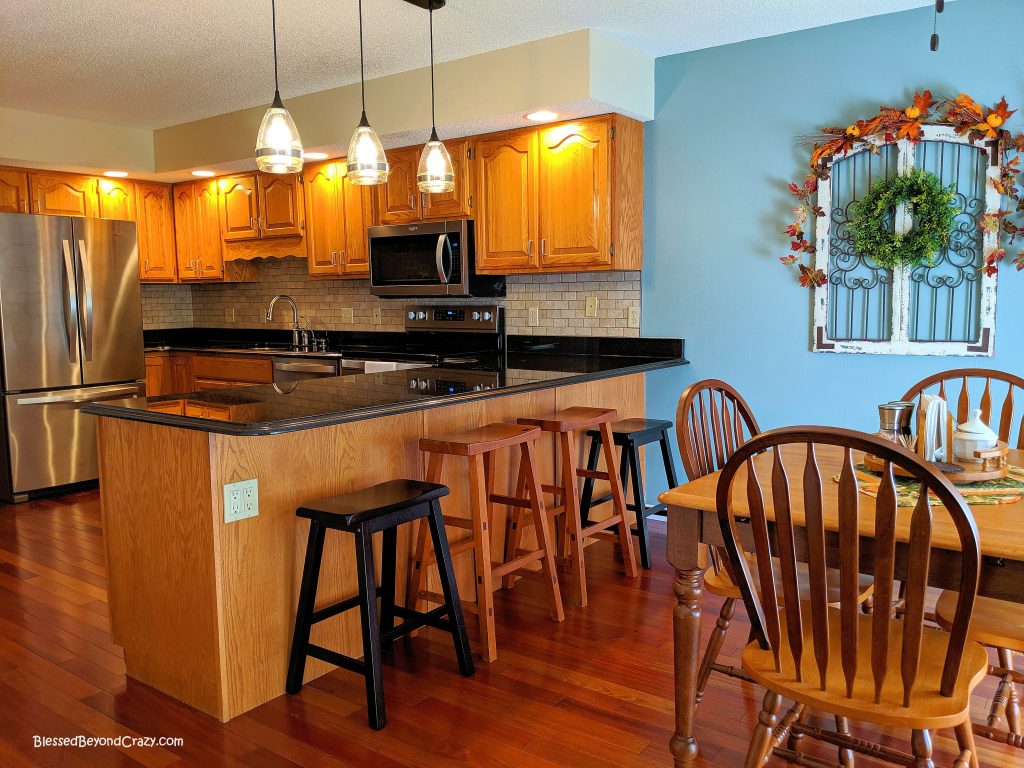
Although I could possibly do a few more kitchen updates, (like remove the popcorn ceiling and possibly paint my kitchen cabinets), I am happy with how my kitchen feels brighter, fresh, and renewed.

Now that you know how to paint over wallpaper, what will be your next home update?
Linda
More great ideas:


[…] Quote from the source: … […]