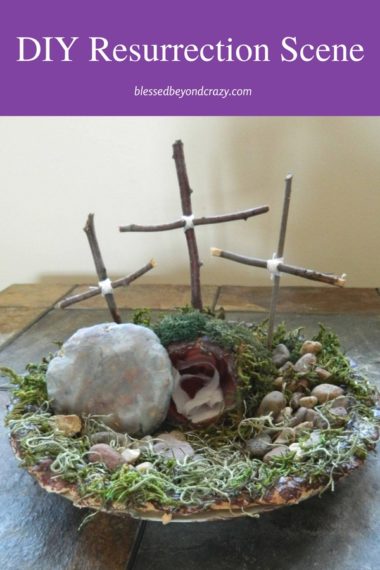
Creating a DIY Resurrection Scene is a fantastic way to spend quality time with your children and teach them Biblical truths about Easter!
My 5-year-old son LOVES Christmas! He loves everything about it–the tree, lights, decorations, the Nativity Scene… everything!! The Christmas season seems to last for weeks. Therefore, my heart broke when I asked my son about Easter, and he could only respond with candy and Easter eggs. His response is what prompted me to help him understand what Easter is all about by creating a DIY Resurrection Scene.
To help support our blogging activities, our site contains affiliate links. If you make a purchase from a link on our site, we may receive a small percentage of that sale, at no extra cost to you. Blessed Beyond Crazy is a participant in the Amazon Services LLC Associates Program, an affiliate advertising program designed to provide a means for sites to earn advertising fees by advertising and linking to amazon.com.
It wasn’t that we had failed to teach him these things. It was that we have failed to make them a big deal… a bigger deal than candy and eggs!
- Yes, he does know that Jesus died on the cross for our sins.
- We do take him to church every week, including Easter.
- Yes, we read him the Easter story in the Bible.
- I also read the Bible every night to our children before bed.
- But, somehow, he could not connect these things with Easter.
Teaching my children about the Resurrection of Jesus Christ and the implications of that will be the MOST important conversation I will ever have with them!
The great thing about Christmas is that we push our children so hard with the “true meaning of Christmas.” I suppose since Easter doesn’t have an entire “season” associated with it in our society, it’s easier to forget to convey the true sacrifice that was made. So when I saw a picture of a “Resurrection Scene” on Facebook (posted by our wonderful and amazing Children’s Ministries leader at our church) I knew this would be the perfect craft to do with my son (and also my 2-year-old daughter).
I figured one of the reasons my son was so familiar with the Christmas story was because of seeing our Nativity Scene.
Visuals are huge learning tools for children!
I ended up spending only $3 on this whole project!!!! THREE DOLLARS!!!
I spend more than that on one drink at Starbucks!!
Okay now that you can’t use cost as an excuse to not do this, let me spell out the easy directions to make this. It really isn’t hard!
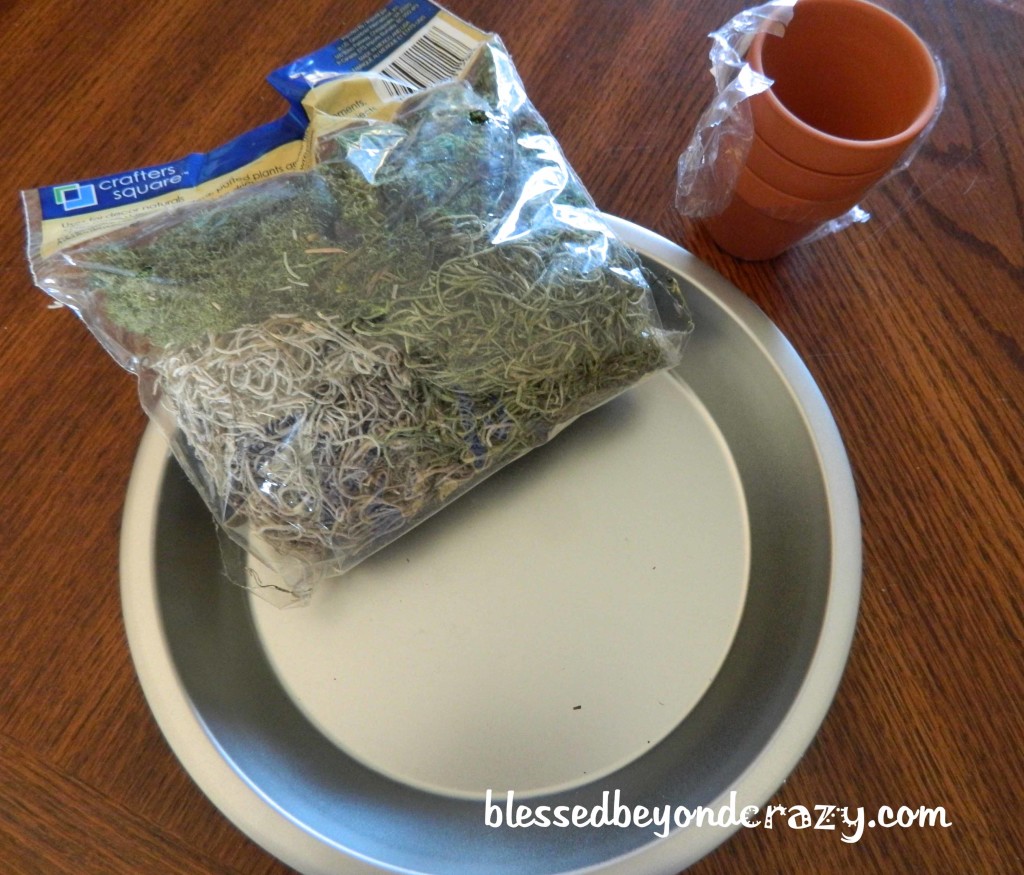
Supplies:
- a glass pie plate–I bought this from the dollar store for $1
- 1 package of fake grass– again dollar store- $1
- small planting pot (not plastic)– I got a pack of three for-you guessed it– $1 from the dollar store
- modeling clay— store-bought or I’ll show you how I made my own
- small Rocks
- 1 large flat rock, the same size as the opening of the planting pot (I couldn’t find a large rock so I made my own out of clay–I’ll show how below)
- glue
- brown craft paint and grey craft paint (You won’t need the gray paint if you were able to find a large flat rock)
- 6 sticks of approximately the same size
- string
- A small piece of white fabric, or a Kleenex.
DIY Modeling Clay
I thought I had some modeling clay on hand. Well, you know how that goes… it was completely dried out and unusable. So instead of running back to the store–which is not anywhere close to our home, I made our own. It was really easy and totally worth saving another trip to a store. However, if you are making up a supplies list you could buy some brown playdough or modeling clay if you wish.
- 3 cups flour
- 3/4 Cups salt
- 1 cup water
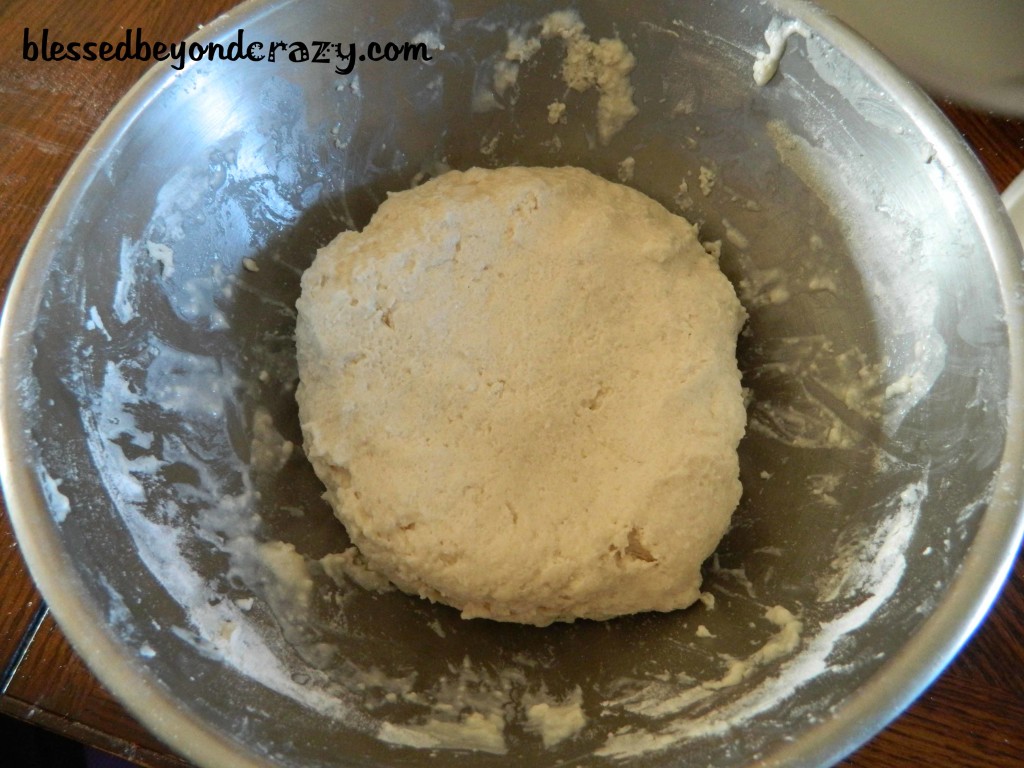
Mix all ingredients in a bowl. Add more water if the dough is to dry and crumbly-I needed a bit more. Work and knead the dough until it is soft and smooth.
This was the point where I stopped kneading the dough and started using it for our project–it was sort of like pizza dough. I should have kept working on it. My 2-year-old was playing with some of the leftover dough. After playing with it for a while she had it really soft and smooth like real play dough. I wish at this point I would have worked it into our project because it would have made painting it easier.
Assemble:
Grab your clay, pie plate, and small planting pot.
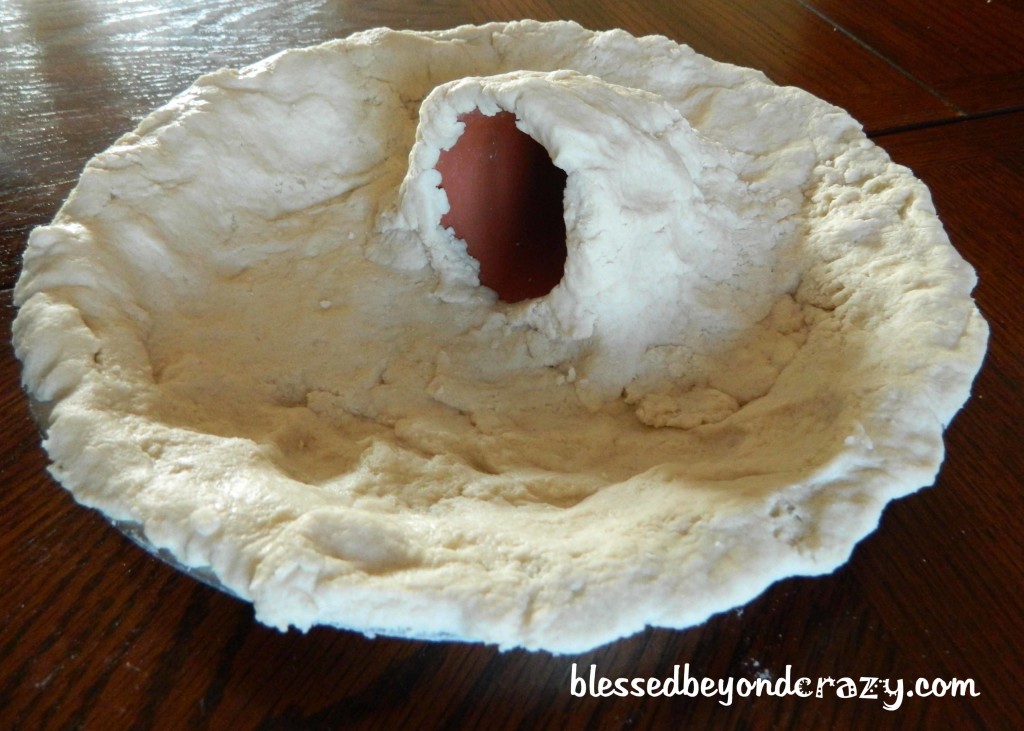
- Cover the bottom and sides of the pie plate with the clay, just like you would a pie crust–you can skip the rolling pin part, it doesn’t have to be pretty.
- Laying the pot on its side, add it to the pie plate. The opening of the pot should be at the center of the plate.
- Cover the pot with clay.
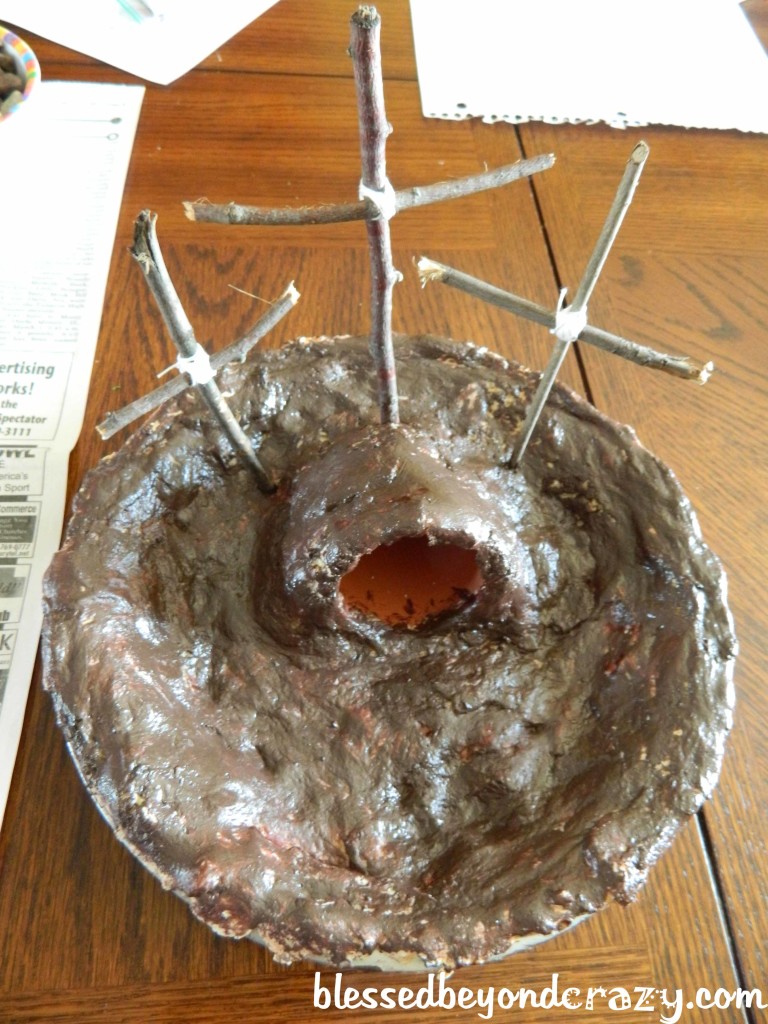
As you can see in the picture, it doesn’t have to be pretty. I wasn’t about to get out the rolling pin. If you know anything about me and cookies, you know I don’t like rolling pins.
Also, my kids did most of this part. They loved making the clay. They loved pressing the clay into the plate and onto the “tomb.” I think they did a fantastic job!
You will want a generous amount of clay behind the pot because that is where you will stick your crosses and the clay will help them stand.
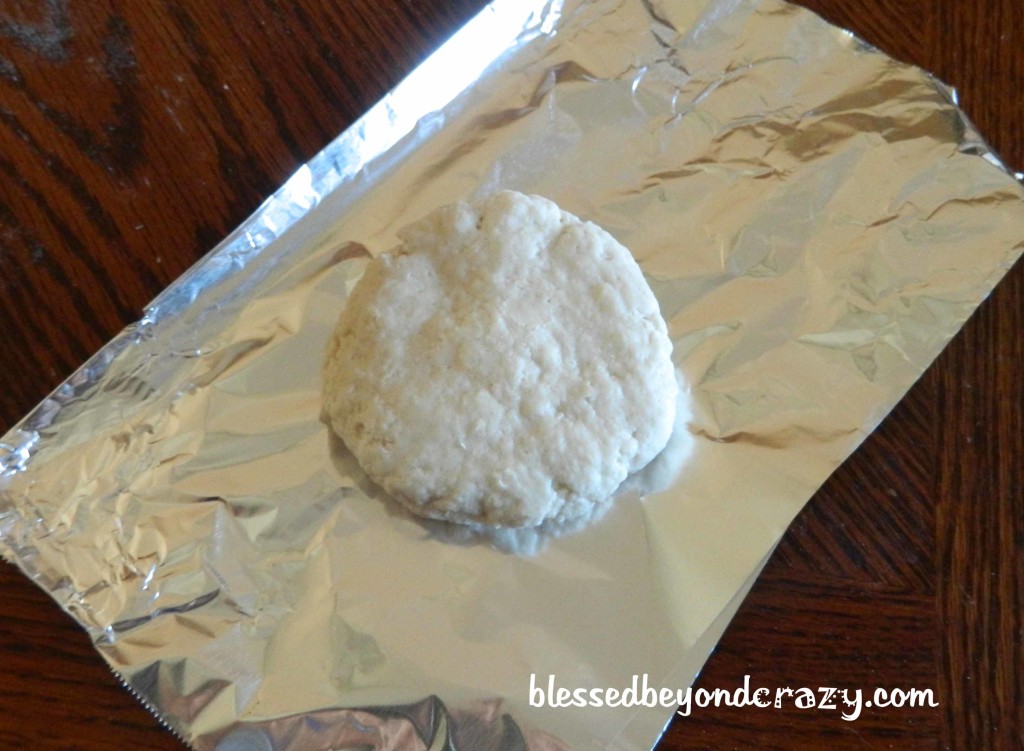
We did not find a rock that was suitable for a tomb covering, so we made our own with some leftover clay. Ideally, you would find a real rock! We haven’t given up our search for a real rock.
See how this clay looks a little lumpy? I really should have kneaded the clay longer.
Now, bake your pie plate and your “stone” if you had to make one. Put the “stone” on a piece of foil. Bake at 350 degrees for 1 hour or until your clay starts turning brown. Remove from oven and let cool.
—Please make sure that your planting pot and your pie plate are NOT PLASTIC!! Do not bake plastic or you will have a mess in your oven!
–If you used real playdough or store-bought modeling clay, you need to read the directions on the best way to harden your clay. You might be able to just let your project sit overnight and “air-out” until the clay hardens.
While our project was in the oven, we went ahead and made our crosses.
We just went outside and found some small sticks. We broke them into the sizes we wanted and tied them together with the string.
**Side Note: Don’t use scissors to try to trim your sticks. I actually broke my good pair of scissors trying to get the sticks to be the right length…silly Anna.
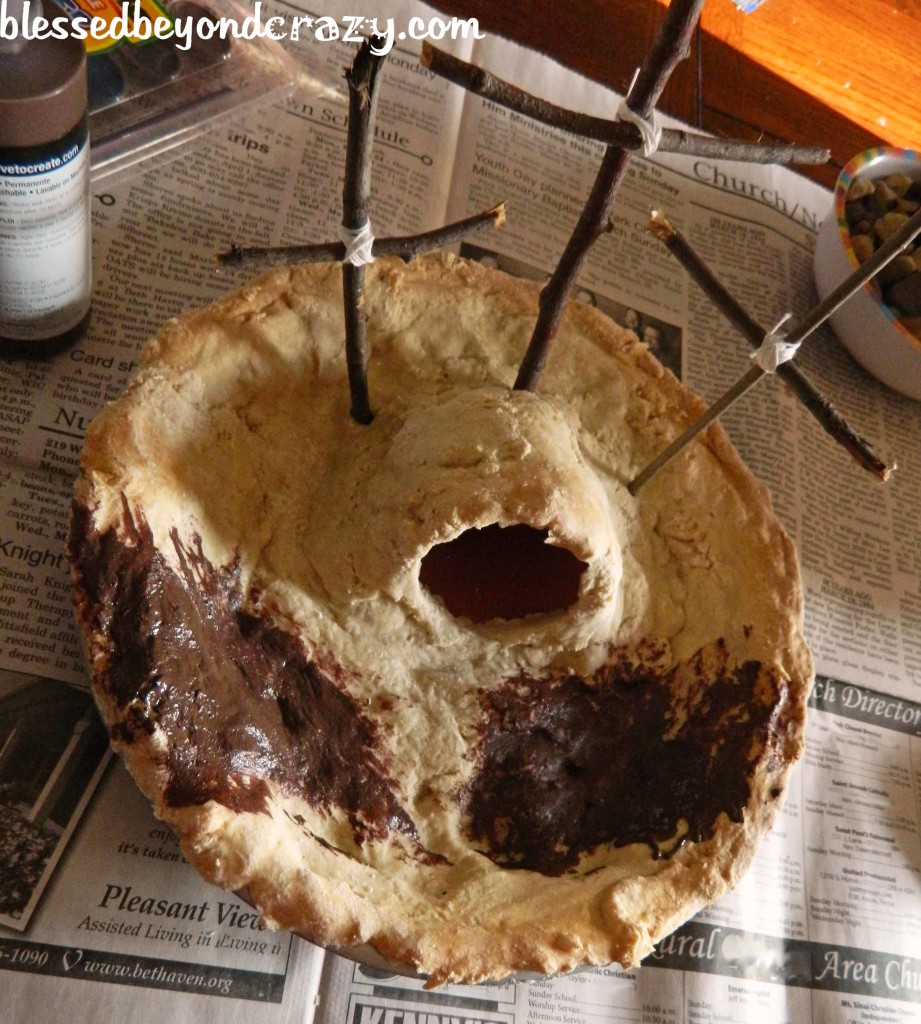
As soon as we took our project out of the oven I stuck the crosses in the clay, right behind the planting pot.
The next day, we painted our clay brown to represent dirt. If you used brown clay, you could skip the painting part.
We used brown puffy paint because that was what I had. If you have a different type of paint, I’m sure that would work too.
I forgot to take a picture of the claystone that we made. We used watercolor on it because that was the only gray paint I had and it worked well too. I tried using markers…those did not work.
Your clay and paint job do not have to be pretty because it will all get covered up.
After our paint was dried, we opened up the bag of fake grass. My kids loved this part!!
We used regular white school glue to hold the grass onto the clay. However, I think maybe Mod Podge would work better.
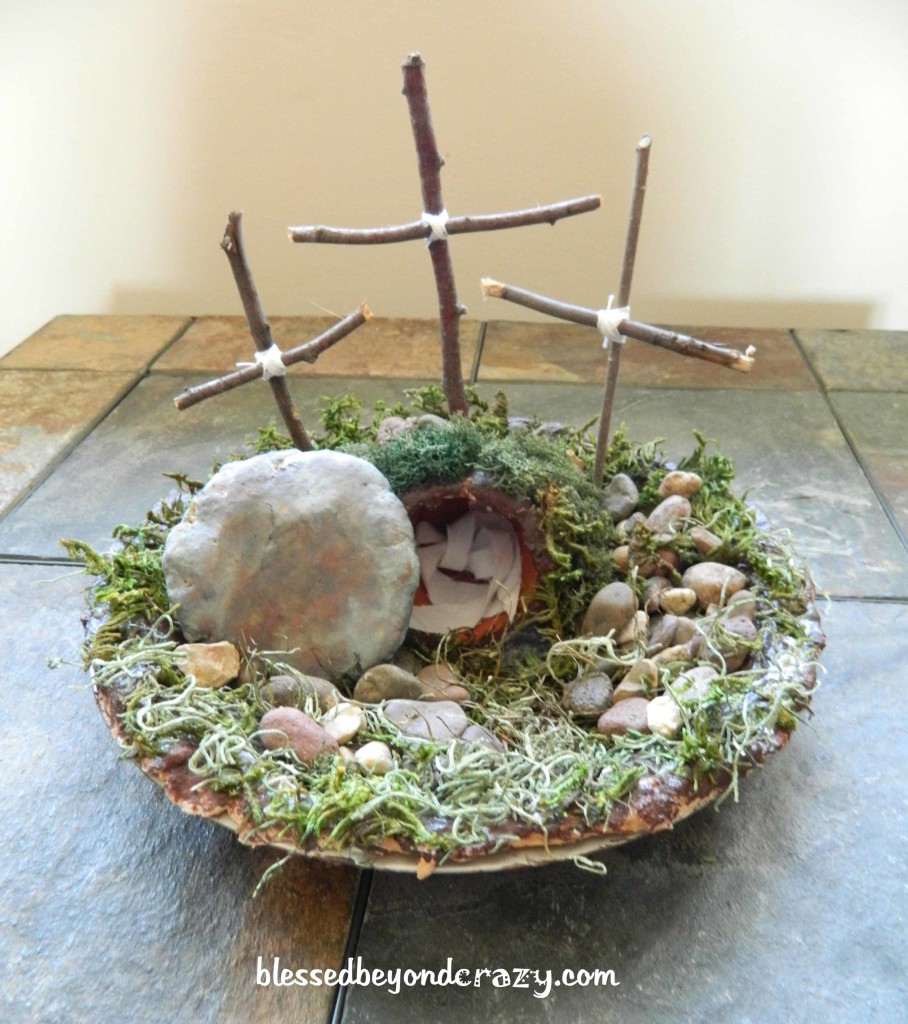
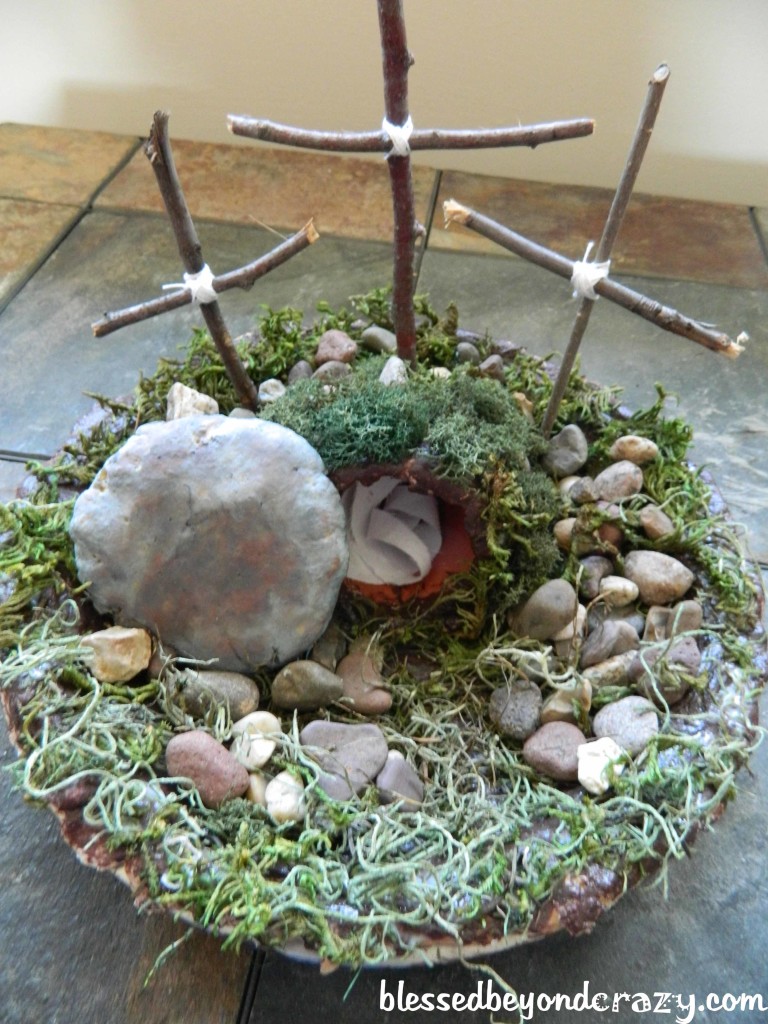
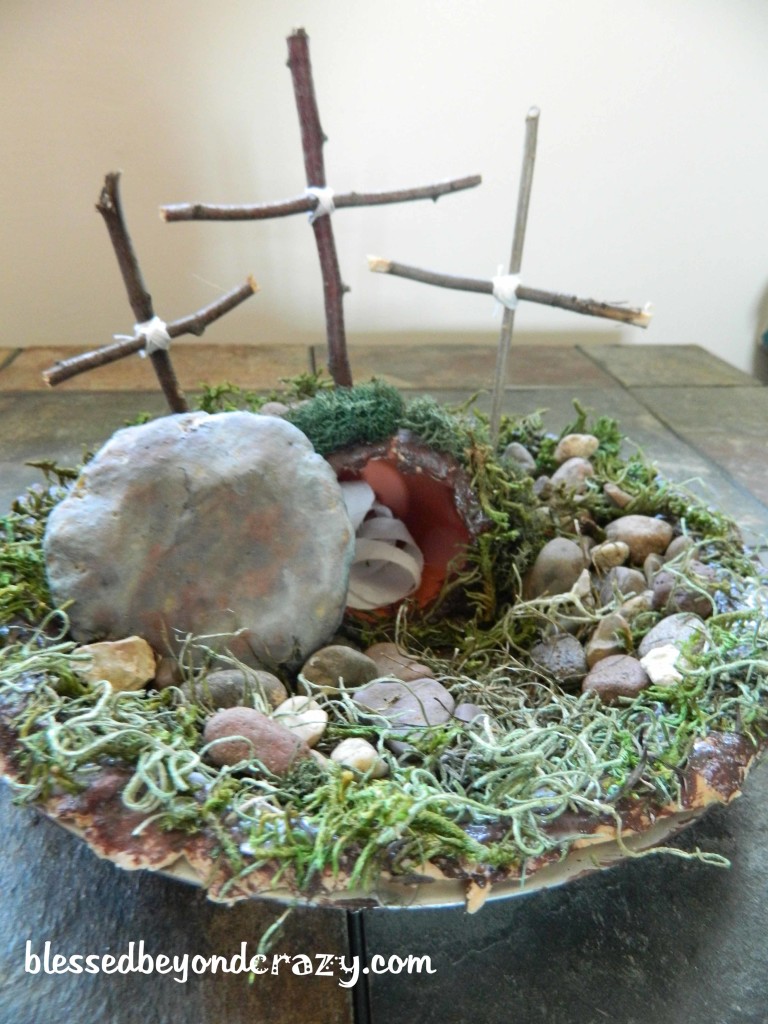
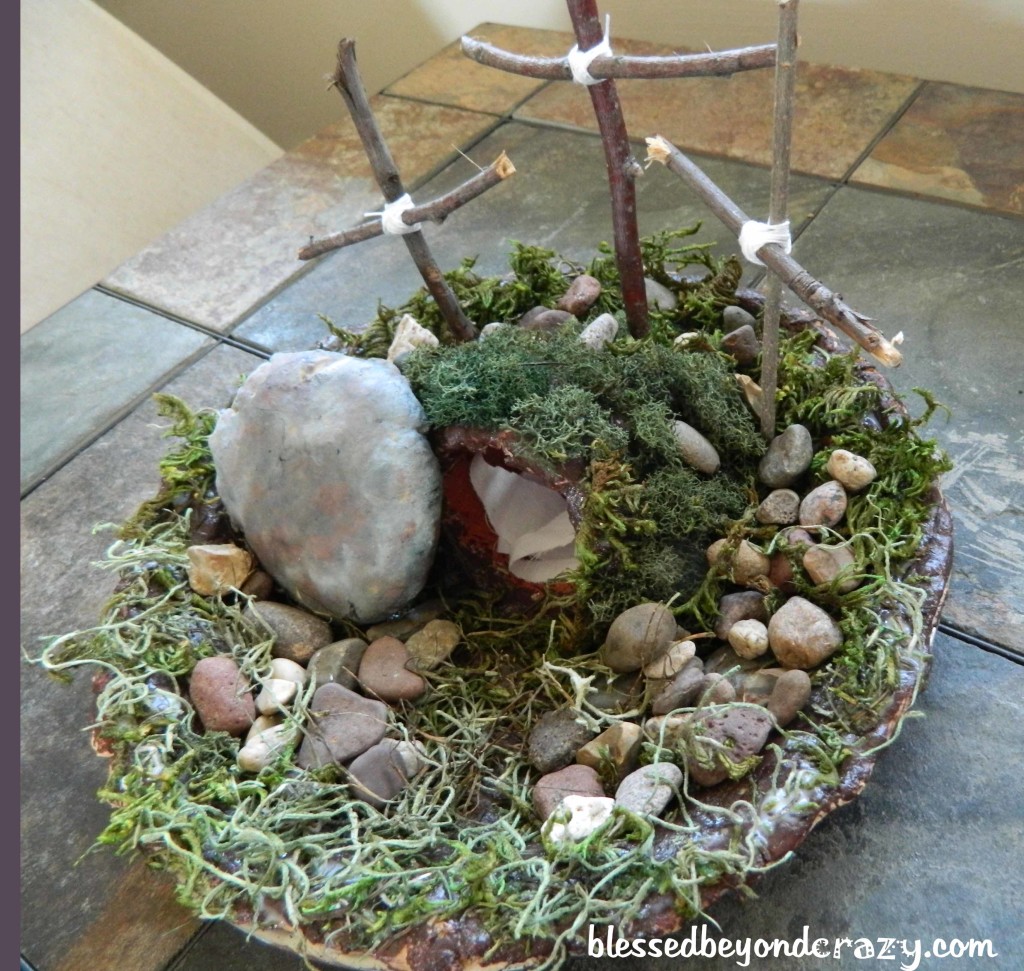
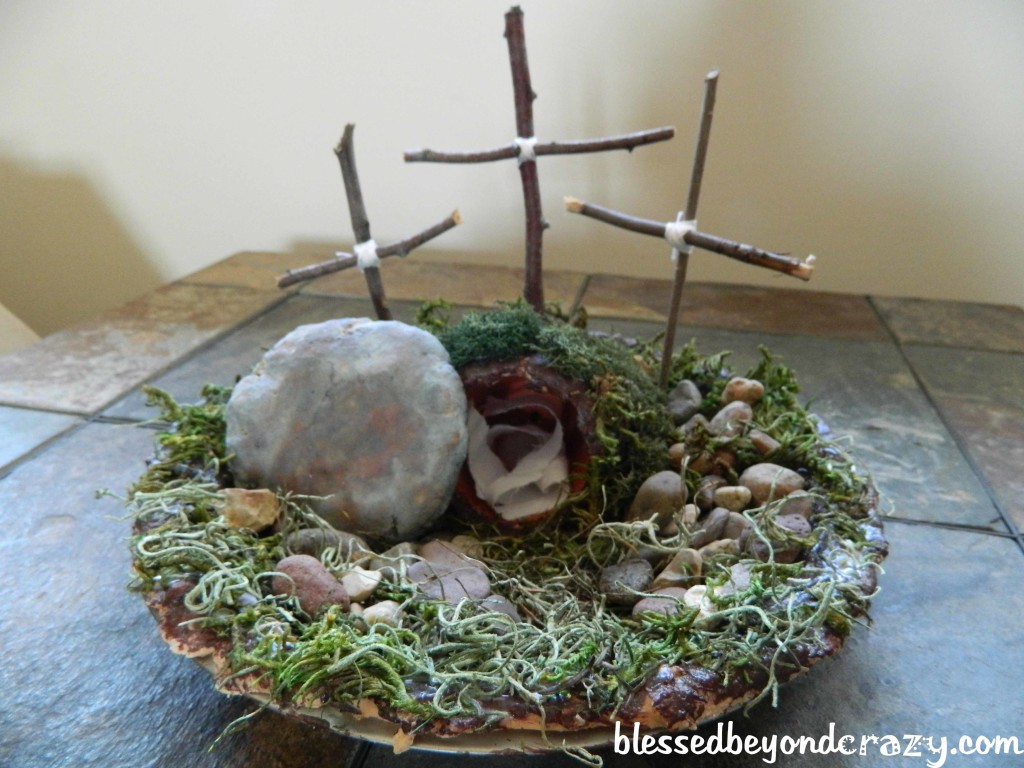
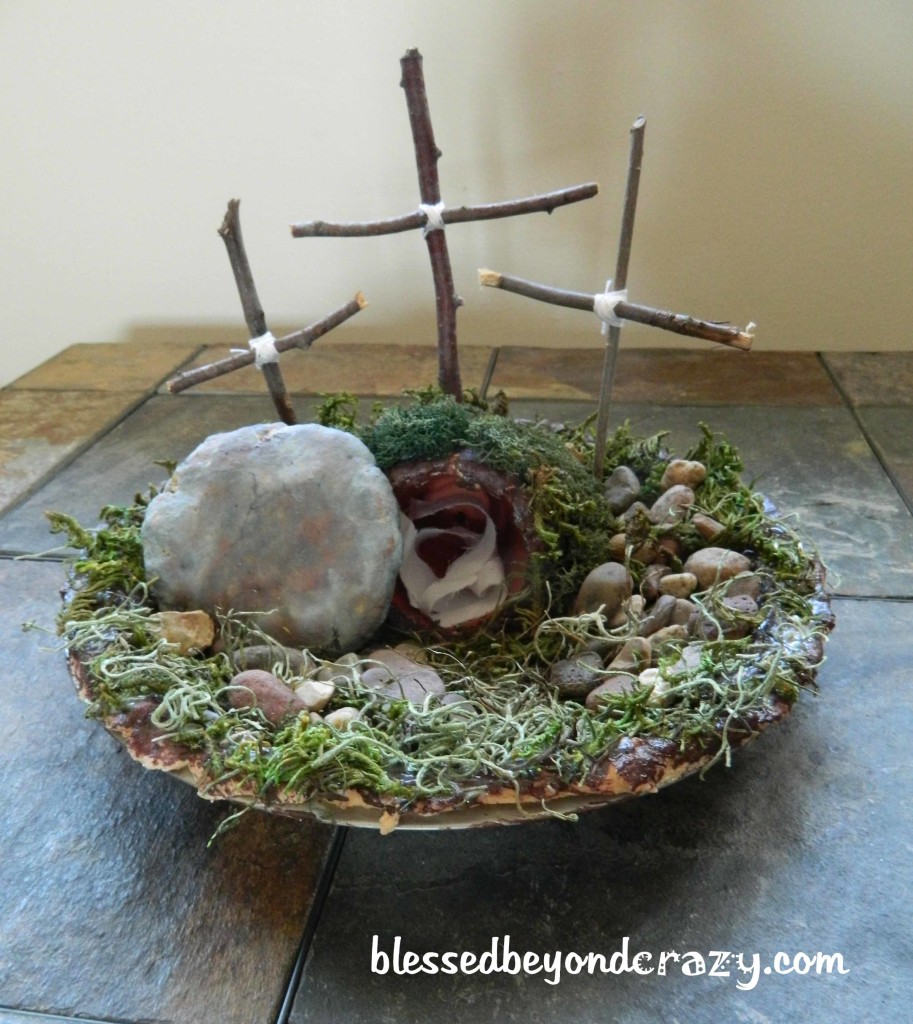
We covered the top of the tomb, behind the tomb and around the crosses, and all around the edge of the pie plate with the different types of fake grass.
Then we strategically placed pea gravel rocks. And by “strategically” I mean wherever my son wanted a rock… so all over. Add your large rock off to the side of the opening of the tomb.
Finally, add your piece of white fabric, or a Kleenex, inside the tomb.
It turned out so well! I was a little bit scared that it would turn into one of those “Nailed It” pictures you see on Pinterest. Haha…those crack me up!
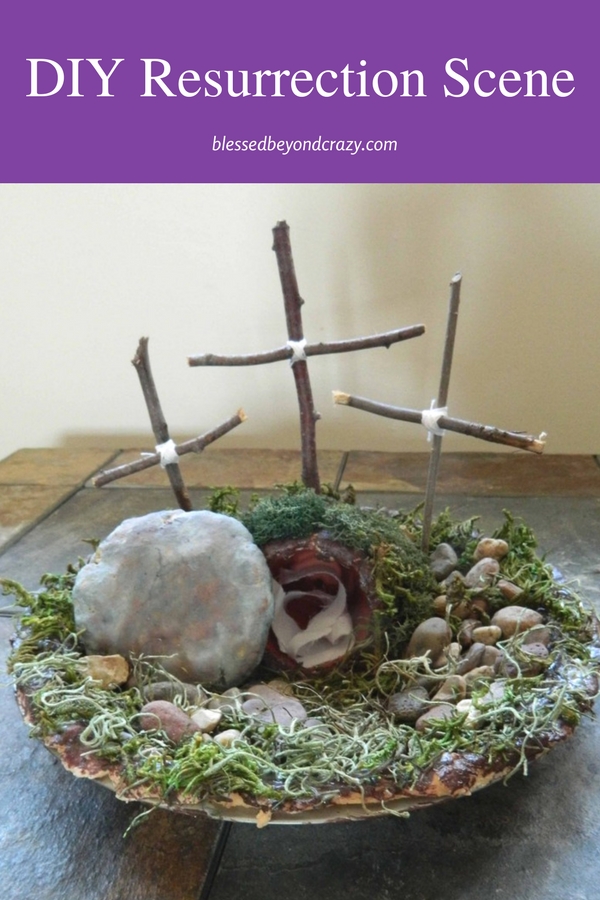
But thankfully, our DIY Resurrection Scene turned out great!
I also want to add that my son and I had some great conversations about this while we were making it. He asked some really important questions and we were able to look into the Bible to answer.
The original scene that sparked this project used real dirt and real grass. I decided not to do that for several reasons:
- I didn’t want to buy an entire bag of grass seed when we would only need a handful…that stuff is expensive
- This one will last for many years, instead of just one
- I’m too impatient to wait for the grass to grow……
I know I went to into a LOT of detail on this DIY Resurrection Scene project, but please don’t be overwhelmed by it! It is really easy and fun to do.
Have you ever made a DIY Resurrection Scene? If so, do you have any recommendations?
Happy Easter!!!
Anna
More great ideas:


Clarissa Garcia says
Hey just had to tell you I love this! I’m twelve yrs old, and made this for my mom for Easter! I usually buy here some chocolate or something, but I didn’t buy anything this year! Instead of a pot I made a bowl from the clay, and we already had some fake grass from our California missions. Plus my grandma was having a garage sale, and was selling some old pie plates! Everything worked out perfectly!
Blessed Beyond Crazy says
Clarissa, this comment makes me so happy! Thank you for sharing! I’m glad it all worked out for you and you enjoyed it! Happy Easter!
J. Hall says
Hello! I just HAD to tell you how much I love your resurrection scene! My grandchildren, ages 8 and 4 have been studying and talking about the resurrection in school for the past few weeks. Our 8-year-old granddaughter, of course, has been studying and learning about the glory of Easter Sunday for several years, but our 4-year-old grandson is just now realizing the magnificence of God’s promise. I have seen several resurrection scenes, but so many of them are quite involved and expensive. Yours is beautiful and perfect for their age. I can’t wait to make this for them. My husband and I are traveling to be with them for an extended Easter weekend. I know those babies (well, I call them my babies) will be overjoyed to have their very own resurrection scene to celebrate!
Blessed Beyond Crazy says
Thank you for sharing this with me! I am so happy that you found this and are sharing this with your grandchildren! I hope you have a wonderful Easter with your family!