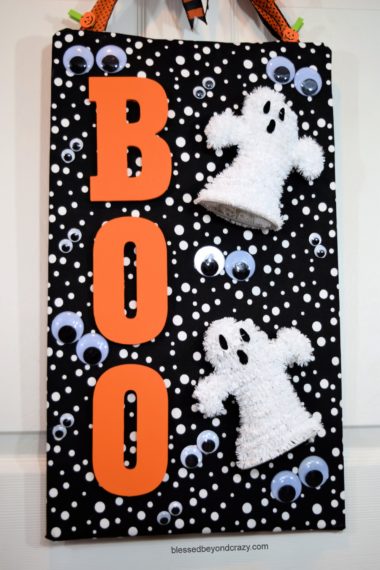
It’s easy to make your own DIY Halloween Ghost Decor. It’s bright, colorful, spooky, yet charming and festive. The perfect addition to any Halloween decor!
This year I decided it was time to make a few new fall decorations to display throughout my home. Instead of making something gory or super scary, I thought it would be fun to make something whimsical and a little different. So without further ado, grab your supplies, glue gun, along with a bunch of glue sticks, and let’s have fun making DIY Halloween Ghost Decor!
To help support our blogging activities, our site contains affiliate links. If you make a purchase from a link on our site, we may receive a small percentage of that sale, at no extra cost to you. Blessed Beyond Crazy is a participant in the Amazon Services LLC Associates Program, an affiliate advertising program designed to provide a means for sites to earn advertising fees by advertising and linking to amazon.com.
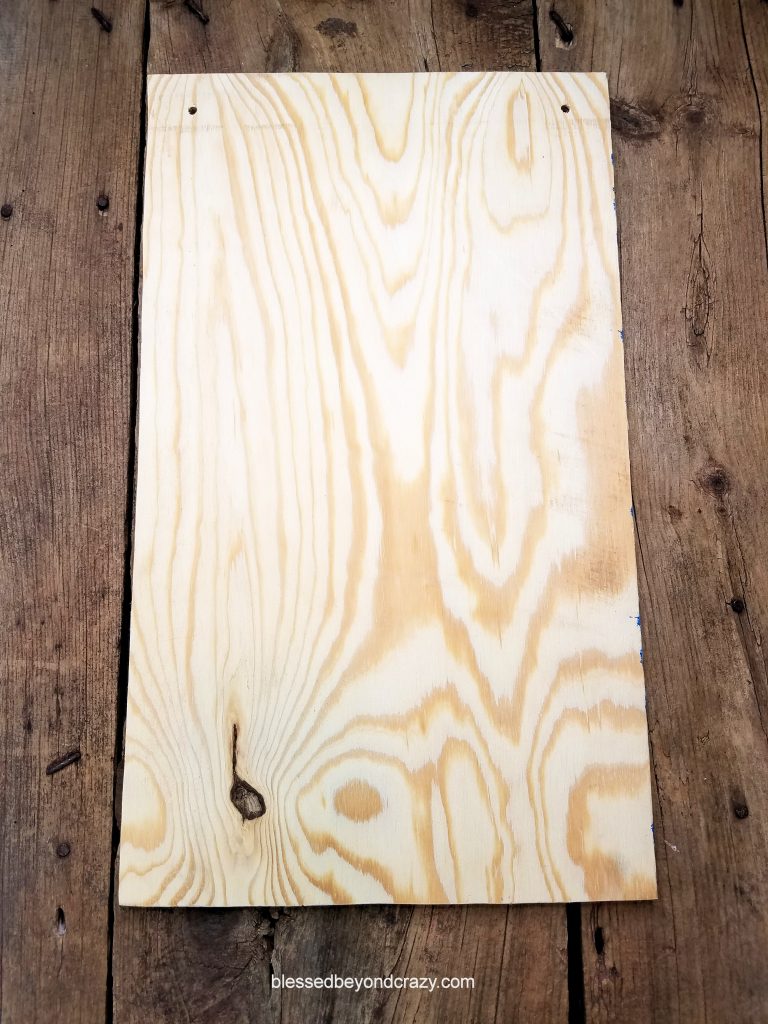
First, this easy DIY craft project begins by cutting a 1/4″ thick piece of plywood that measures 13″ wide x 22″ long. The plywood doesn’t need to be perfect because, in the end, it’s going to be completely covered.
(NOTE: My dad cut this board from a piece of scrap plywood leftover from a previous project. Originally, I asked him to drill two holes at the top corners, however, in the end, I decided not to use them and simply covered them up.)
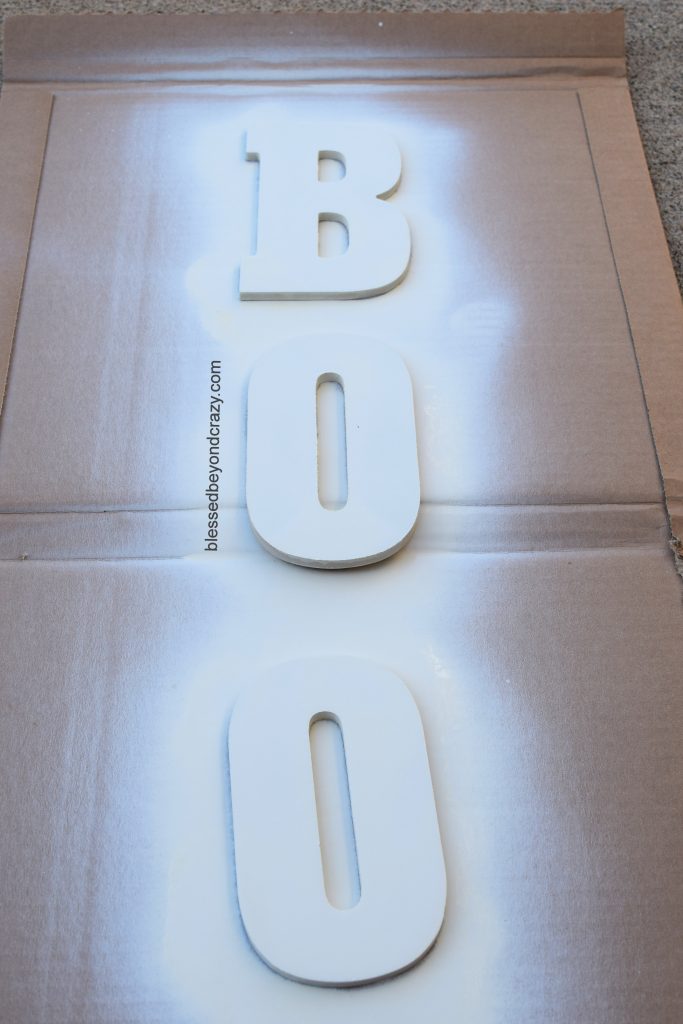
Next, I sprayed paper mache letters, each measuring 3 1/4″ wide x 5 1/2″ long, with a primer spray paint in order to make the orange more vibrant. (You can skip this step if you are rushed for time.)
Watch the video to see how easy it is to make your very own DIY Halloween Ghost Decor!
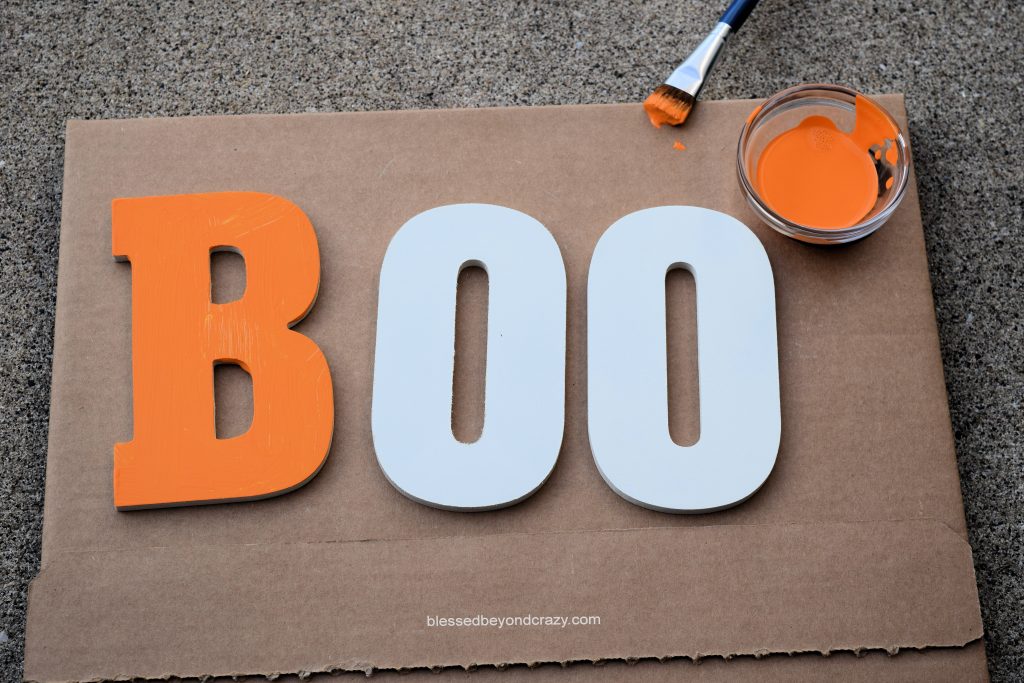 The next step is to give each letter two coats of orange acrylic paint. Be sure to paint all edges and allow the paint to dry completely between coats.
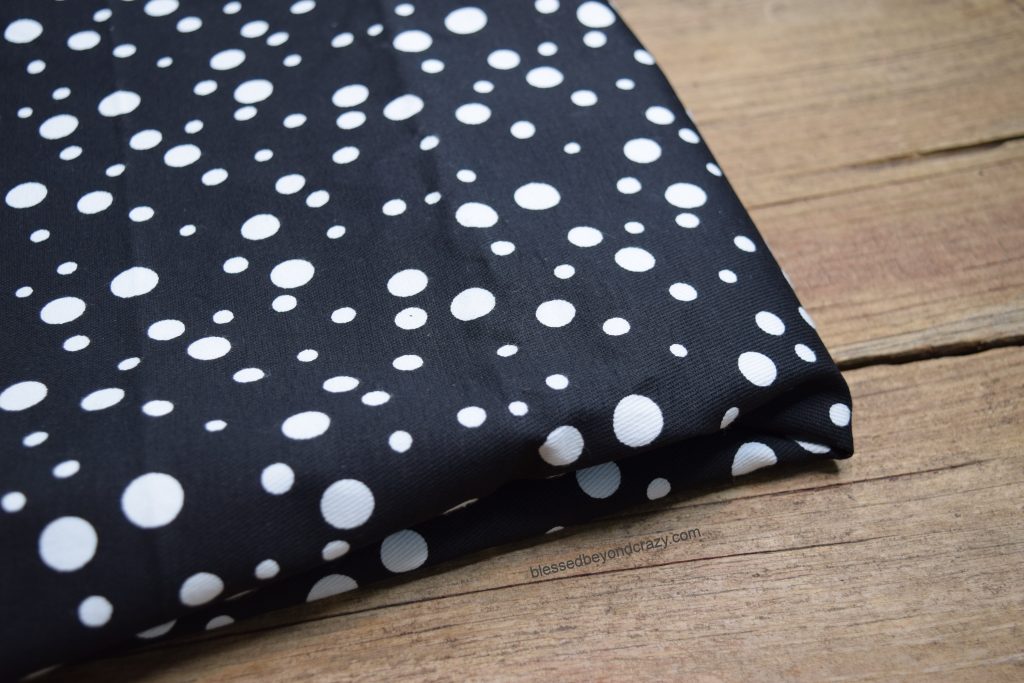
I used a scrap piece of black with white polka dot fabric that measured 30-1/2″ wide x 26-1/2″ long to cover the board. It was perfect for this project because of the solid black background and various sizes of white dots.
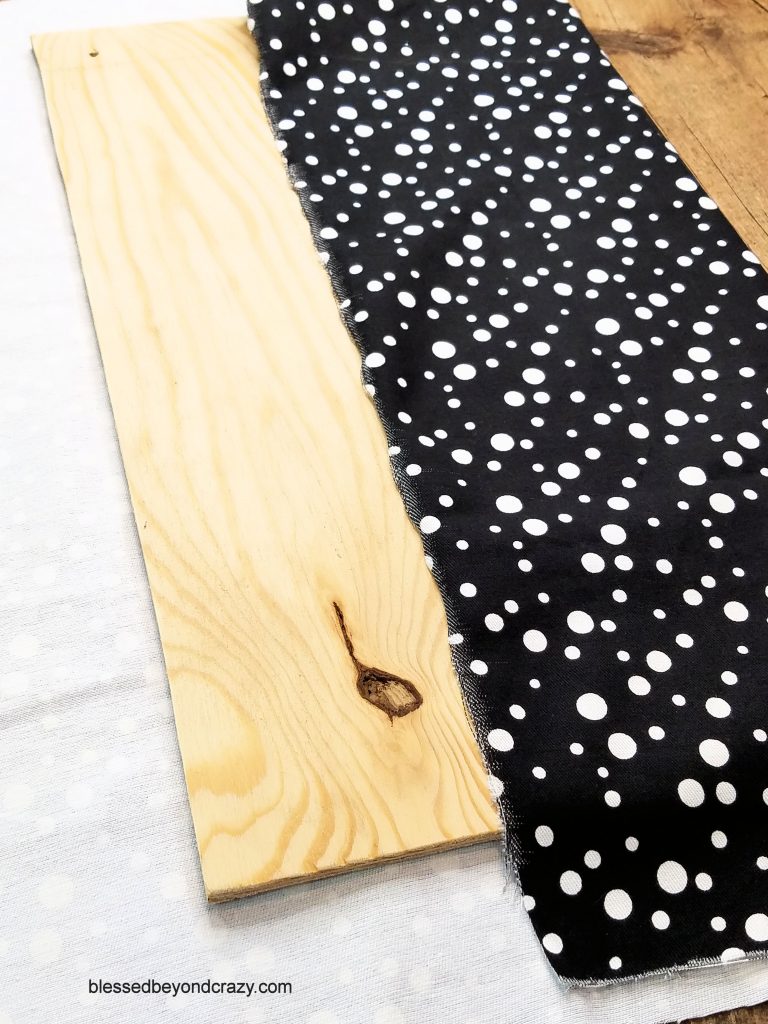
Next, I covered the board with the fabric and hot glued the center seam shut.
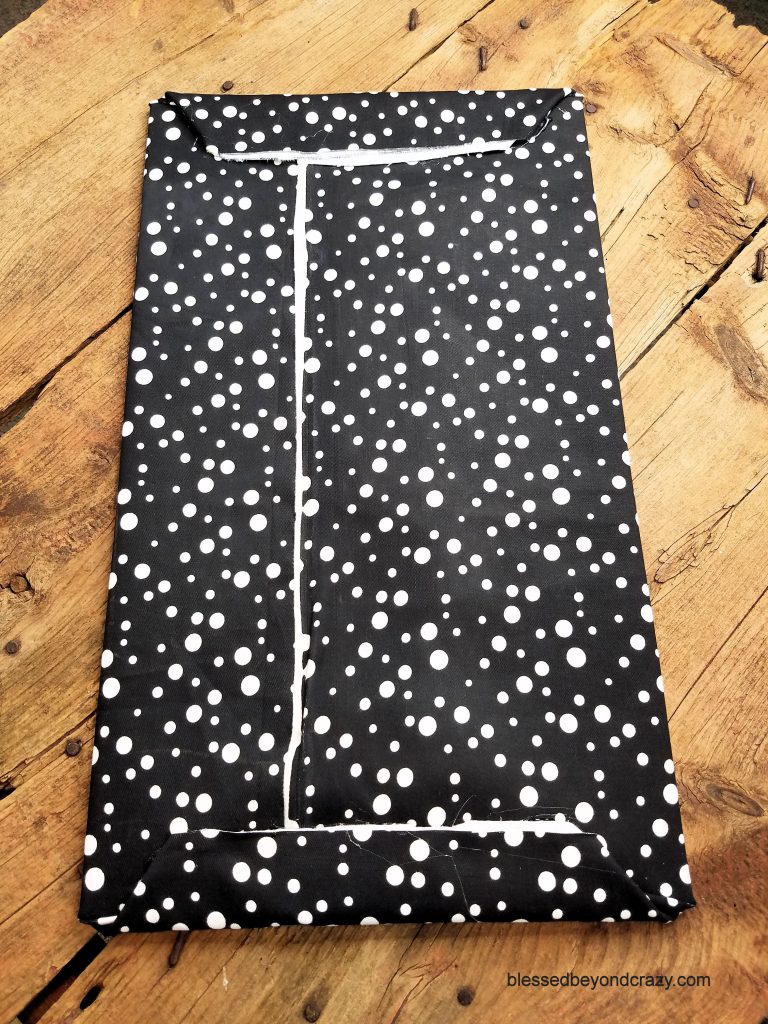
Then I folded the ends over and hot glued each end shut.
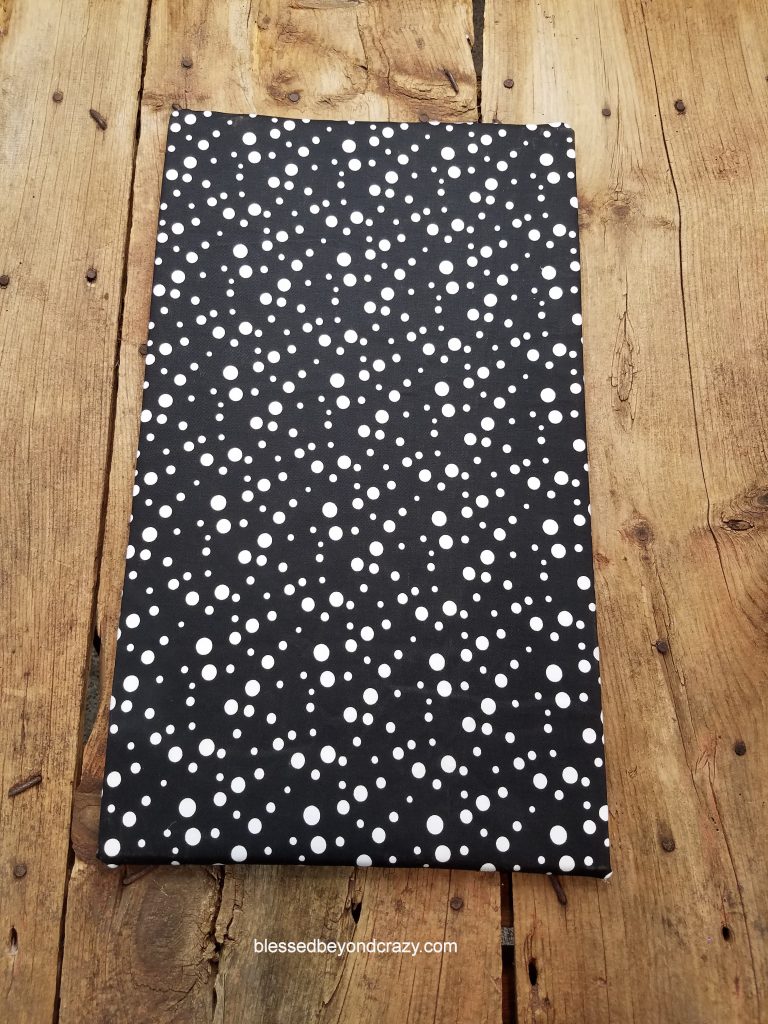
This is what the covered board looks like before adding embellishments.
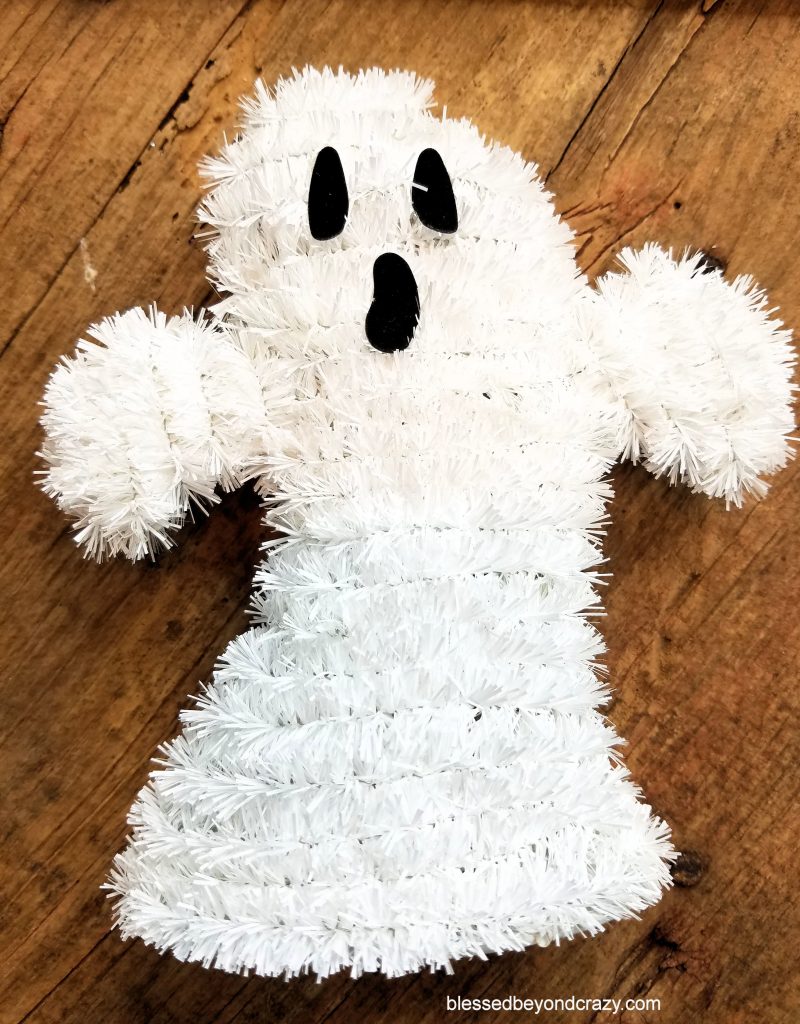
At the craft store, I also found these cute and inexpensive 3D ghosts. They look adorable against the black and white fabric.
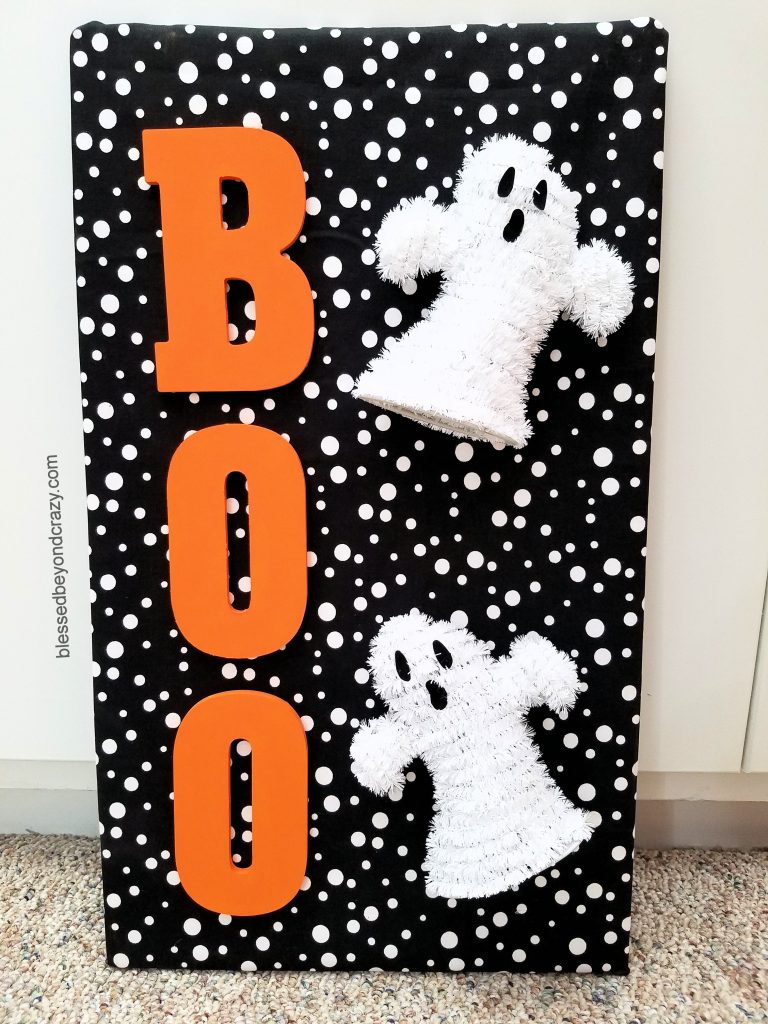
This is what my DIY Halloween Ghost Decor looks like before adding any additional embellishments. It’s cute just as is, however, I took it a step further.
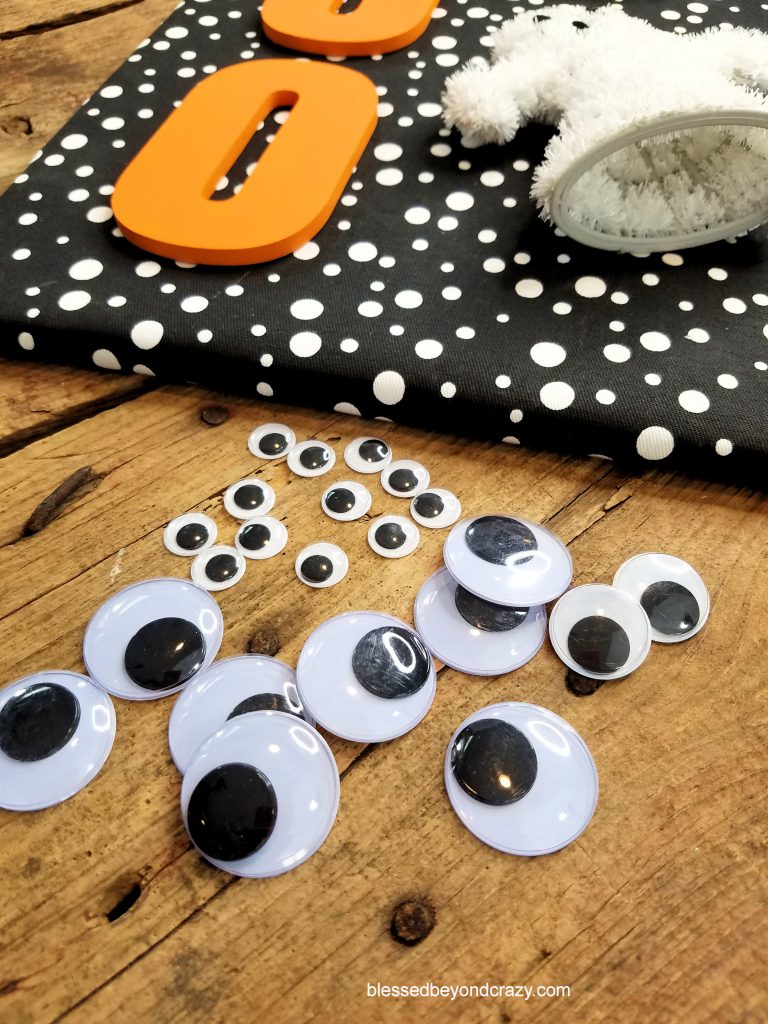
A variety of different sized google eyes hot glued randomly onto the board adds another fun element.
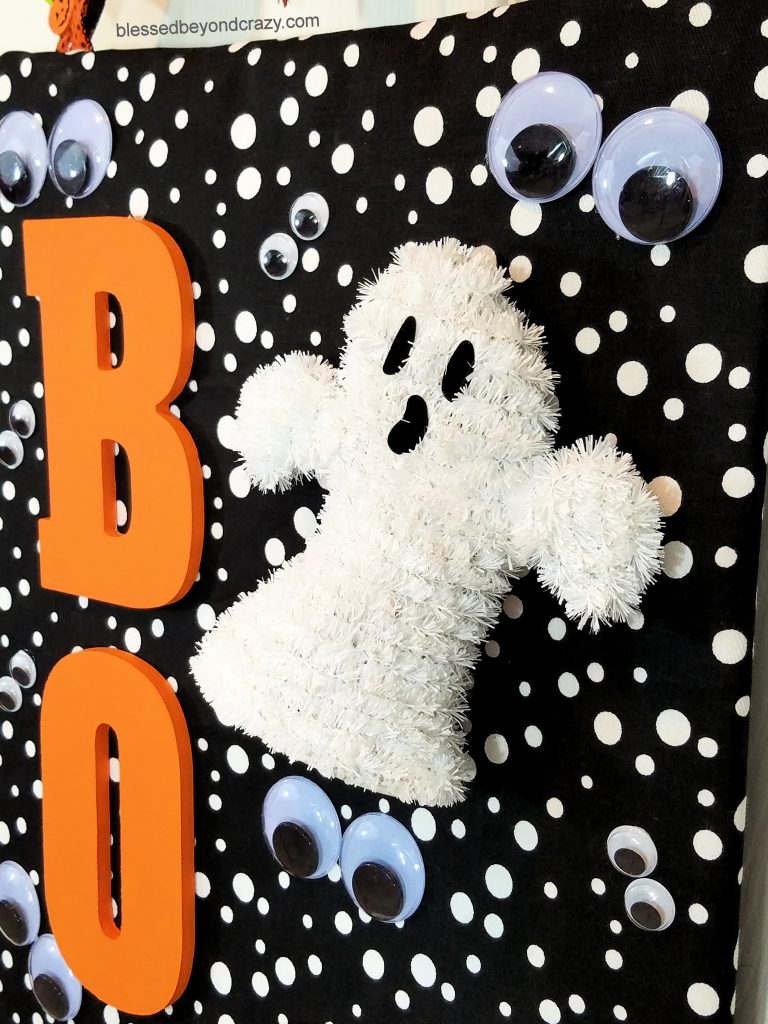
At this point, you may decide that your DIY Halloween Ghost Decor is finished, however, you may decide to add a ribbon and bow in order to hang it up.
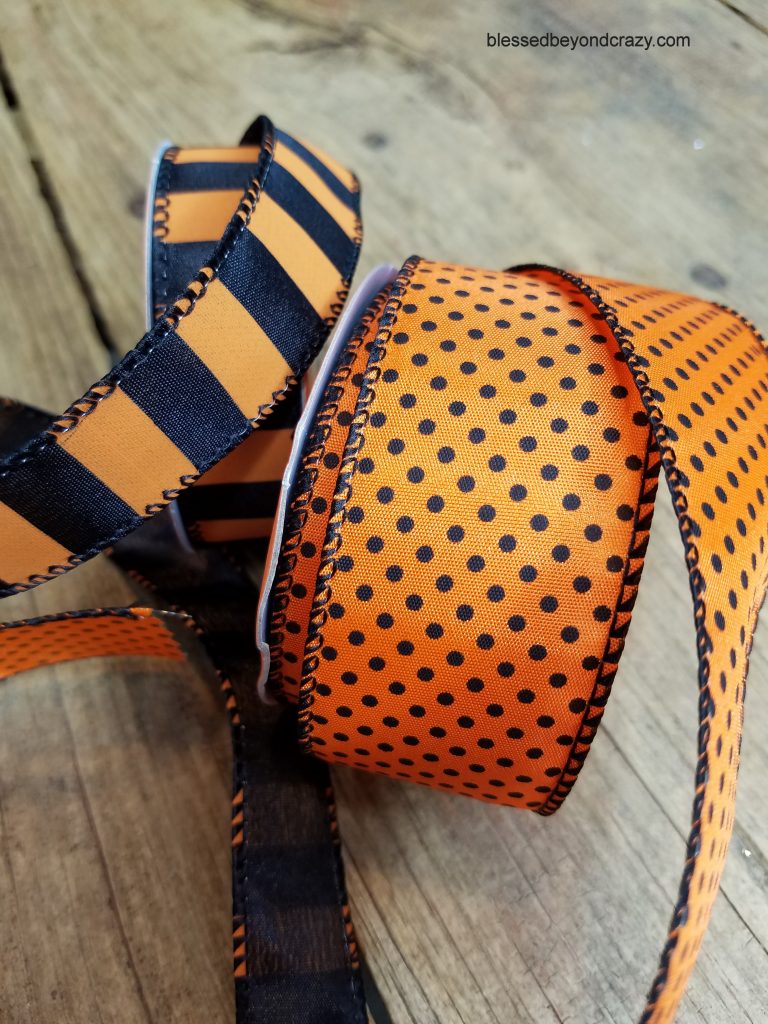
I love the color combination of black and orange and the two different designs of the stripes and polka-dots!
To make a bow I used one roll of wired 7/8-inch x 6 yards of orange and black striped ribbon and one roll of wired 1.5-inch x 6 yards wide
and one roll of orange and black polka dot ribbon. (I really like this combo!)
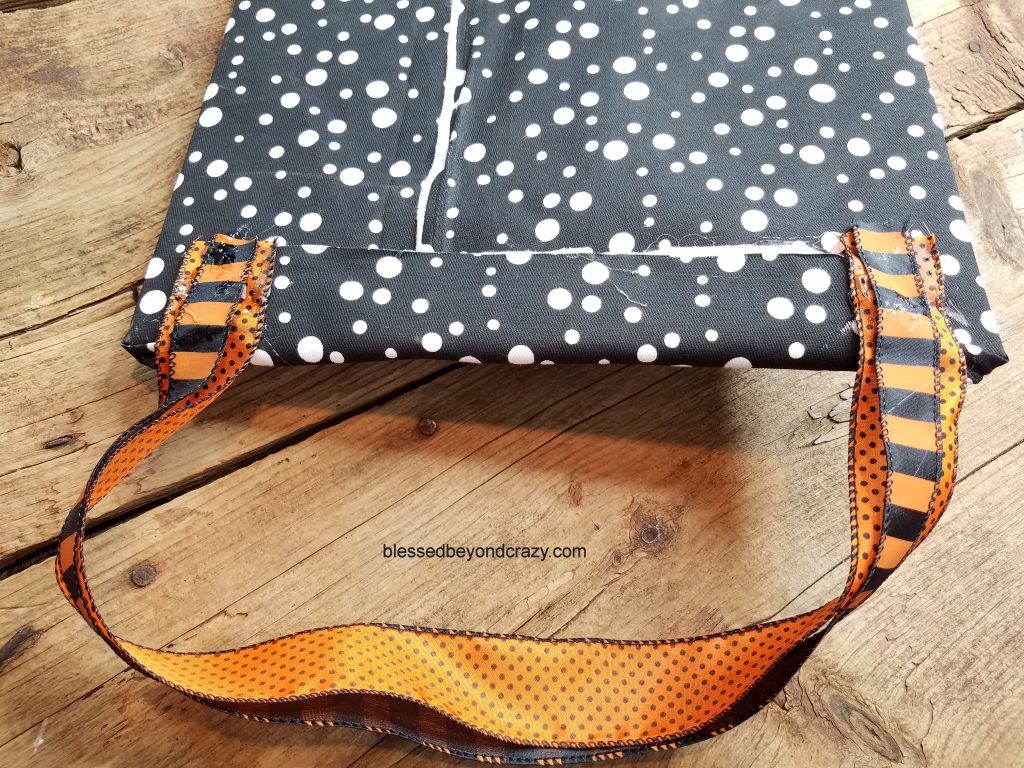
Begin by cutting a 24-inch strip of each striped and polka-dot ribbons. Lay one ribbon on top of the other. Hot glue the ends together then, hot glue each end to the back of the board (as pictured above). Allow the glue to cool and harden while you make the bow.
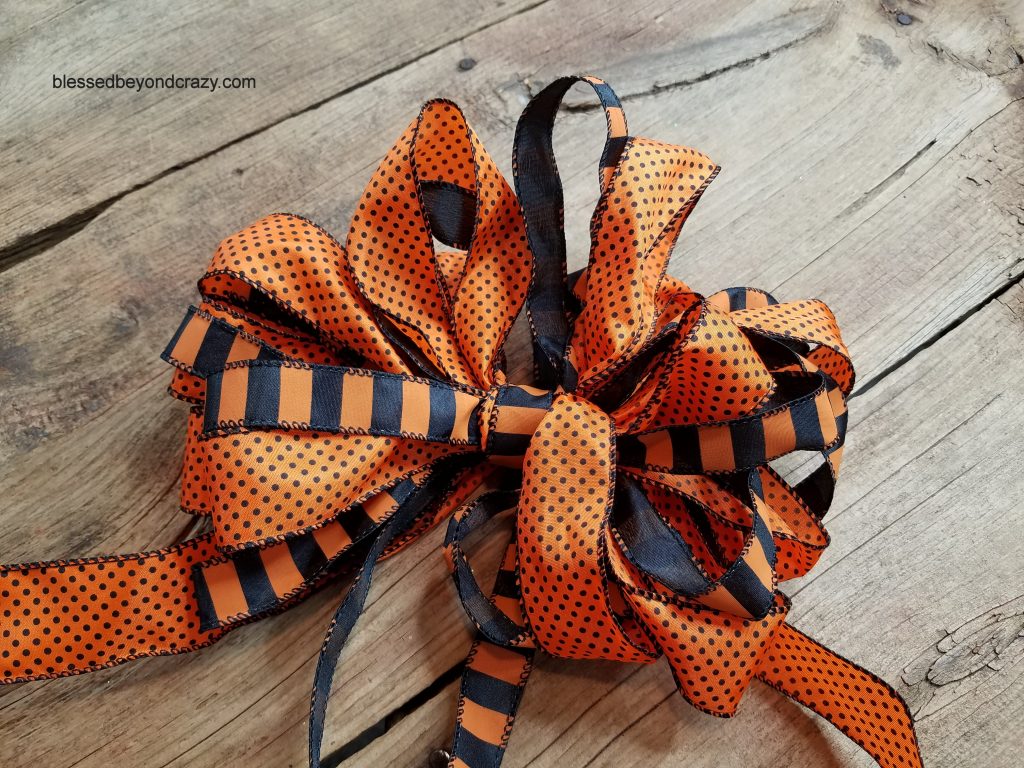
To make the bow, start by finding the center of each ribbon. Next, make a series of loops and stack them upon each other, (while squeezing all of the loops in the center). At the very end, leaving about 8″ to 10″ of ribbon hanging.
When you are finished looping the ribbon, wrap about 4″ of craft wire around the center and twist the wire together in secure it in place. Snip off excess ends of the wire.
Next, wrap one of the ribbons around the middle of the bow and pull the excess ribbon through the loop. This provides a nice finishing touch.
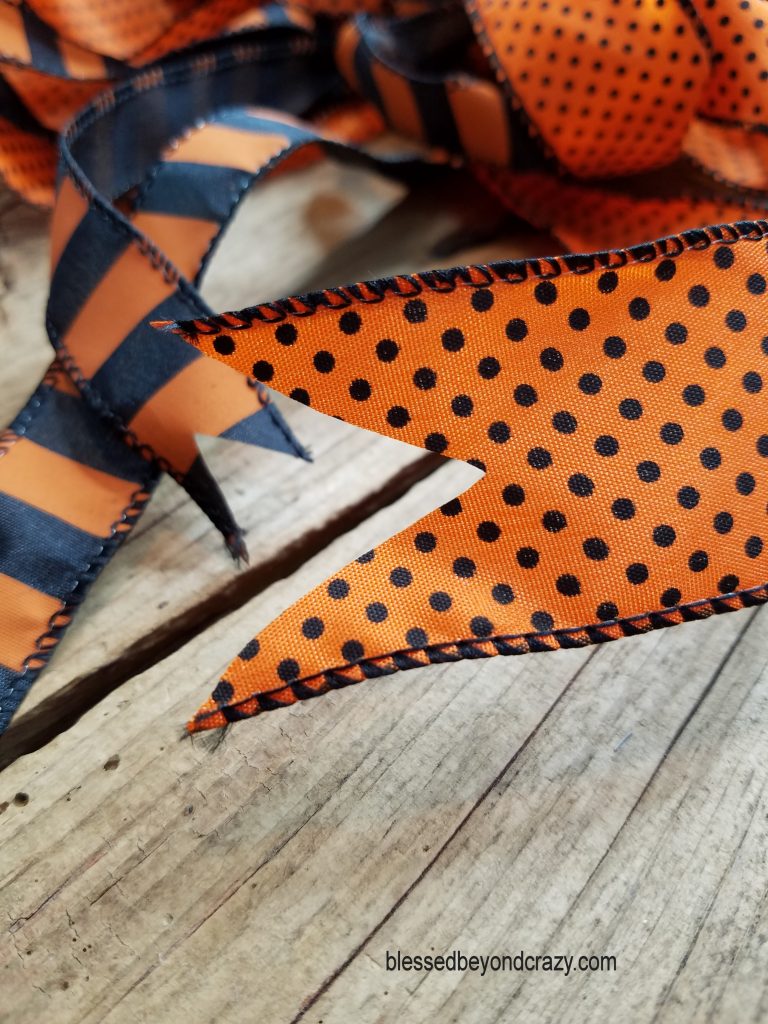
The next step is to cut the ends of the ribbon as pictured above. The final step is to either hot glue or wire the bow to the center of the ribbon.
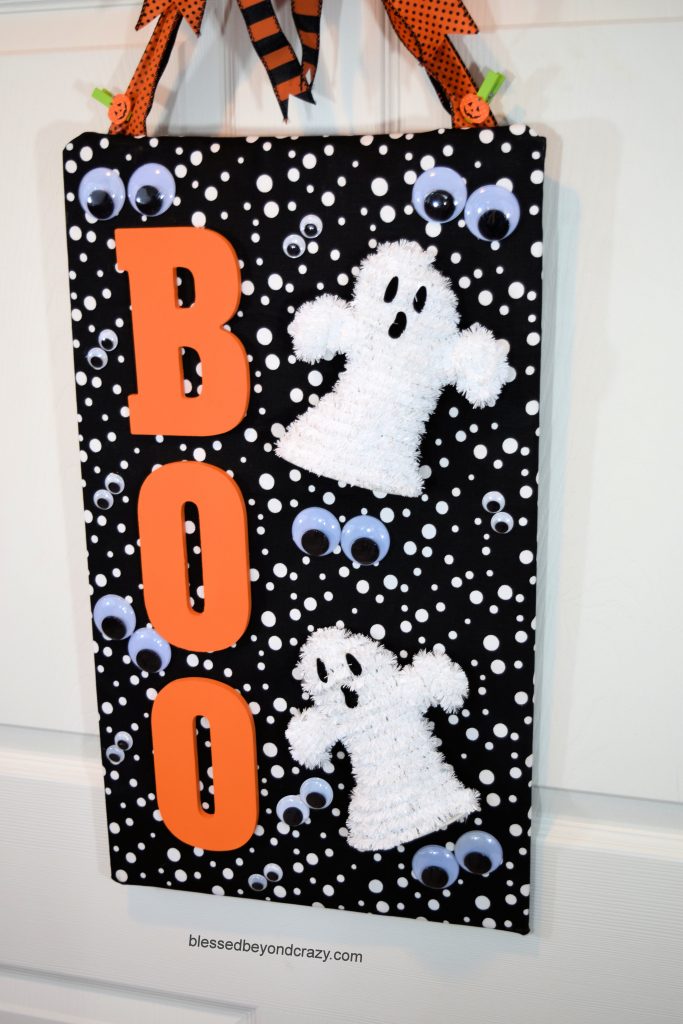
This colorful DIY Halloween Ghost Decor certainly stands out hanging against a white background.
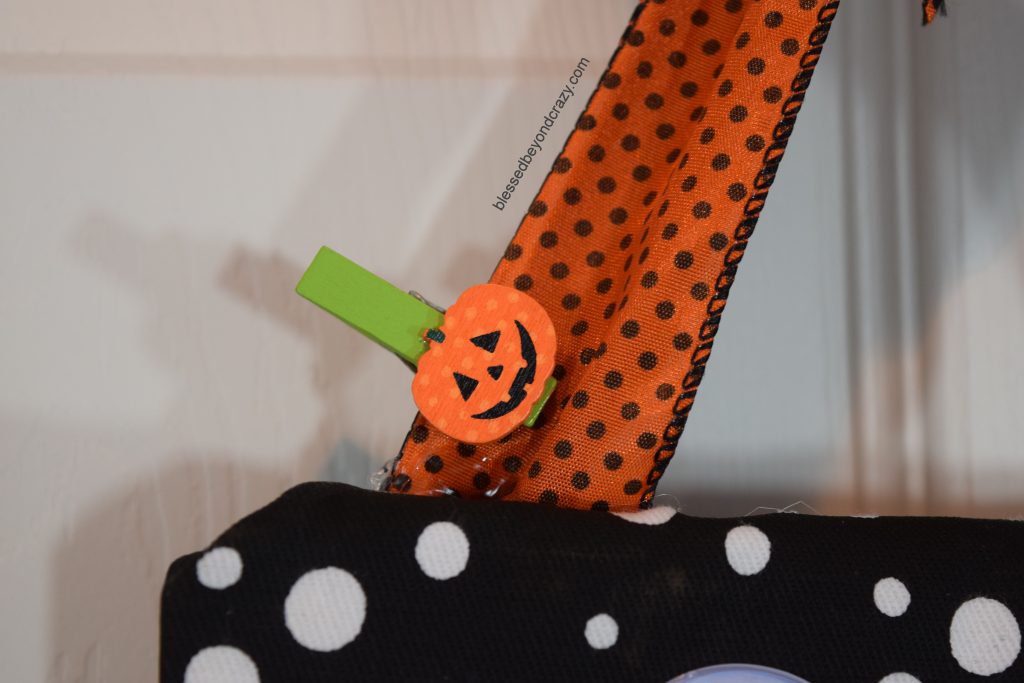
Feel free to add even more embellishments such as cute little teeny tiny mini Halloween clothespins.
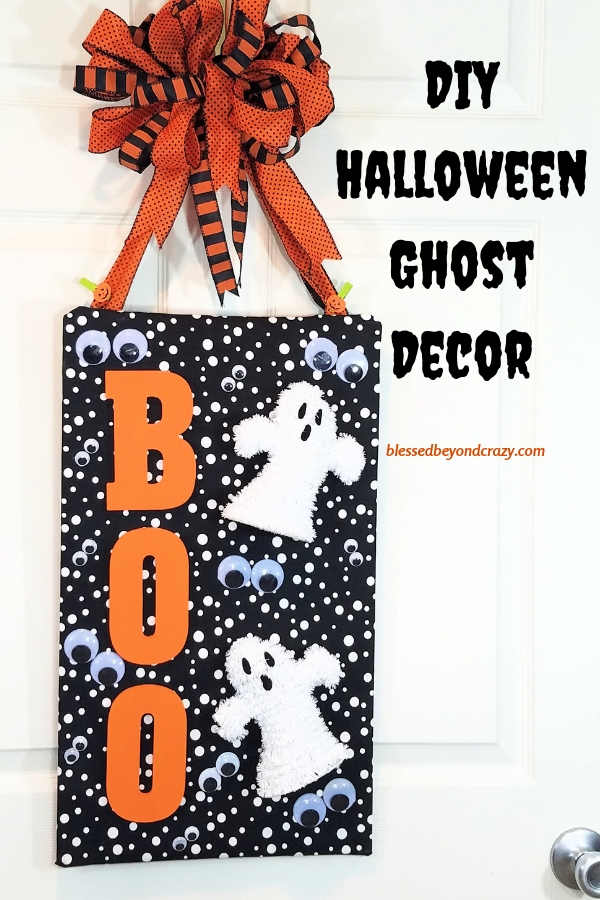
In the end, I think you’ll have fun making your very own DIY Halloween Ghost Decor.
Please remember to pin it! 🙂
BOO!
Linda
More great ideas:
Leave a Reply