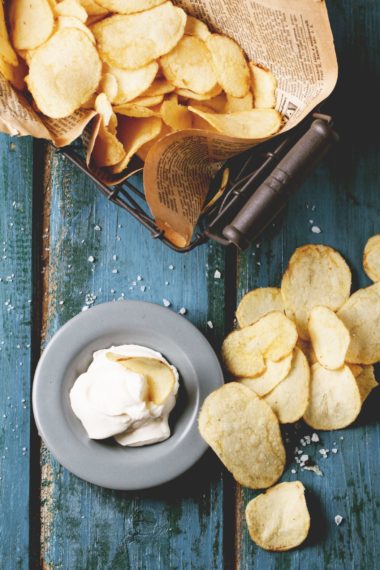
If you have ever eaten fresh, homemade potato chips, you’ll know exactly what I mean when I say they are a very special treat! Store-bought potato chips don’t even begin to compare to homemade potato chips. Plus, you can add your own seasonings and they’re naturally gluten-free.
My mother is such an amazing person and through the years I have learned so much from her. Mom was a Home Economics teacher for nearly 22 years. Therefore I grew up learning how to cook, sew, garden, do housework, crochet, cross-stitch, and much, much more!
To help support our blogging activities, our site contains affiliate links. If you make a purchase from a link on our site, we may receive a small percentage of that sale, at no extra cost to you. Blessed Beyond Crazy is a participant in the Amazon Services LLC Associates Program, an affiliate advertising program designed to provide a means for sites to earn advertising fees by advertising and linking to amazon.com.
I don’t remember her ever buying potatoes from the store because we grew our own in the garden and stored them in our cellar.
Mom used a special garden spade when it was time to harvest the potatoes. Believe it or not, there is actually a trick to digging potatoes. The idea is to dig down next to the potato plant and gently lift up the dirt which encompasses the potato plant. Once in a while, the spade would accidentally cut into a potato or two and therefore we had to use those potatoes within a few days or they would start to spoil. When this happened, it usually meant we made a big batch of mashed potatoes or yummy homemade potato chips!
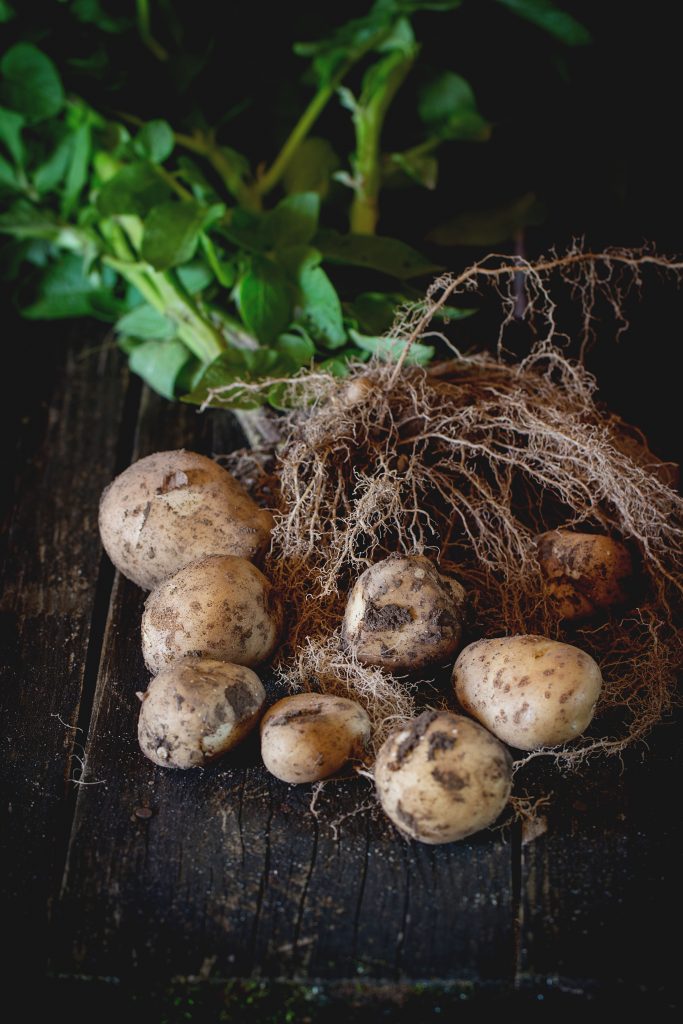
The picture above shows a young potato plant with potatoes, roots, stems, and leaves. Normally we allowed the potato leaves and stems to dry completely before harvesting the potatoes. This allowed the potatoes to fully mature and grow to maximum size. Usually digging up the plant too early meant that the potatoes would still be green, and you do not want to eat a green potato! Yuck!
So now that I have given you a bit of background, let’s move on to making delicious homemade potato chips, shall we???
The first step is to rinse and gently scrub your potatoes with a vegetable brush in order to remove any traces of dirt. Keep rinsing and scrubbing until all signs of dirt are gone.
Step two is to slice the potatoes to 1/8-inch thickness, or thinner (the thinner the better!) Feel free to use any type of vegetable slicer you have available, however, I use a Cymas Vegetable Slicer to cut mine. It works perfectly and I can easily control how thick I want the slices to be. Note: the thicker the slices, the longer you’ll need to cook them and vice versa. The thinner the slices, the crispier the chip, and less cooking time will be required.
Place the sliced potatoes into a bowl of cold water to release the starch and prevent them from turning brown. Drain and repeat until the rinse water is clear. Drain one last time, then blot dry with paper towels.
At this point, you can go ahead and fry the potato slices (which will result in darker colored chips). If you like your chips extra crispy and a lighter color, return them back to the bowl and cover with 2/3 cup distilled white vinegar and 8 cups water. Allow the potatoes to soak for approximately 30 minutes (you can soak them up to two hours) then drain and blot dry with paper towels.
In a heavy pan or Dutch oven, heat one-quart oil to around 350 degrees F (you can use a thermometer to check the temp). Mom always used regular vegetable oil, but feel free to use olive, safflower, corn, peanut, or canola oil. Fry potato slices in small batches. Lower the first batch into the hot oil using a slotted metal spoon. Fry potatoes, turning occasionally, until golden brown and crispy, about 5 minutes per batch. (Longer if chips are thicker than 1/8-inch thick). Transfer chips to a paper towel-lined wire rack and immediately sprinkle with salt and/or seasonings. (The salt will stick to the chips better if you add it while they’re still hot.) Allow the oil to reheat to 350 degrees F and repeat frying the remaining potatoes, one batch at a time. Serve plain or with your favorite chip dip!
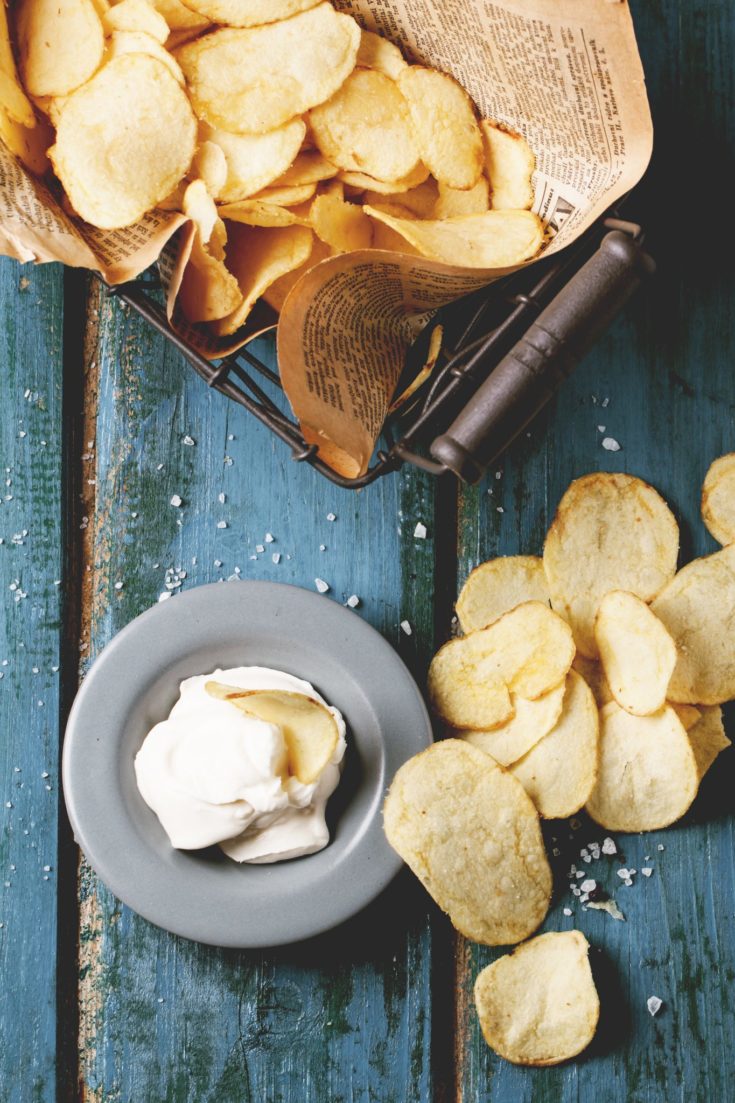
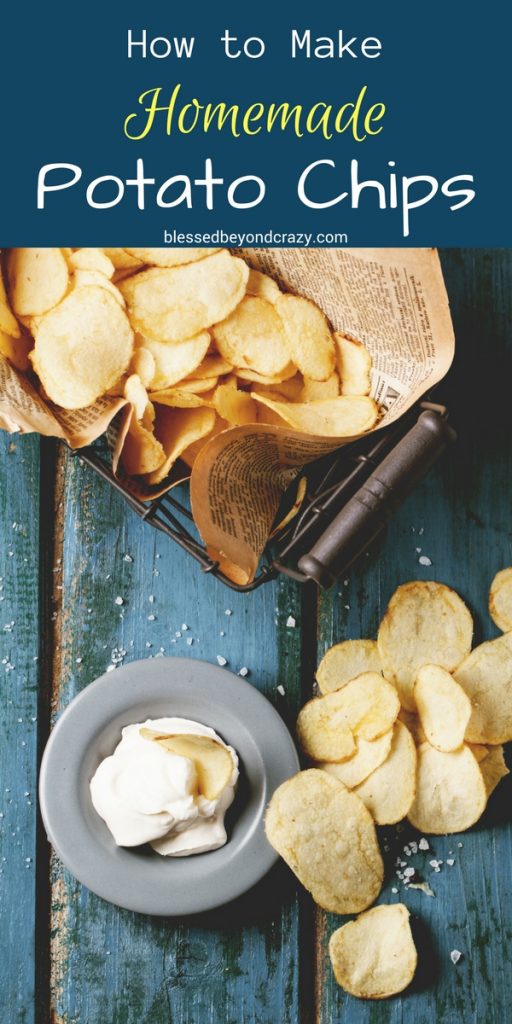
How to Make Homemade Potato Chips
A delicious homemade snack that everyone will love!
Ingredients
- 5 to 6 medium russet or Yukon gold potatoes, peeled and sliced to approx. 1/8-inch thickness.
- 1 quart oil
- Salt and/or seasonings to taste
- Optional: 2/3 distilled white vinegar (see note)
Instructions
- Rinse and gently scrub potatoes with a vegetable brush, removing any traces of dirt. Keep rinsing and scrubbing until all signs of dirt are gone.
- Slice the potatoes to 1/8-inch thickness, or thinner. (The thinner the better.)
- Place the sliced potatoes into a bowl of cold water. Drain and repeat until the rinse water is clear.
- Blot sliced potatoes dry with paper towels.
- Note: to make your chips extra crispy and a lighter color, return them back to the bowl and cover with 2/3 cup distilled white vinegar and 8 cups water. Allow the potatoes to soak for approximately 30 minutes (you can soak them up to two hours) then drain and blot dry with paper towels.
- In a heavy pan, heat oil to 350 degrees F.
- Fry potatoes in several small batches. Lower each batch into the hot oil using a slotted metal spoon.
- Fry potatoes, turning occasionally, until golden brown and crispy, about 5 minutes per batch.
- Transfer chips to a paper towel-lined wire rack and immediately sprinkle with salt and/or seasonings.
- Allow the oil to reheat to 350 degrees F and repeat frying the remaining potatoes, one batch at a time.
- Serve plain or with your favorite chip dip.
Notes
Prep time will be longer if you use the vinegar solution method. Cook time will be longer if you use thicker slices of potatoes or if you use a larger quantity. Decrease cooking time if potato slices are thinner than 1/8-inch thick.
I hope that you enjoy these homemade potato chips as much as we do!
Enjoy!
Linda
More great ideas:



Gilberto Hicks says
How about a baked potato chips recipe? That is if u have it. Thank u.May ur day be blessed and wonderful
Blessed Beyond Crazy says
Hi, Gilberto!
Sorry, at this time we do not have a baked potato chip recipe. Perhaps we’ll work on that soon.
Have a great day!
Linda
Denise Browning says
Definitely I must try recipe. Love how simple is to prepare them at home without all those preservatives.
Blessed Beyond Crazy says
Hi, Denise!
Yes, these are so good and easy to prepare.
Just remember, the thinner the potato slice, the crispier the chip and the less cooking time needed.
Have fun and enjoy!
Linda
Noelle Saltzman says
These homemade potatoes chips look amazing. I can’t wait to try making then. I love the pictures!!

Blessed Beyond Crazy says
Hi, Noelle!
I hope you enjoy these as much as my family does. They are absolutely addictive!
Enjoy!
Linda