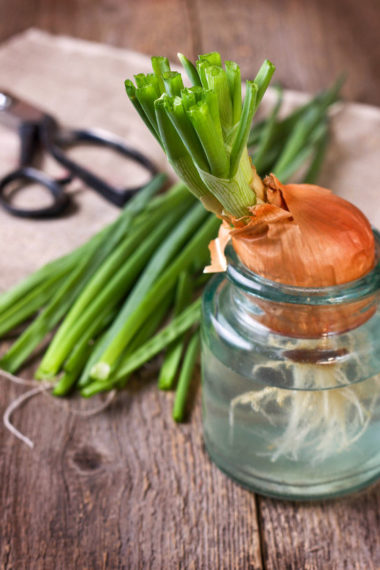
Organic Onions
My mother will soon be turning 84. She has always been an avid gardener and was formerly a Home Economic teacher for nearly 23 years. Although she does not claim to be a gardening expert, I personally consider her to be. Throughout my childhood, and much of my adulthood, my mother didn’t have just one garden, she had three! At the time, I didn’t fully appreciate all of those wonderfully delicious organic fruits and vegetables that we raised and harvested each year. Now that I am older, I realize that we could not have possibly eaten healthier. Even now, my parents still plant a garden every spring.
Since I have such an amazing teacher and reference, I thought it would be fun, and perhaps helpful, to share some of my mother’s secrets to organic gardening.
To help support our blogging activities, our site contains affiliate links. If you make a purchase from a link on our site, we may receive a small percentage of that sale, at no extra cost to you. Blessed Beyond Crazy is a participant in the Amazon Services LLC Associates Program, an affiliate advertising program designed to provide a means for sites to earn advertising fees by advertising and linking to amazon.com.
If you are a beginning gardener I suggest that you start with a few basic vegetables. Consider planting onions, potatoes, tomatoes, green beans, leaf lettuce, spinach, zucchini, and sweet corn – since these are some of the easiest vegetables to grow.
In today’s post, let’s concentrate on onions. Onions are a hearty, cold-season crop. They are high in vitamin C (along with other key nutrients), a good source of fiber, are sodium, fat, and cholesterol-free, and are only 30 calories per serving (a serving is considered 1/2 cup chopped, cooked, and drained). Onions add abundant flavor to a wide variety of food and if you know how to properly store them, you can have them at your fingertips practically year-round.
If you do a little research on onions, you will find that there are over 300 species worldwide. Four of the most common are:
Yellow Onions are considered to be an all-purpose onion due to their nice balance of flavor. Yellow onions become sweeter the longer they cook, making them perfect for use in casseroles or with a roast.
White Onions have a little sharper flavor than yellow onions and tend to be more tender. They are great in salsas and chutneys.
Sweet Onion – sweet onions (such as Vidalia) are, of course, a little sweeter onion. They are perfect in salads, salad dressings or on top of sandwiches.
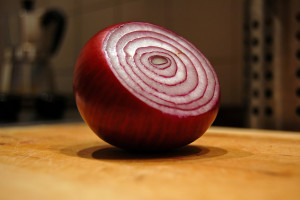
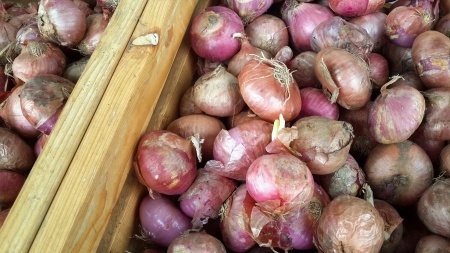
Red Onions are mild in flavor and because of their pretty color, they are used most often in salads, salsas, and other raw preparations.
The onion is a biennial plant, which means that it grows one year and produces its seeds the second. Between these two seasons, there is a dormant phase and this is where you, the gardener come in.
In the spring, first-year onion bulbs begin growing by developing top “shoots.” When the weather gets warmer, the bulb stops sending out new top shoots. Instead, they take the energy from the shoots and store it in the expanding bottom onion bulbs. Eventually, the shoots fall over, shrivel up and the plants appear dormant. However, inside the bulbs, the plants are storing the energy to send out flowering seed stalks when they start growing again. As with anything in nature, in order to keep its species alive, the plant will reproduce by forming flowers, then seeds.
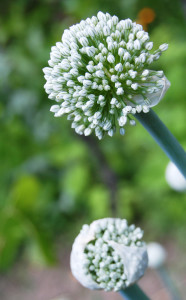
Onions are best for eating, cooking, and storing before they’ve started to put their energy into making seeds. That’s why you should harvest them after just one season and pick off any seed pods as soon as they appear. When an onion plant prematurely sends out a flower stalk, it’s referred to as “bolting.” Onion bolting occurs when the plant is under stress. The plant’s genetically coded response is to reproduce as quickly as possible and that means flowering! Click for more information on bolting.
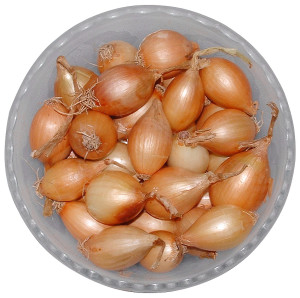
When planting onions, the easiest way is to plant small onion bulbs, (also known as onion sets). By planting bulbs, you will have a higher growing success rate versus planting onion seeds or transplants. The bulbs should be firm for their size, have little to no scent, no cuts, bruises, or blemishes.
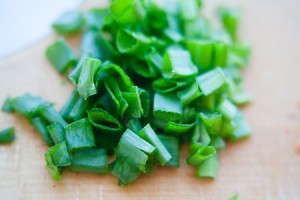
When planting scallions (also known as green onions), plant the sets closer together and harvest the immature plants. Scallions do not have fully developed root bulbs, therefore they have a milder taste than most onions. The tops of green onions can substitute for chives in many recipes.
Several months before planting, it’s a good idea to fertilize your garden with aged manure, compost or garden fertilizer.
It’s good to fertilize in the fall after your garden is done for the season. It allows time for the nutrients to sink into the soil, which helps your garden to be ready in the spring. My mother fertilized our gardens with chicken manure from the barnyard chickens we raised.
Onions like full sun, so plant the bulbs where they won’t be shaded by other plants. Depending on what part of the country you live in, plant onions as soon as the ground can be tilled (late March or April in the mid-west).
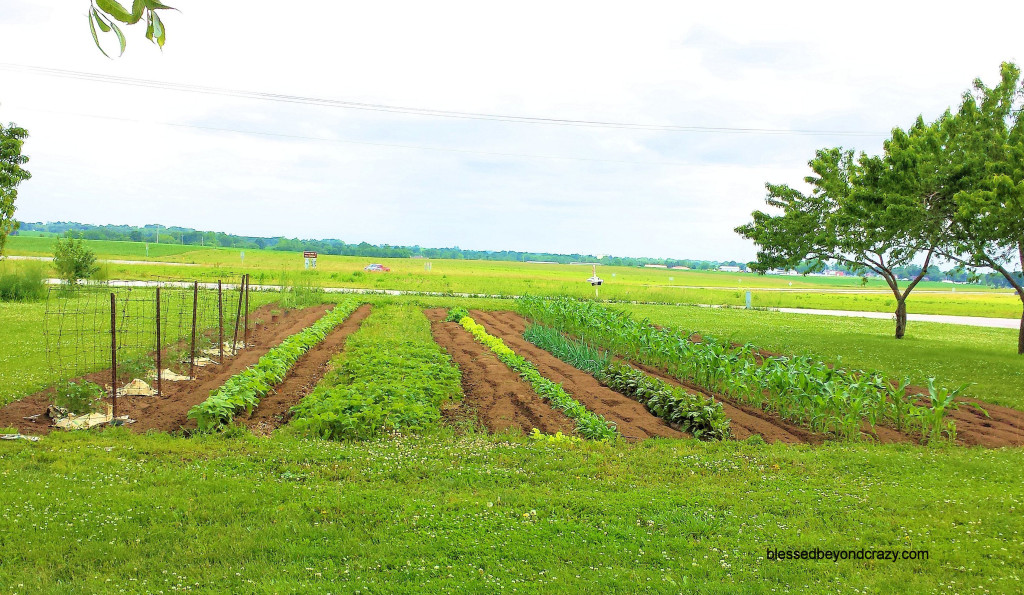
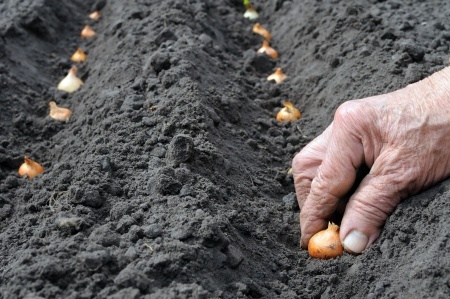
When planting your bulbs, be sure to plant the root side downward in the soil and the sprouting side upward. If you plant them upside-down, they will not grow. Don’t bury them more than 1 inch under the soil. Onions grow well between raised rows of dirt that are at least 4 inches high. Don’t crowd your onion sets. Your onions will grow larger if you plant the sets 4 – 5 inches apart in a row. (See the picture above).
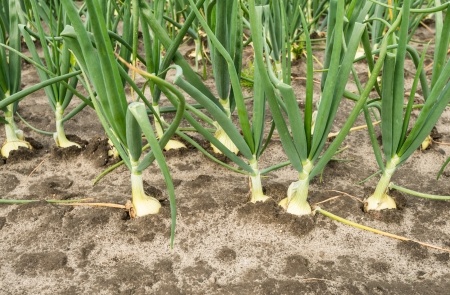
Onions will also become bigger in size if you side-dress with fertilizer and nitrogen every few weeks. (*To side-dress means that you do not apply fertilizer directly on the plant, rather you apply it to the soil next to the plant. Placing fertilizer directly on the plant may stunt its growth or burn the plant and kill it). Stop fertilizing when the onions push the soil away and you start to see the onion bulb push out of the soil. Do not put the soil back around the onions because the bulbs need to emerge above the soil.
Onions thrive with approximately one inch of water per week (including rainwater) and will look healthy even if they are bone dry so be sure to water the plants during drought conditions.
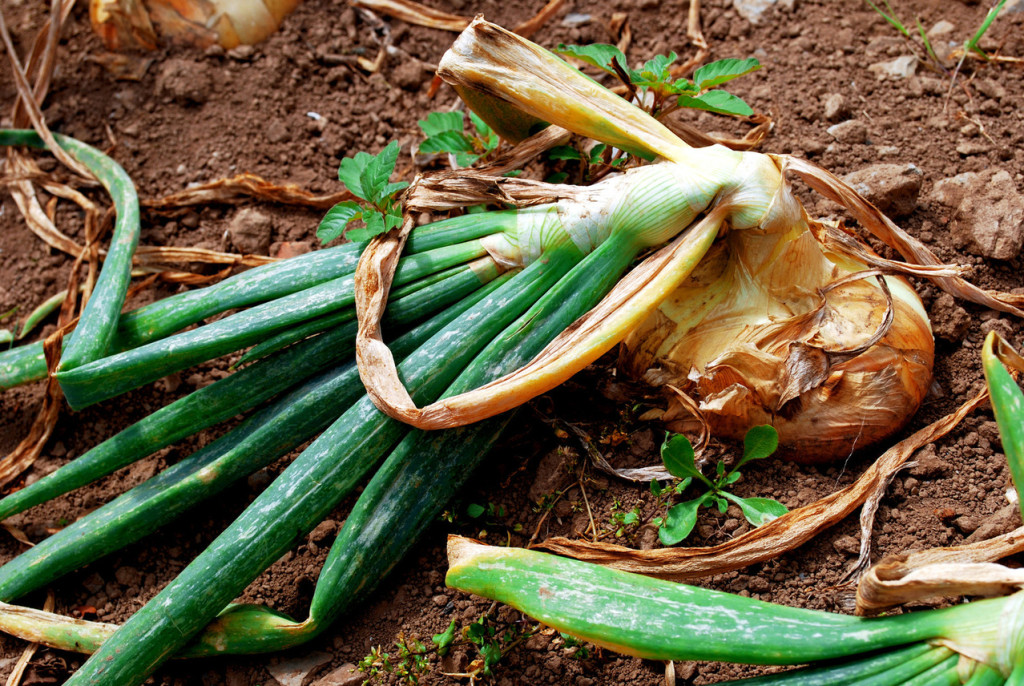
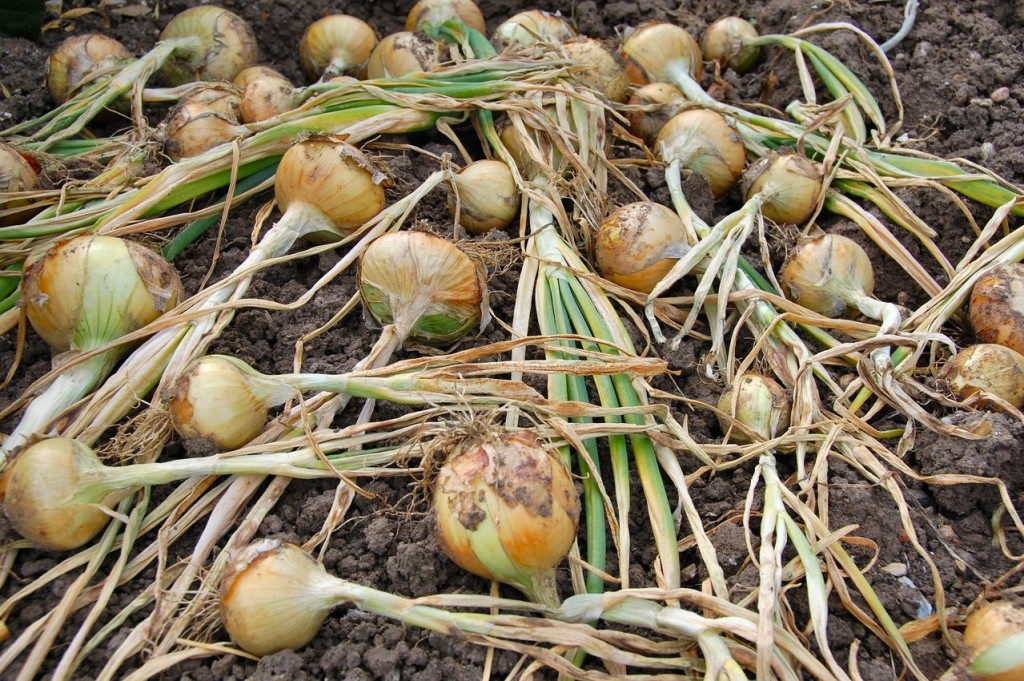
When the onions are mature their tops become yellow and begin to fall over. As the tops dry, they start to turn brown. At this point, gently pull the onions and allow them to finish drying on a clean, dry surface out of hot sunlight. (*We scattered our onions out onto our concrete sidewalk to dry, or if the weather didn’t permit, on large pieces of cardboard to finish drying inside).
Be careful not to bruise the onions when handling them. Any cuts or bruising will make the onion prone to rot and/or mold. If you notice a cut or bruise, use that onion within a few days, or chop it up and freeze in an air-tight container or zip-lock freezer bags. These frozen onions come in handy and are perfect for use in soups, sauces, and casseroles.
Allow onions to dry before you store them in a root cellar or any other storage area. (*We always left the dried tops of our onions. Mom would take a piece of gardening twine and tied 3 -4 dried onion stalks together. She would then hang each onion bundle on a nail in our root cellar for the winter. We had a section of the cellar just for hanging onions. Whenever we needed an onion, we just went down to the root cellar and took what we needed. We would routinely check each onion bundle to make sure there were no rotting onions. If we found one, we would carefully remove it from the bundle and discarded it before it caused the other onions to start rotting too.) Store at 32 to 40 degrees F. Mature, dry-skinned bulbs like it cool and dry, so don’t store them with other produce.
You can hang onions with twine as we did, or you can store onions in wooden crates or in vegetable storage bins or even place them in old nylon stockings. Just make knots between each bulb and hang the nylon. This keeps air circulation flowing and you can just cut a knot off as you need an onion. However, you store your onions, be sure to keep them in a cool, dry, dark place and allow air to circulate freely or they will be prone to rot and get moldy.

After peeling or cutting into an onion, be sure to refrigerate whatever you do not use. Freshly cut onions can be stored in a sealed container for up to 7 days.
What’s up with all the crying?
The pungent odor released when onions are cut is caused by allyl, natural sulfurous oil that quickly vaporizes and can make your eyes tear. To help neutralize the allyl before peeling or cutting an onion – plunge an onion into boiling water for a few seconds, or microwave the onion for 30 seconds, or peel it under running water to dilute the irritant (I usually do the latter).
Sprouted Onions
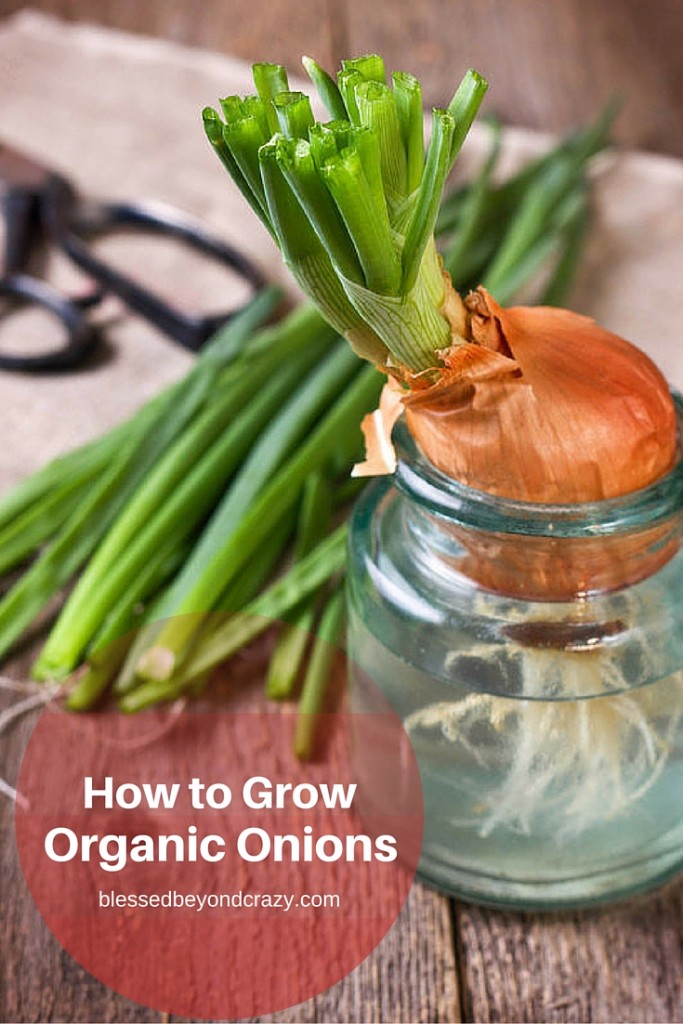
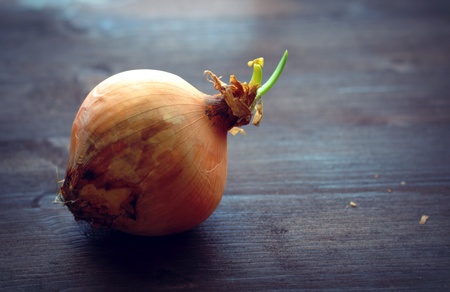
Onions start to produce sprouts at temperatures warmer than 40 degrees. Sprouted onions are perfectly usable, however, they do lose some of their flavors. Sprouts only indicate an older age of the vegetables and are not a sign of decay or spoilage. The sprouts produced in onions may be removed and used in salads, soups, or as garnishes. To remove the sprout, cut the onion lengthwise in half and pluck out the sprout. You can also place the onion in water with the root side down to encourage more sprouting. Snip off the sprouts continually as they grow and use them in fresh salads.
I hope that you have fun growing your very own supply of organic onions.
Happy gardening!
Linda
References:
For more gardening tips:
Homemade Versatile Tomato Sauce


sandhya sharma says
Very valuable information. Thanks for sharing !
Blessed Beyond Crazy says
Thank you! 🙂