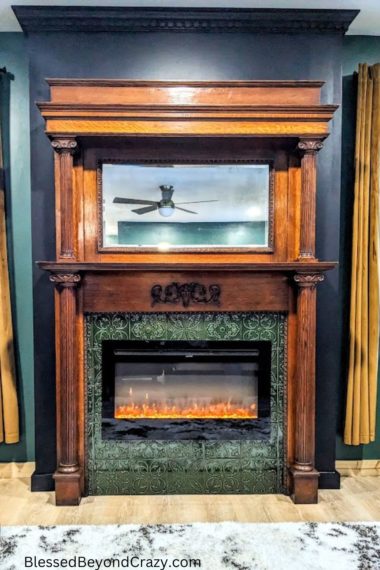
I always knew I wanted an electric fireplace between these two windows in my bedroom. We decided to purchase an antique fireplace surround and make our fireplace design around it so that we could add some character to our new construction bedroom.
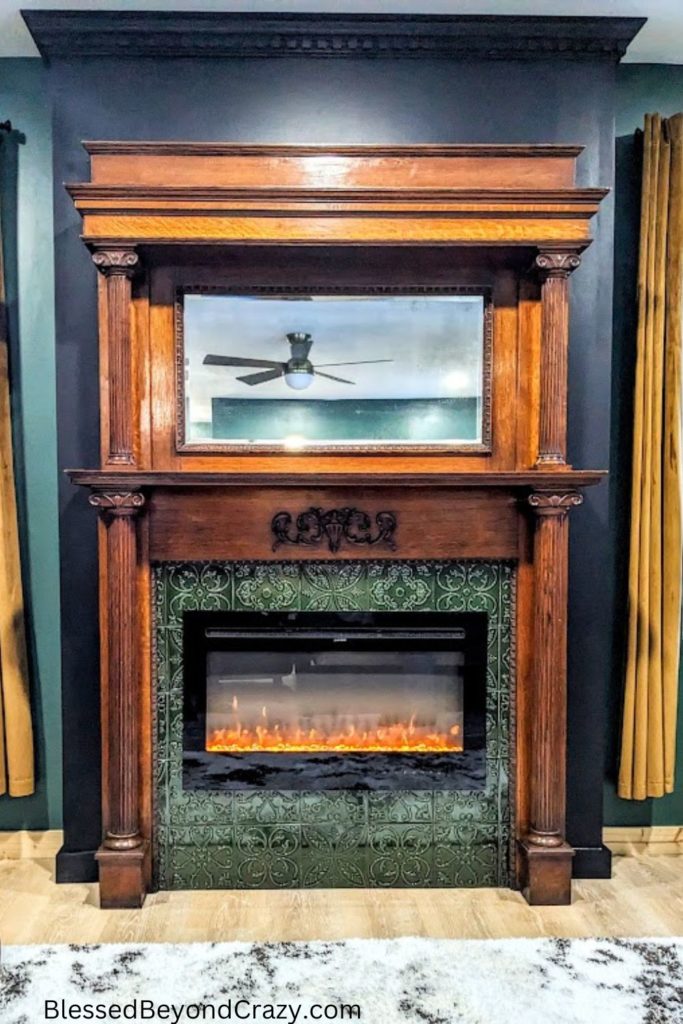
I am so fortunate that my husband is a handyman, who owns lots of specialty tools and is brave enough to attempt all these crazy ideas and projects that I throw at him…this being the latest project!
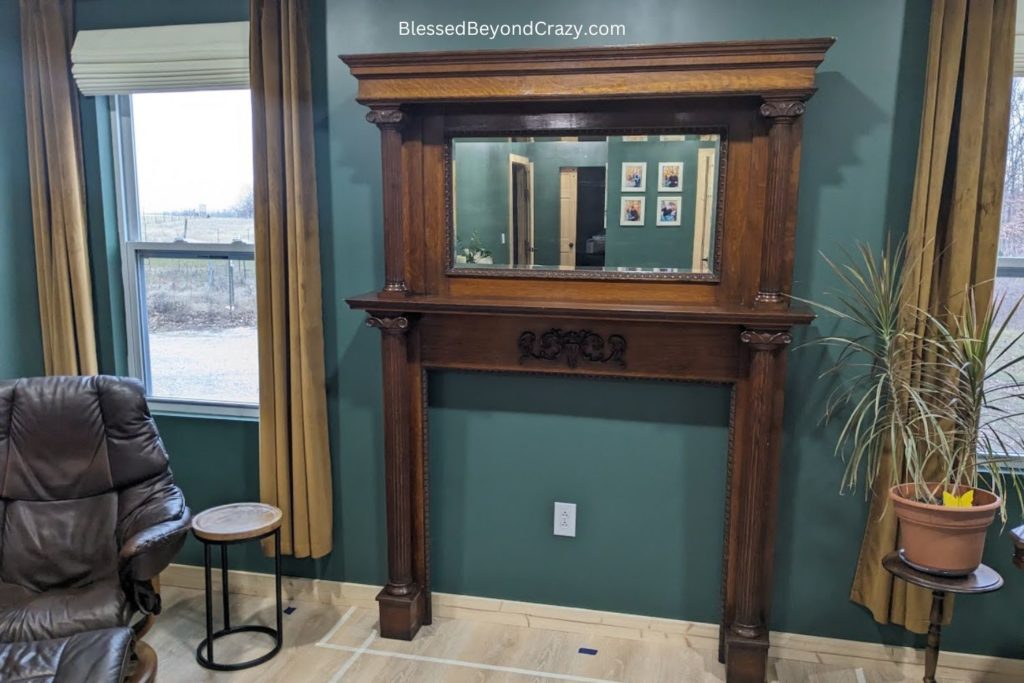
We found this antique fireplace surround on Facebook Marketplace, and my husband had to drive several hours to pick it up. There were many, many options on FB marketplace, this one happened to be in our price range and had the right dimensions.
To help support our blogging activities, our site contains affiliate links. If you purchase from a link on our site, we may receive a small percentage of that sale, at no extra cost to you. Blessed Beyond Crazy is a participant in the Amazon Services LLC Associates Program. This affiliate advertising program is designed to provide a means for sites to earn advertising fees by advertising and linking to amazon.com
Step-by-Step
Once we had bought the antique fireplace surround, we started designing the rest. We knew we would have to build a small wall out to have enough depth for the electric fireplace. (I love how I keep saying “we” when it was all my husband).
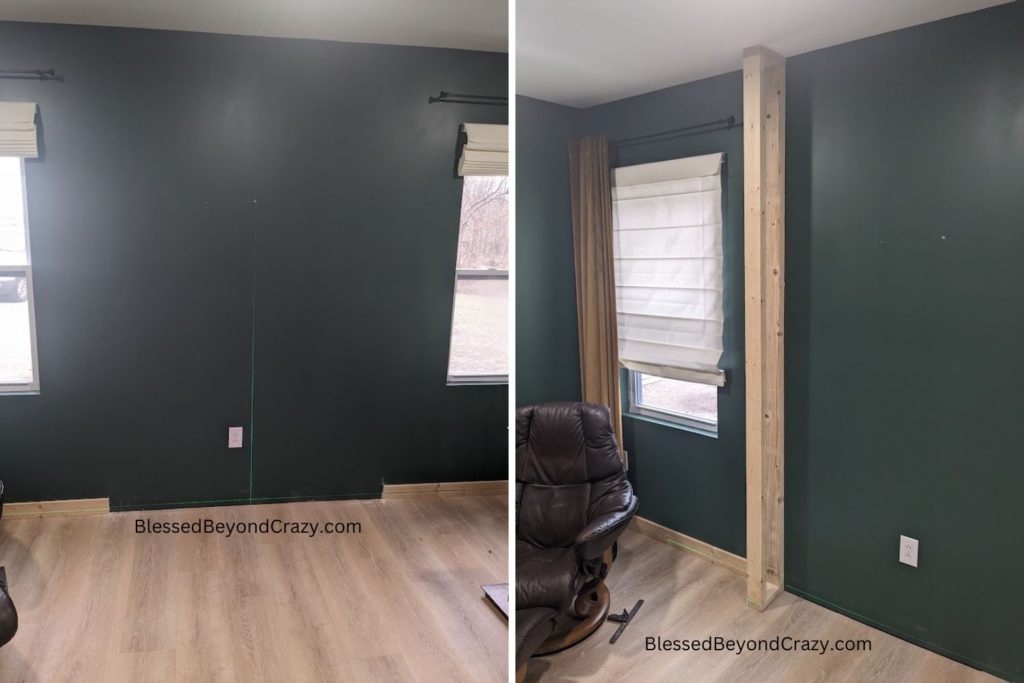
He took off the section of trim and started framing.
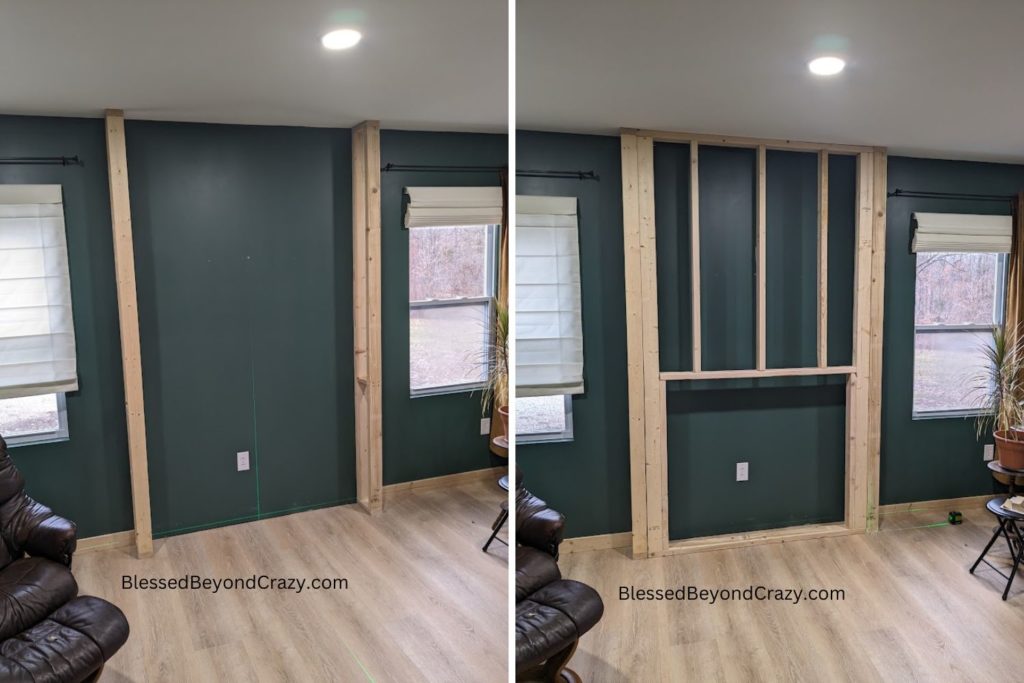
Before framing, we had to buy our electric fireplace. We bought it from Amazon. Then my husband was able to build a custom frame specifically for this size.

He was able to use less than two sheets of drywall, and he didn’t have to drywall all the frame, because the antique fireplace surround would cover a good portion of it.

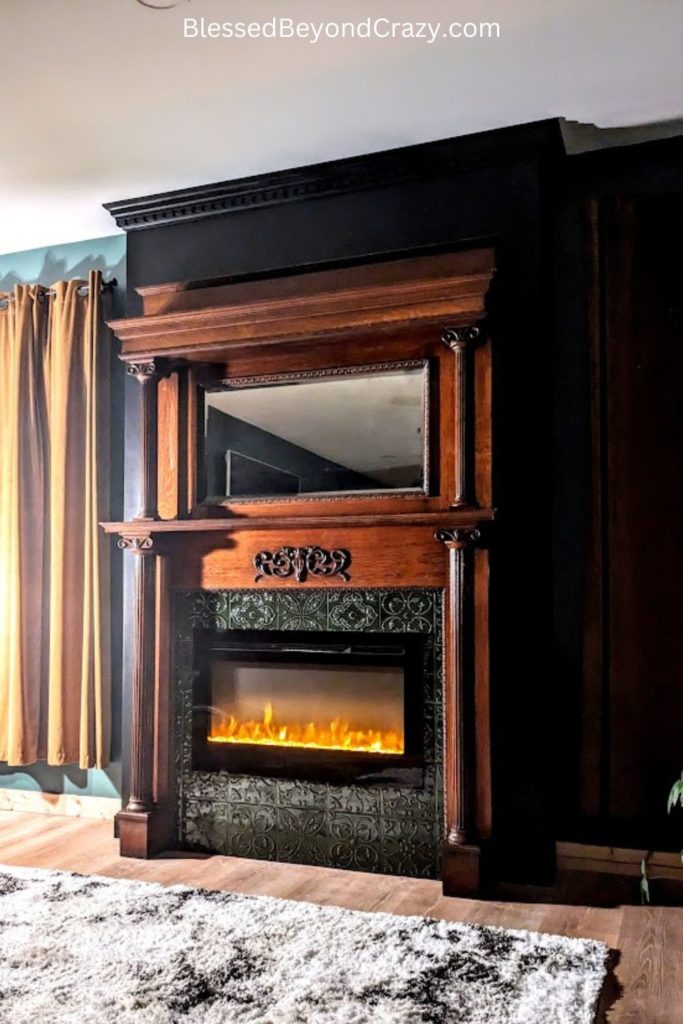
I was on the fence about painting the surround black, but both of my sisters-in-laws said absolutely not! So I decided to leave the original wood and paint the wall behind the fireplace black. This is Tricorn black by Sherwin Williams.
My husband also added black crown molding to the top, because it was easier on the drywalling aspect, and it ties in so well with all the fancy molding on the surround.

I found these tiles from Home Depot. I am so in love with them! One box was exactly enough to cover the space we needed. Not every tile is the same, so we had to figure out a pattern.
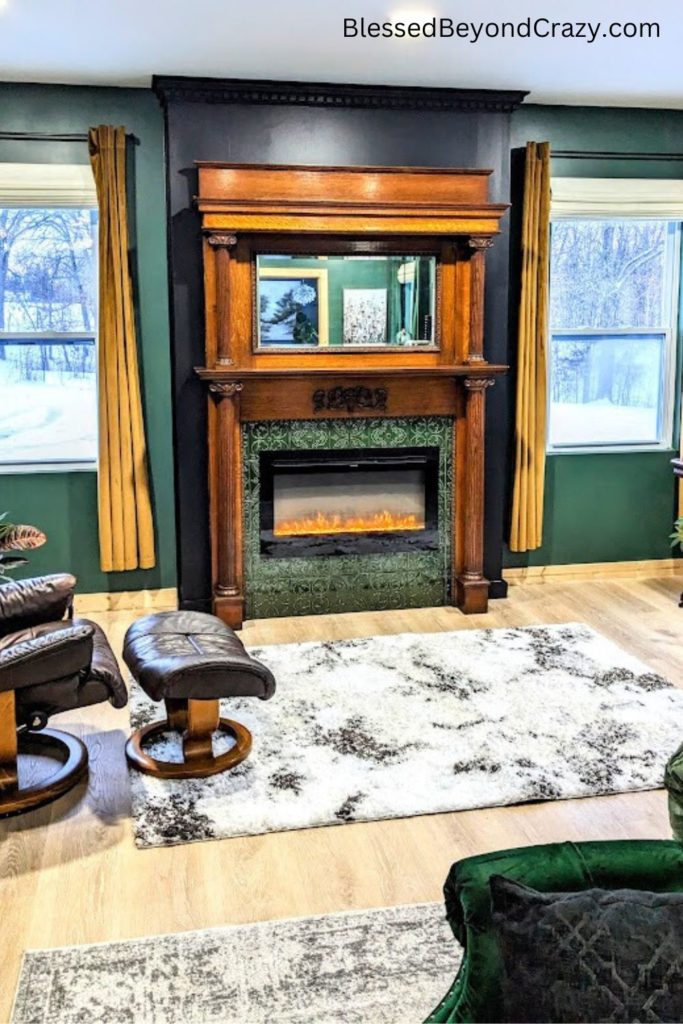
After a few finishing touches, we were done, and we are so obsessed with it!
Here is a link to my gold curtains.
Check out our Master Bathroom
Mike Reeve says
Do you have the dimensions of the fireplace insert? The link to the Amazon page does not work.