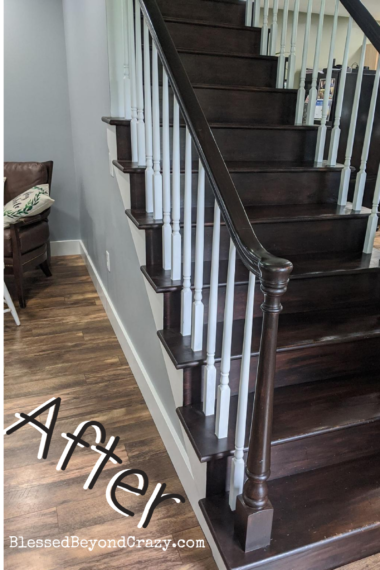
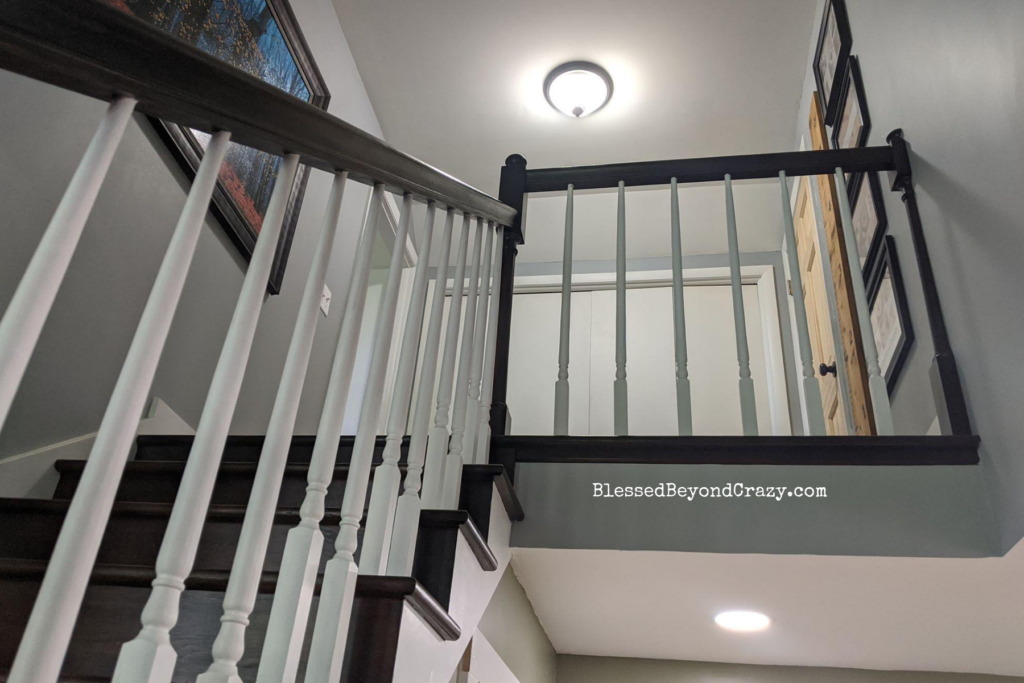
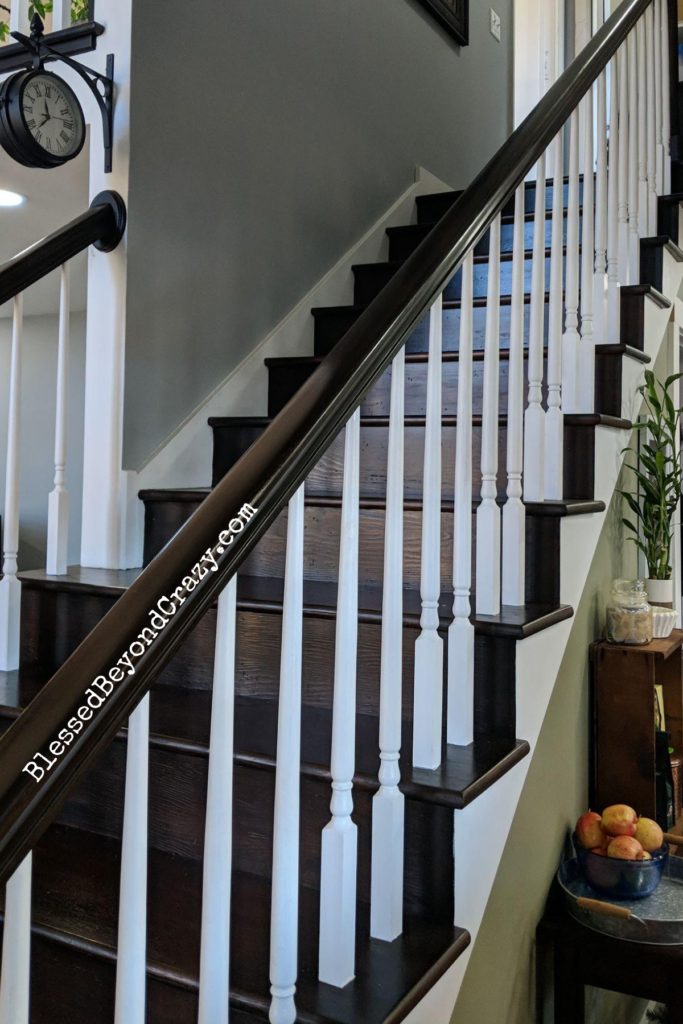
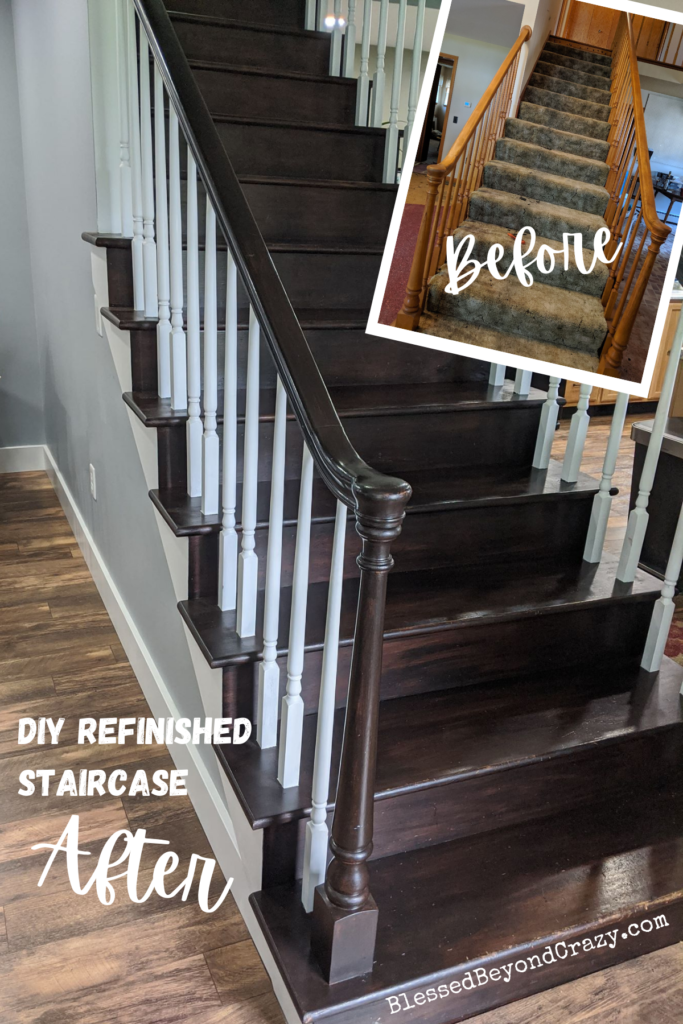
Our Refinished Staircase shows the drastic transformation of an old house into an updated home.
This refinished staircase was a lot of work but the results are stunning!
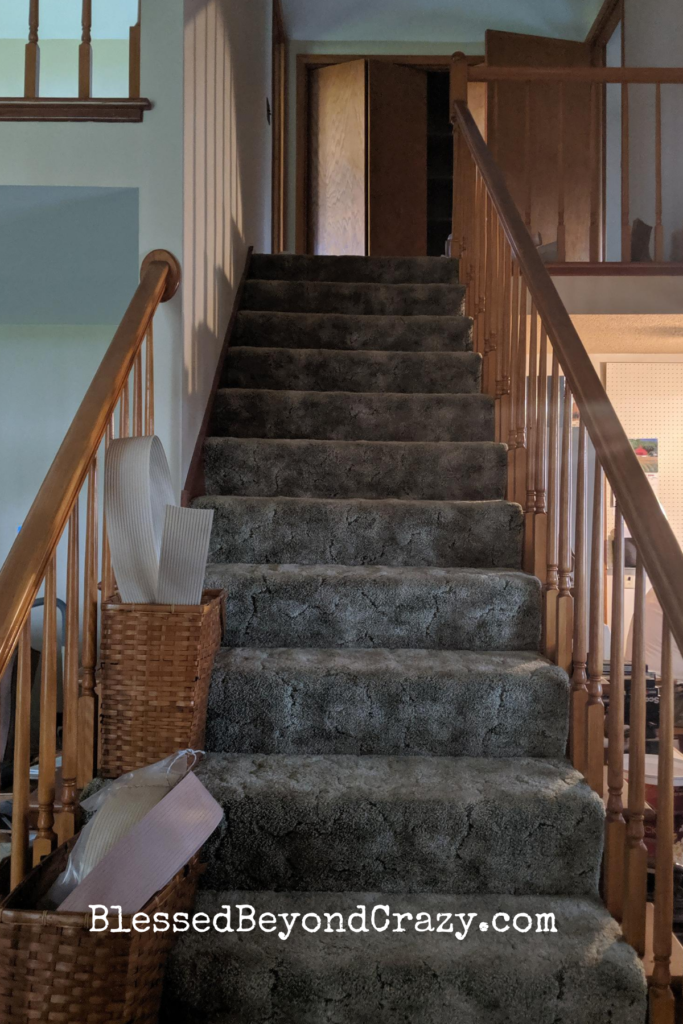
Here is our staircase when we first moved in. It is the centerpiece of the whole house and the very first thing you see when you walk in the door.
To help support our blogging activities, our site contains affiliate links. If you make a purchase from a link on our site, we may receive a small percentage of that sale, at no extra cost to you. Blessed Beyond Crazy is a participant in the Amazon Services LLC Associates Program, an affiliate advertising program designed to provide a means for sites to earn advertising fees by advertising and linking to amazon.com. As an Amazon Associate I earn from qualifying purchases.
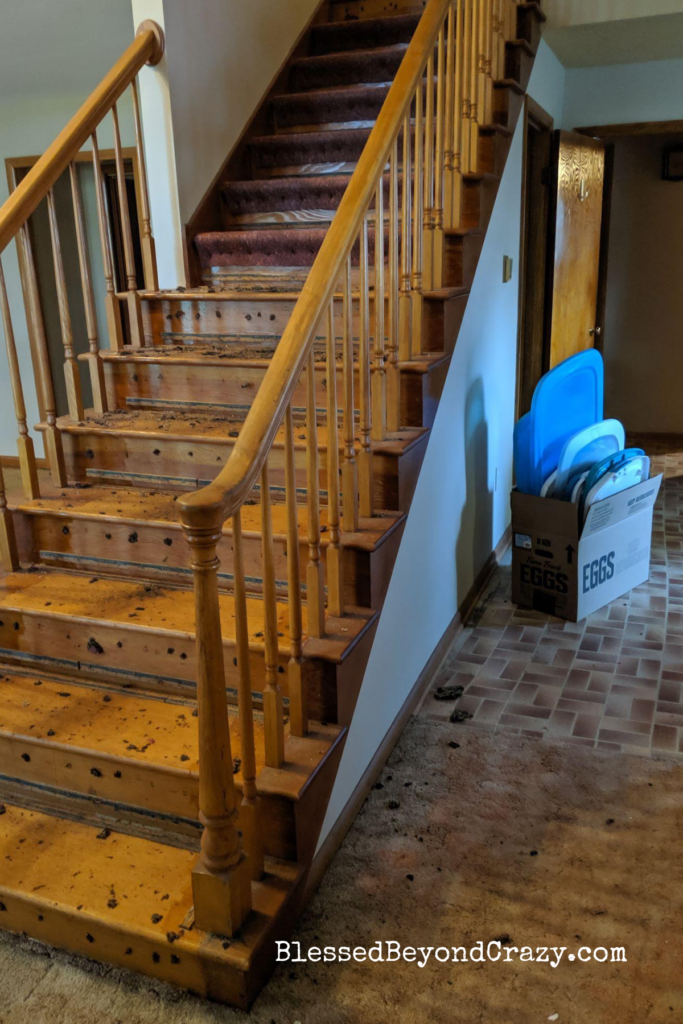
The first day we got possession of the house we started ripping out the old carpet. We were so thankful to find the beautiful wood steps under the carpet.
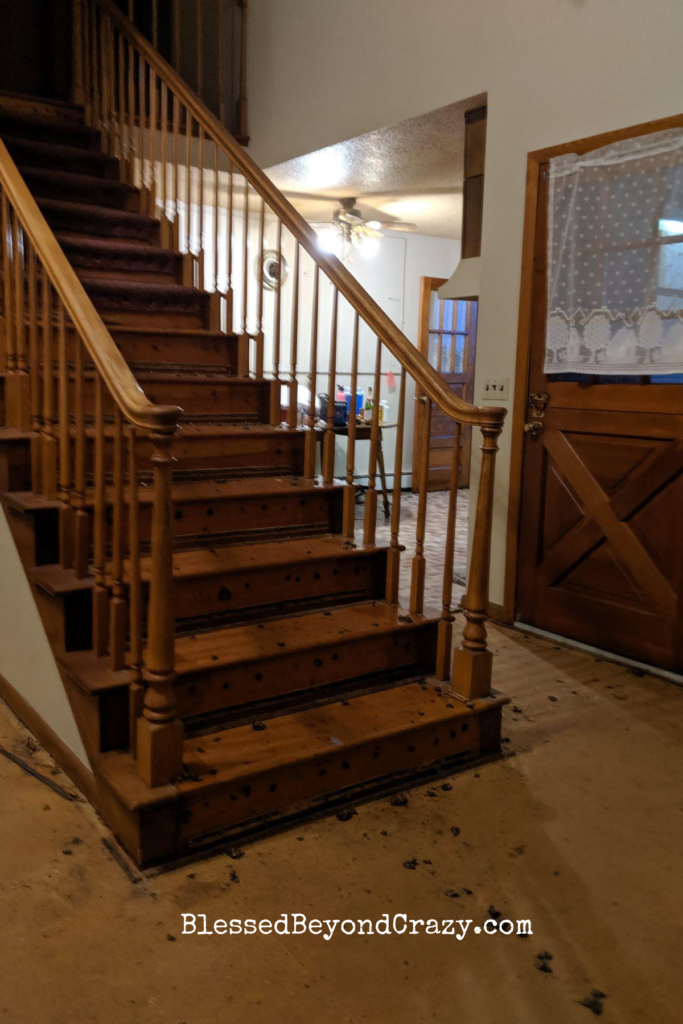
When it comes to sanding stairs, I can’t think of a more appropriate phrase than many hands make light work. I was so thankful to have help from lots of family members!
You definitely want to wear a mask while sanding because it (obviously) creates a lot of dust. It was nice that we were not moved in it while we did all this sanding, but if you are doing this project, be aware of the mess and dust it will create.
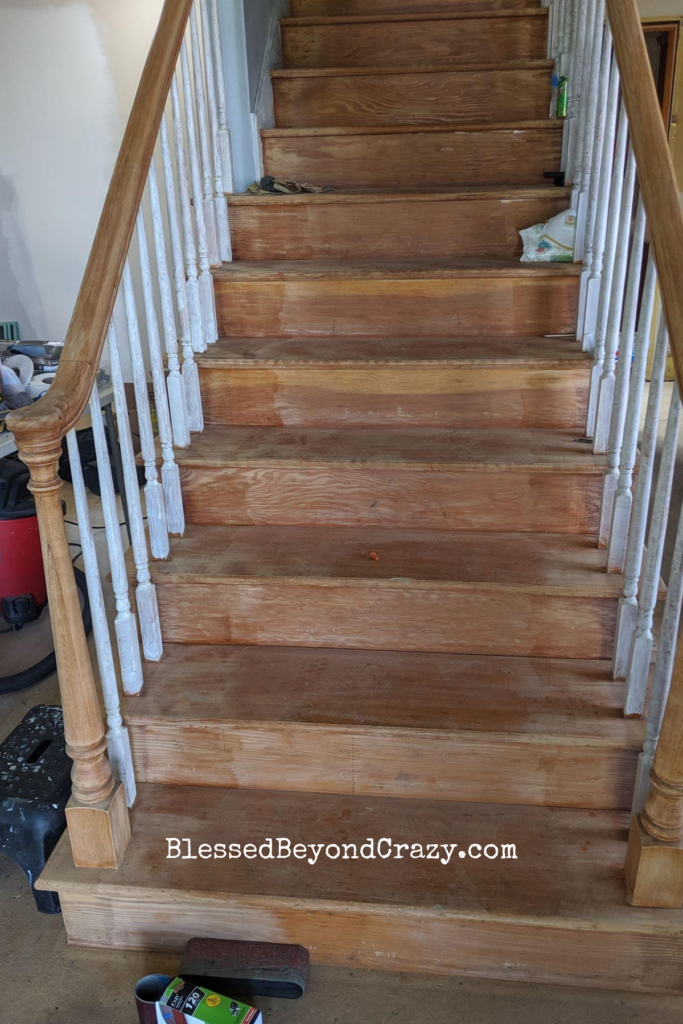
Refinished Staircase Step 1: Sand, Sand, Sand!
This picture shows some sanding belts at the bottom of the stairs… I’m pretty positive that we did all the sanding by hand. Those sanding belts were used to sand down a built-in bench seat and our fireplace mantel. So let me circle back to say, all the sanding was done by hand!
The discoloration on the treads is where the carpet used to be, the refinished stairs do not show that discoloration, since I went with a dark stain.
We sanded with low grit sandpaper. I can’t remember the exact grit number but start with a low grit to remove the existing stain, sanding as many times as you need to get down to unfinished wood. The very last time sanding switch to much higher grit sandpaper (220 or 320) to smooth out the wood.
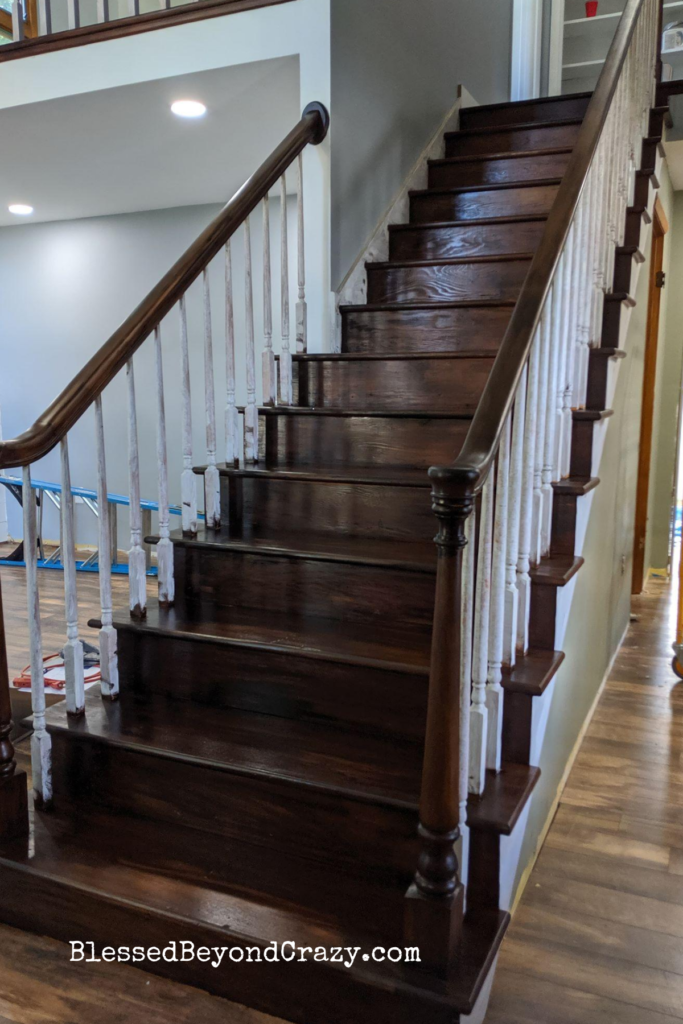
Since the spindles were being painted white, we thankfully did not have to sand those! First, they got wiped down with a deglosser to help the paint stick better. They got painted with primer before the staircase got stained. Then carefully painted white after the staircase was completely stained.
Tip: If you are painting over stained wood, use a delgosser on the wood first! We used a lot of this during our home remodel!
Before staining, the stairs needed to be cleaned to remove all the dust and any dirt. I used this heavy-duty cleaner specifically for paint prep.
Finally, time to stain!
It’s gorgeous! We used Minwax Gel Stain in the shade of Coffee. I priced checked this stain at several hardware type stores in our area and Amazon had the best price.
Whenever working with any stain you need to be in a well-ventilated room and wear gloves. Used stain rags are flammable, so don’t throw them in the trash. Lay them out outside to completely dry before disposing of them.
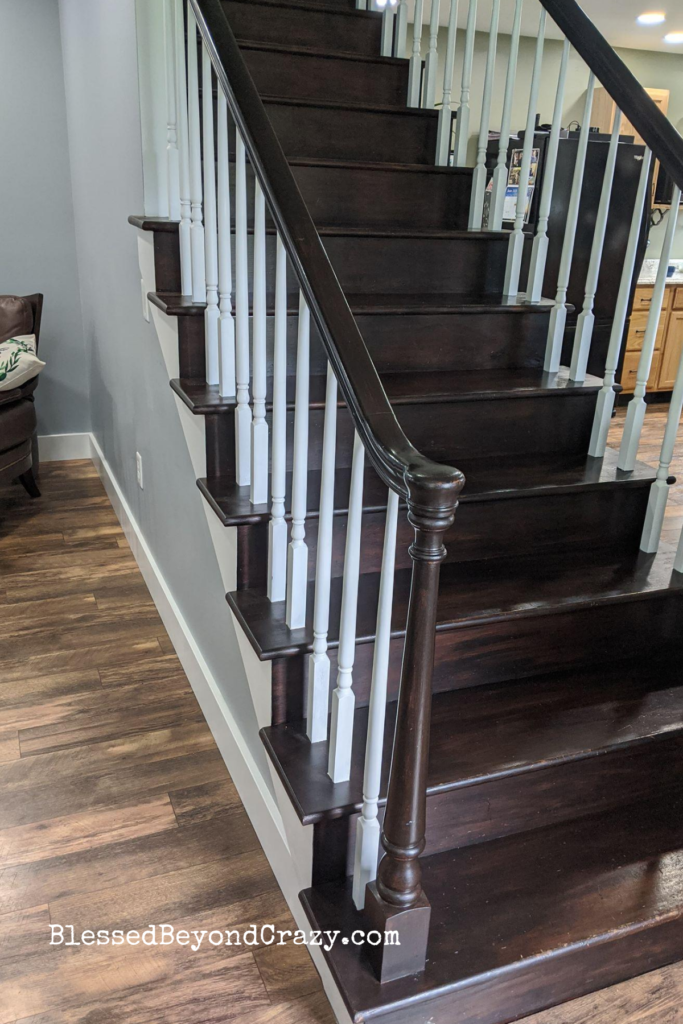
I bought two cans of stain, but we barely used any of the second can of stain. The can of Minwax recommended pre-stain, we did not use it for these old stairs.
For obvious reasons, whenever working on a staircase start at the top and work your way down.
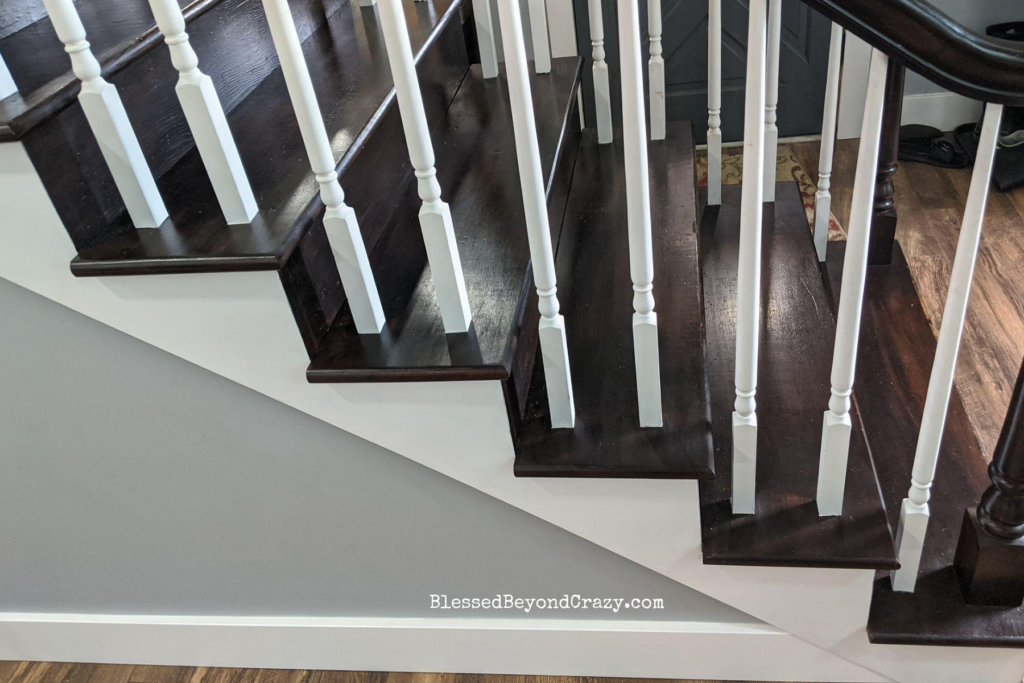
We allowed 24 hours of dry time and then applied the second coat of stain, another 24 hours of dry time.
Since staircases are high areas of traffic it is important to seal them! My husband’s aunt had a commercial grade Polyurethane Satin finish that she used to seal our staircase. I’m sorry I don’t have an exact link but use the strongest finish you can find. After applying the Polyurethane we didn’t walk on the stairs for three days!
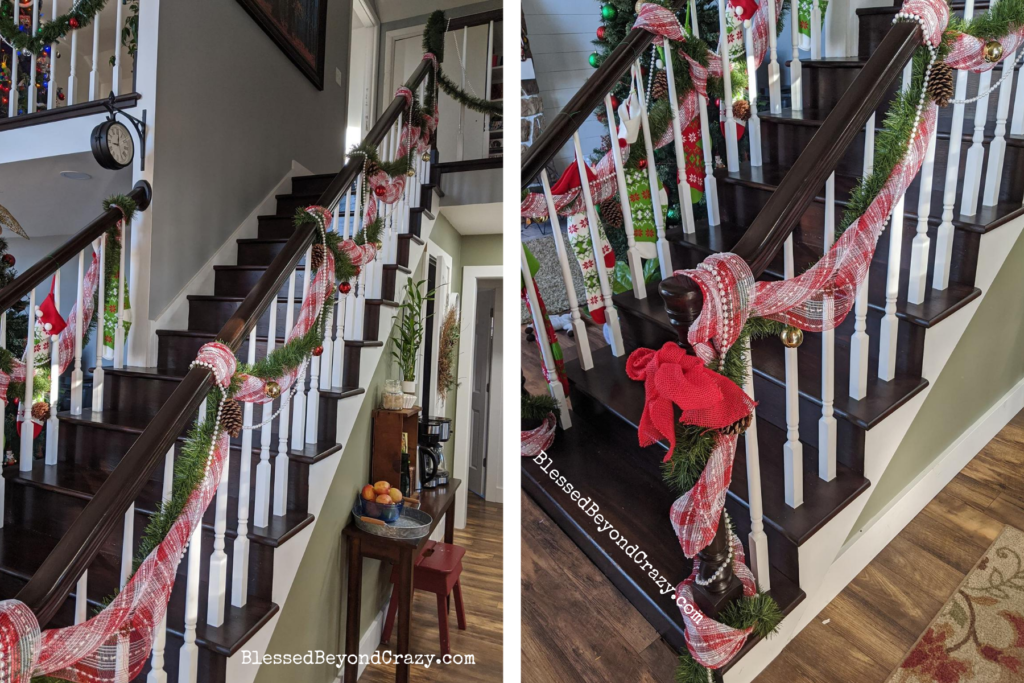
Here is our refinished staircase at Christmas. It was a lot of fun decorating it!
Check my other home renovation posts:
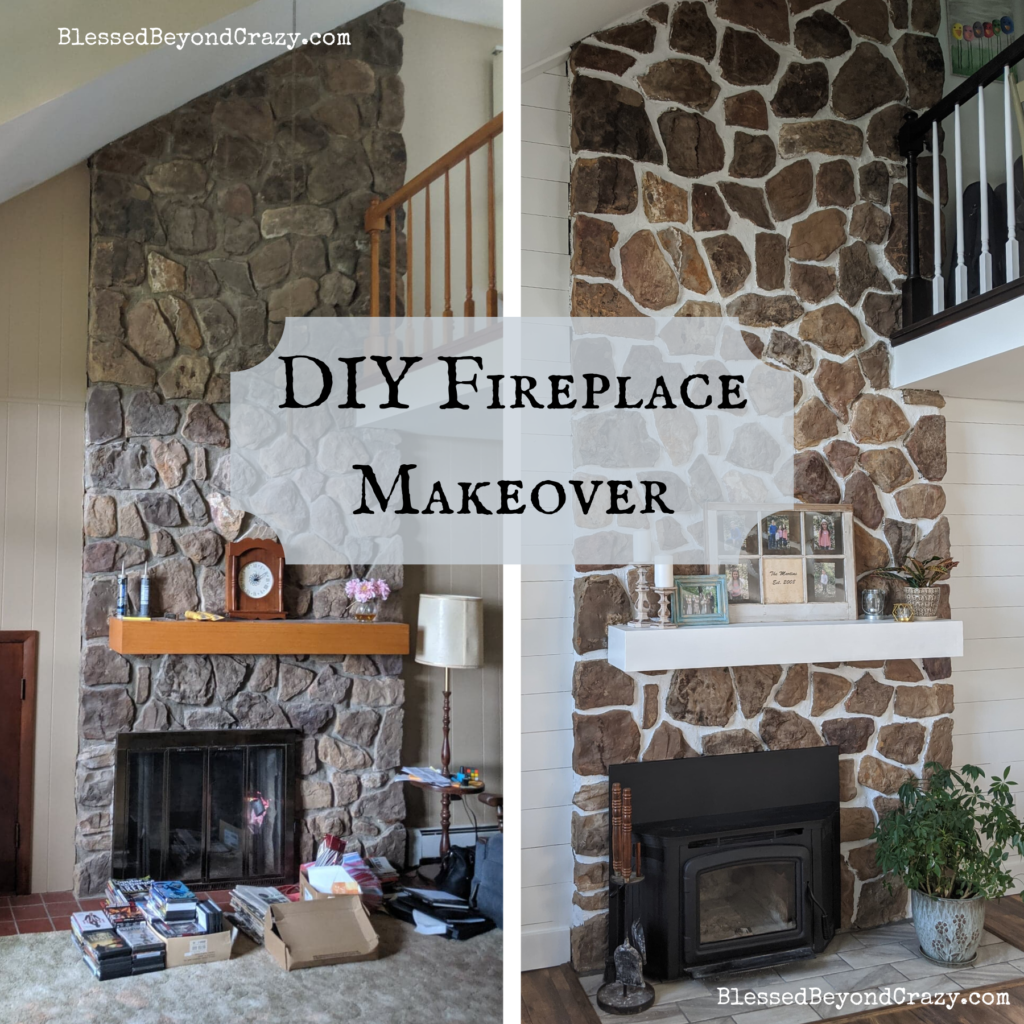
DIY Fireplace Makeover


Leave a Reply