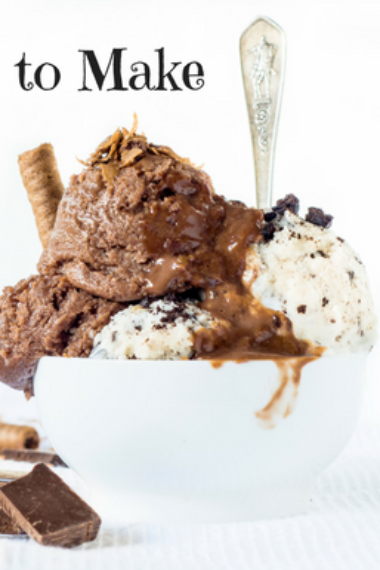
4 Different Ways to Make Homemade Ice Cream!
My family is a huge fan of homemade ice cream! Well, really just ice cream in general. It’s a great treat for summer gatherings.
When you think of homemade ice cream you are probably thinking of a big bucket sitting outside with a churn and lots of rock salt. That is definitely one way to make delicious homemade ice cream but it isn’t the only way! I’m going to walk you through different ways to make homemade ice cream including but not limited to churned ice cream.

Throughout this post, I’ll talk about different recipes. Each recipe is completely customizable. You can add whatever flavors you enjoy to each recipe, for example, vanilla paste, crushed Oreos, pureed strawberries, caramel sauce, chocolate, peanut butter, or chopped-up pieces of your favorite candy.
To help support our blogging activities, our site contains affiliate links. If you make a purchase from a link on our site, we may receive a small percentage of that sale, at no extra cost to you. Blessed Beyond Crazy is a participant in the Amazon Services LLC Associates Program, an affiliate advertising program designed to provide a means for sites to earn advertising fees by advertising and linking to amazon.com.
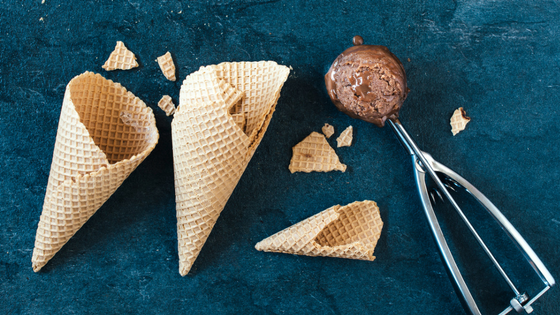
1. Churn Homemade Ice Cream
This is probably what you picture when you think of homemade ice cream. A big machine with a metal bucket full of custard surrounded by ice and rock salt. This brings back fun childhood memories at my grandparents’ farm in the summer with a noisy ice cream machine on their back patio.
First, you need to take out the metal canister and freeze it.
Then you need to make your custard. Here is a basic recipe:
- 2 cups half and half (or 1 cup whole milk and 1 cup cream)
- 5 egg yolks
- 2/3 cup sugar
- Heat the half and half until it just starts to foam.
- Combine the egg yolks and sugar and beat until light and fluffy.
- Very slowly add the hot half and half to the egg mixture, continue to whisk the egg mixture while adding the half and half to prevent the eggs from cooking.
- Bring a pot of water to a simmer. Place the custard in a heat-proof bowl or a double boiler and heat over the simmering water. Continue to stir until the custard reaches 170 degrees F or the custard coats the back of a wooden spoon and stays in place even when you draw a line through it with your finger.
- Add any other flavors that you want.
- Let the custard cool to room temperature and then refrigerate for several hours or overnight.
- Place custard in the frozen ice cream canister. Use the ice cream machine according to the manufacturer’s instructions.
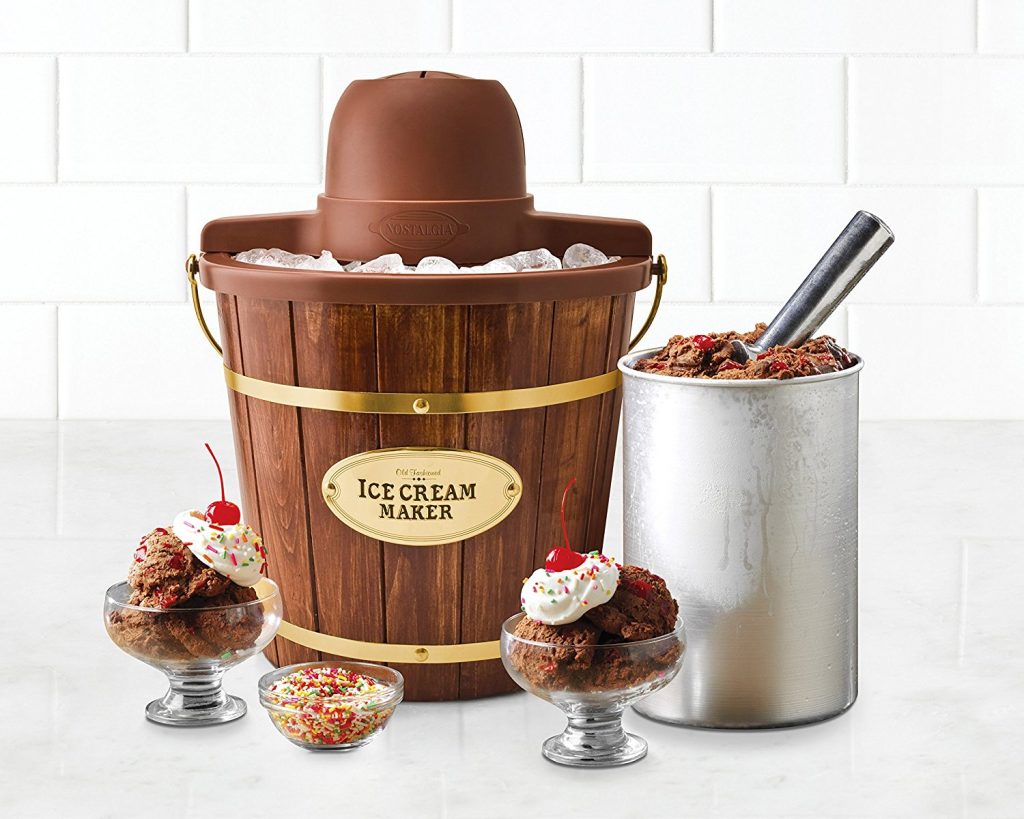
Ice cream makers such as the one pictured above will require a lot of ice and ice cream salt.
Once your ice cream is finished being made you will either want to eat it or put in your freezer right away because it will be very soft.
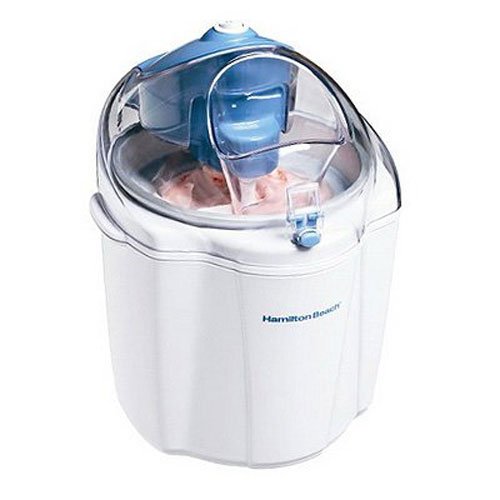
This type of ice cream maker is still a churn ice cream maker but it does not require ice and salt. It is also smaller and takes up less space. You can use the same recipes and the method of freezing the canister, making the custard and letting it chill, then churning the custard into ice cream.
My mother-in-law has this Hamilton Beach Ice Cream Maker and she likes it a lot better than the kind that requires ice and salt.
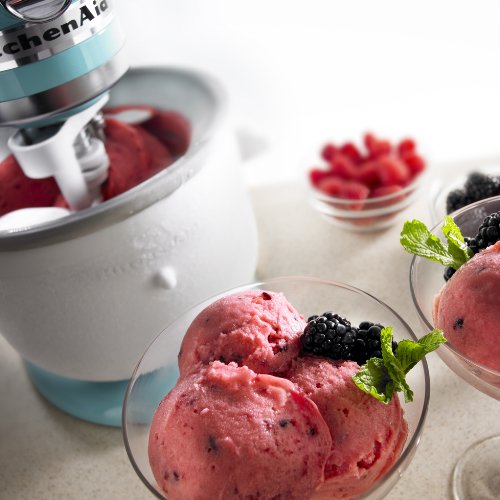
One last way to make churned ice cream is by using the ice cream maker attachment for a KitchenAid mixer.
This also does not require ice or salt. You add the chilled custard to the bowl and walk away from it while it does the work for you.
I do not have one of these (yet) but it is on my Amazon wish list!
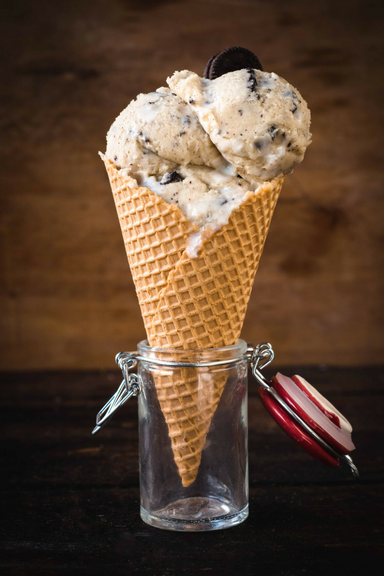
2. No-Churn Homemade Ice Cream
A super-easy way to make ice cream is by using a whisk attachment on a KitchenAid mixer or a hand mixer.
- 2 cups heavy cream
- 1 (14 ounces) can of sweetened condensed milk
- additional toppings that you desire
- Beat the heavy cream until stiff peaks form (be careful not to overbeat or it will turn to butter)
- Add the sweetened condensed milk and stir until combined.
- Stir in any additional toppings.
- Transfer to a freezer-safe container and freeze for 6 or more hours.
This is not a time-consuming recipe at all!
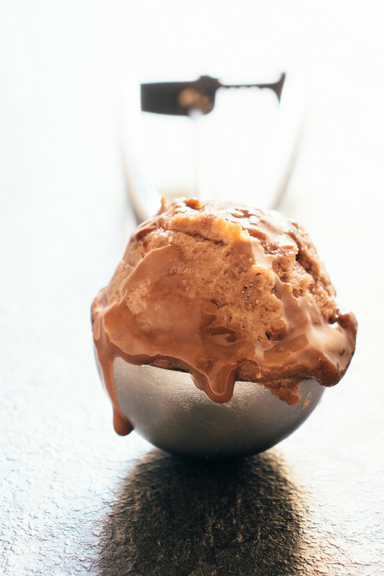
3. Homemade Ice Cream in a Bag
This is a fun and fast way to get homemade ice cream. Definitely, make this with your kids since it takes a small bit of arm muscle and they can help out with that 😉
You don’t need any appliances but you will need a quart-size baggie that zips or seals well and a gallon baggie. You will also need 4 cups of ice and ice cream salt.
In the quart-sized bag add the following:
- 1 cup half and half
- 2 tablespoons sugar
- splash of vanilla
- additional toppings
- Seal the bag and place it inside the gallon bag.
- Put about 4 tablespoons of ice cream salt and 4 cups (or as much as will fit) inside the gallon bag around the quart-sized bag.
- Wrap the gallon bag in a kitchen towel and shake for 5 minutes (this is where the kids are really helpful).
- Eat right away or place in the freezer to freeze more solid.
The ice cream will be the consistency of soft serve.
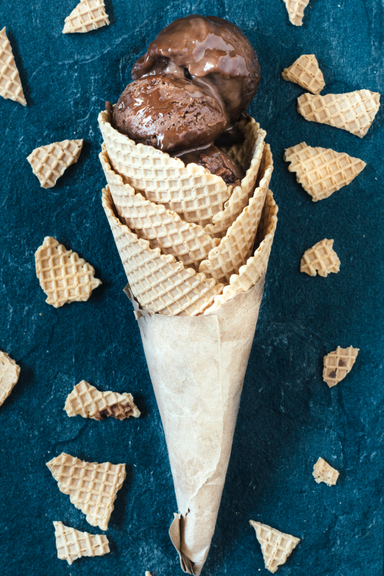
4. Healthy Ice Cream
If you love ice cream but not the sugar and all the unhealthy ingredients then this one is for you. It is soooo easy and fast to make! It really is only one ingredient!
- Frozen bananas
Yep! That’s it.
Of course, you can add any additional toppings that you like such as frozen strawberries/berries, chocolate, peanut butter, nuts, etc.
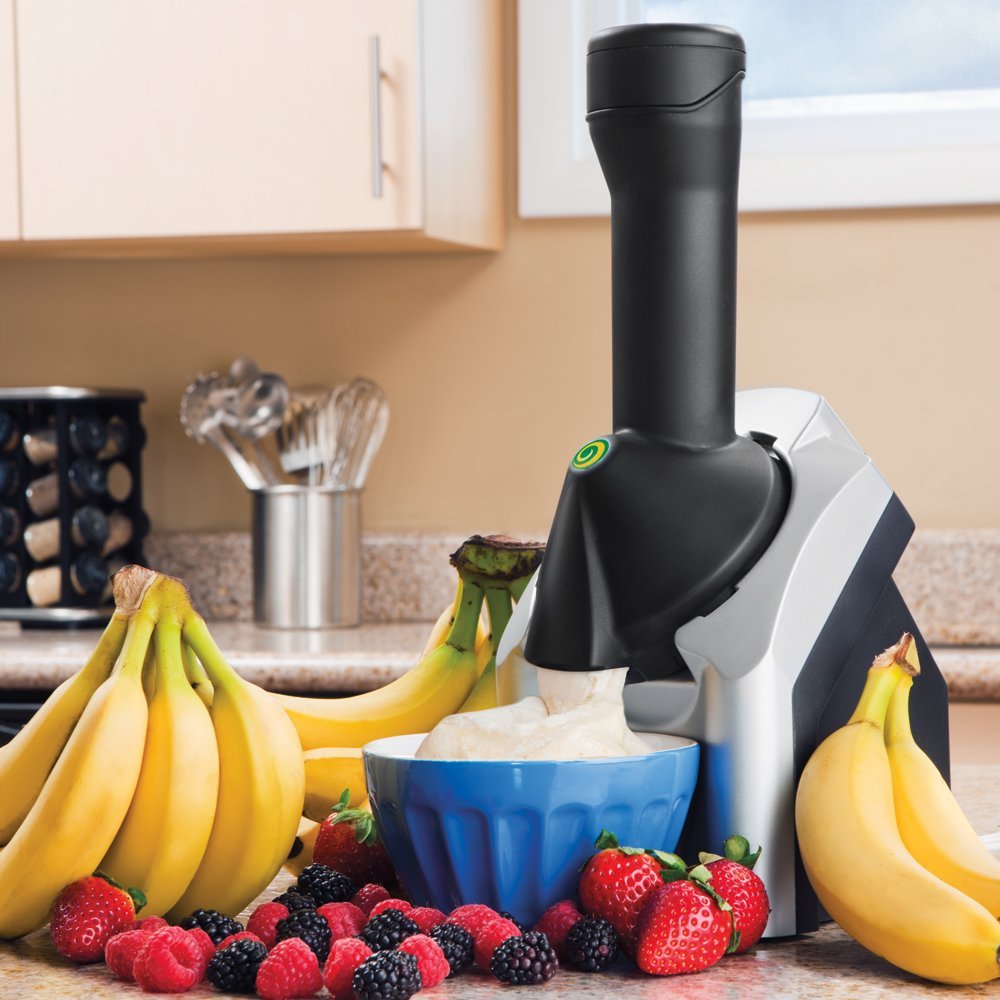
To make it you place the frozen bananas in a food processor, a Yonanas machine, or a high-quality blender.
You are eating fruit but it totally tastes just like ice cream! This is the recipe to make for food allergies.
What is your favorite way to make homemade ice cream?
Anna
Don’t forget to pin it!
More great ideas:
Sheila says
Thank you for these brilliant tips on how to make homemade ice cream. They are easy to follow and very practical. I am so excited to try making my own homemade dessert.