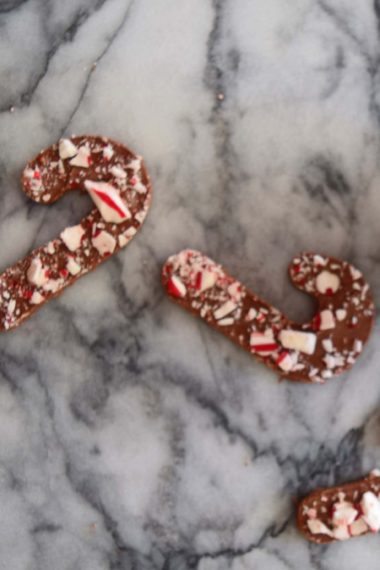
DIY Candy Cane Hot Chocolate Sticks are a perfect Christmas recipe to make with your kids or to wrap up and give a simple and easy DIY Christmas gift!
My kids LOVE hot chocolate (honestly, what child doesn’t?)! There is something so cozy about drinking hot chocolate while you watch it snow outside, while you’re decorating a Christmas tree with loved ones, or opening up presents on Christmas morning.
To help support our blogging activities, our site contains affiliate links. If you make a purchase from a link on our site, we may receive a small percentage of that sale, at no extra cost to you. Blessed Beyond Crazy is a participant in the Amazon Services LLC Associates Program, an affiliate advertising program designed to provide a means for sites to earn advertising fees by advertising and linking to amazon.com.
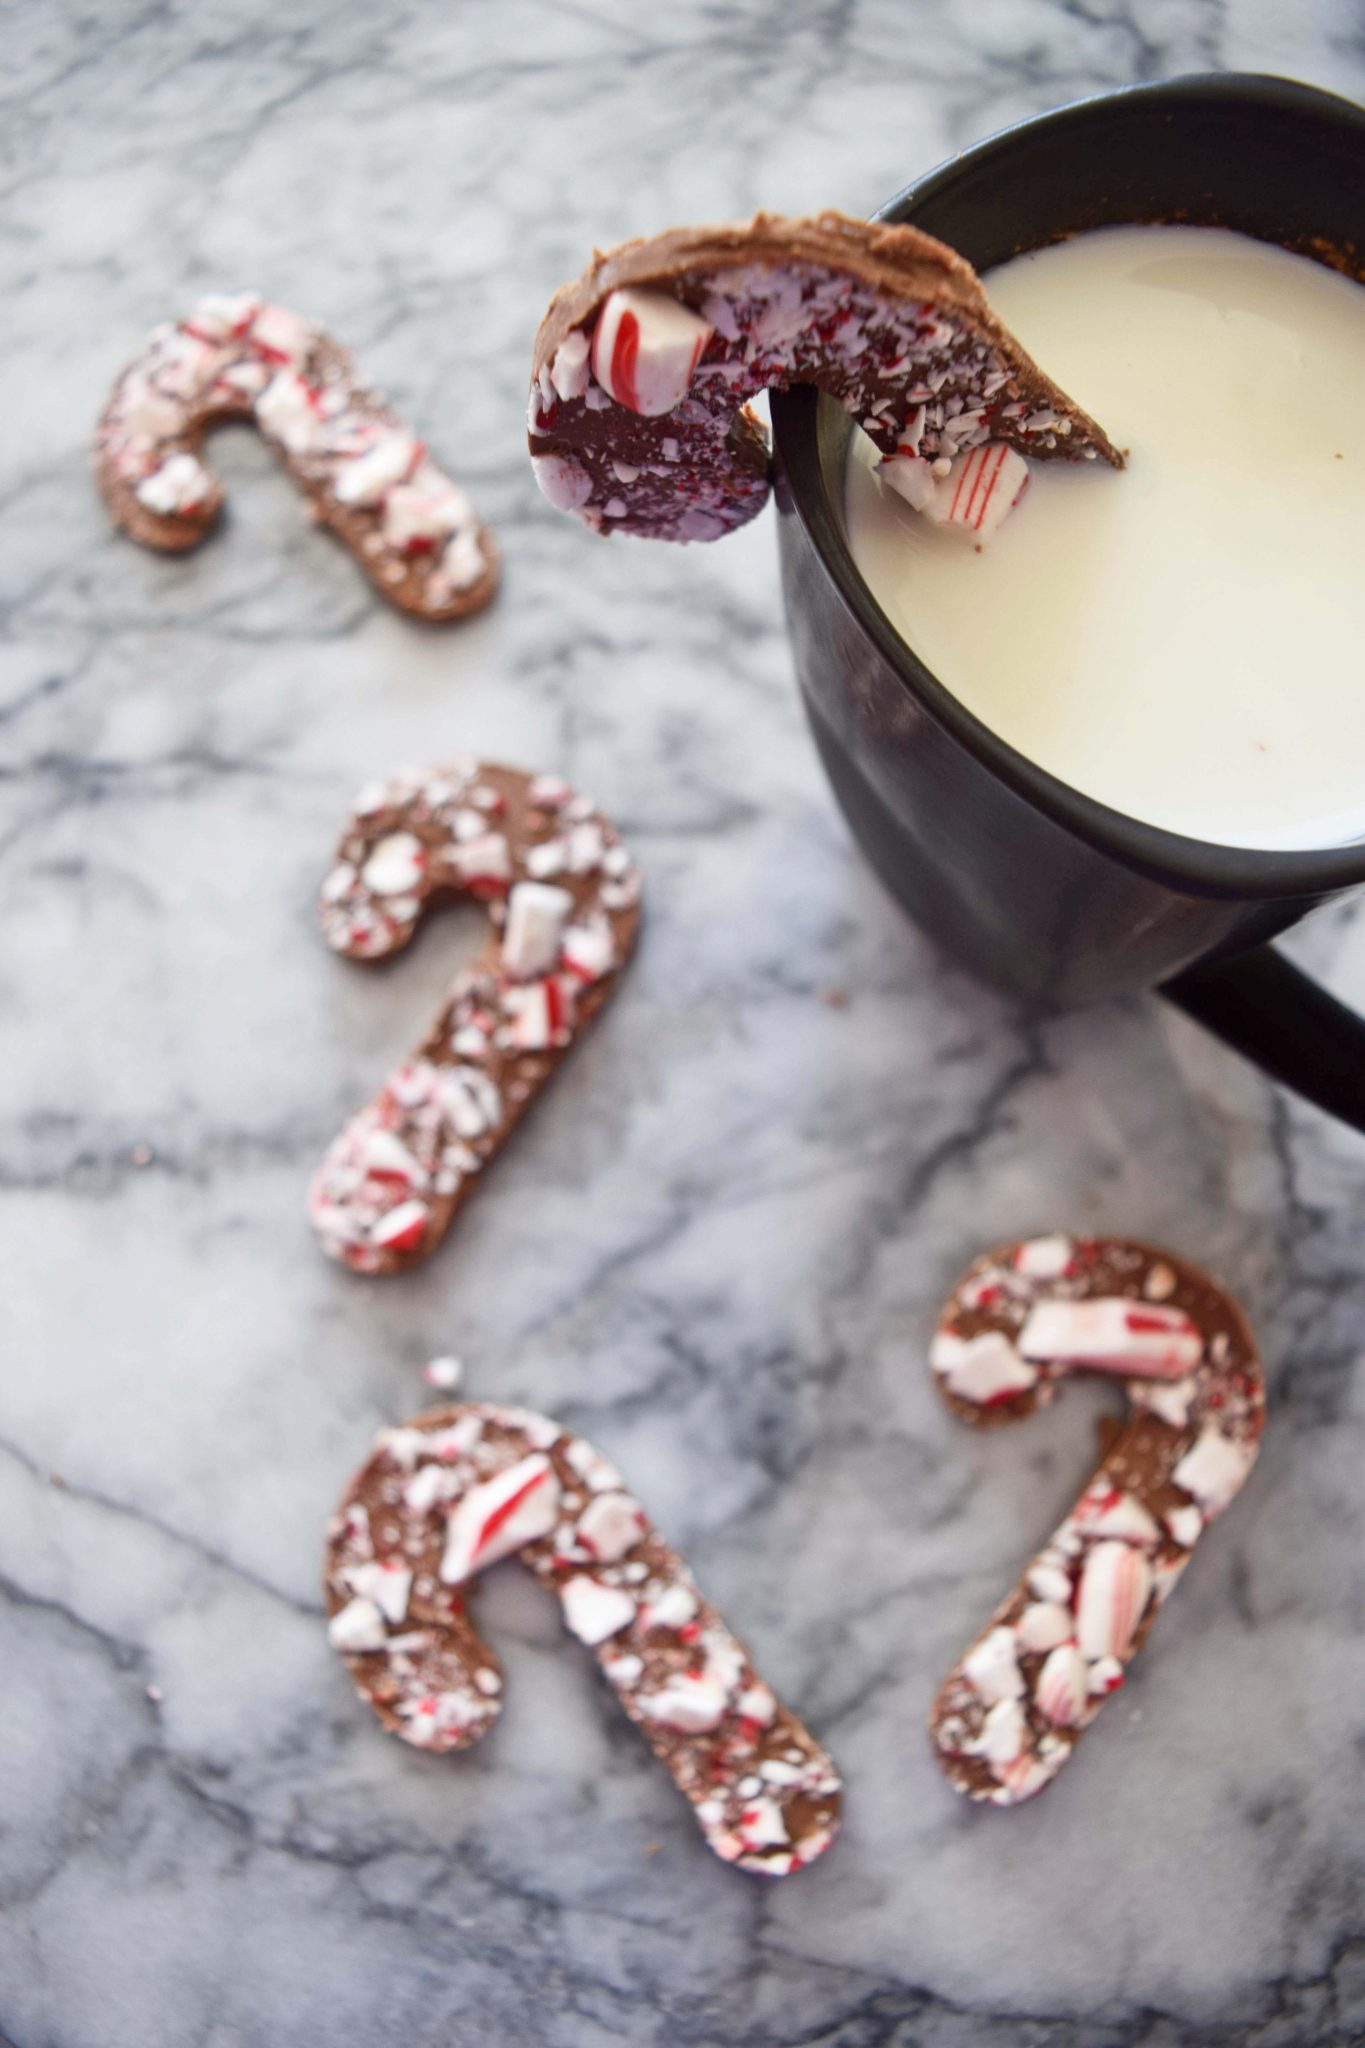
So I made a Christmas version of hot chocolate…which of course, includes candy canes! With the candy cane addition, now my kids really can’t get enough of this hot chocolate!
It’s easy to make this delicious drink while you celebrate all of your holiday traditions, or wrap some up with a hot chocolate mug and give it as a Christmas gift!
DIY Candy Cane Hot Chocolate Sticks
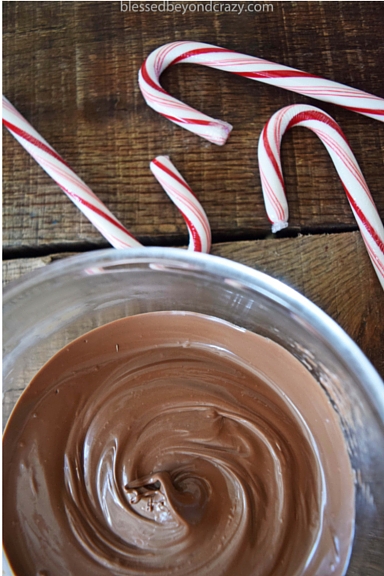
There are only two ingredients that you need for Candy Cane Hot Chocolate (not counting the milk).
- The first one being chocolate.
- The second one being candy canes
Okay, now that we have that out of the way, let’s get onto making it!
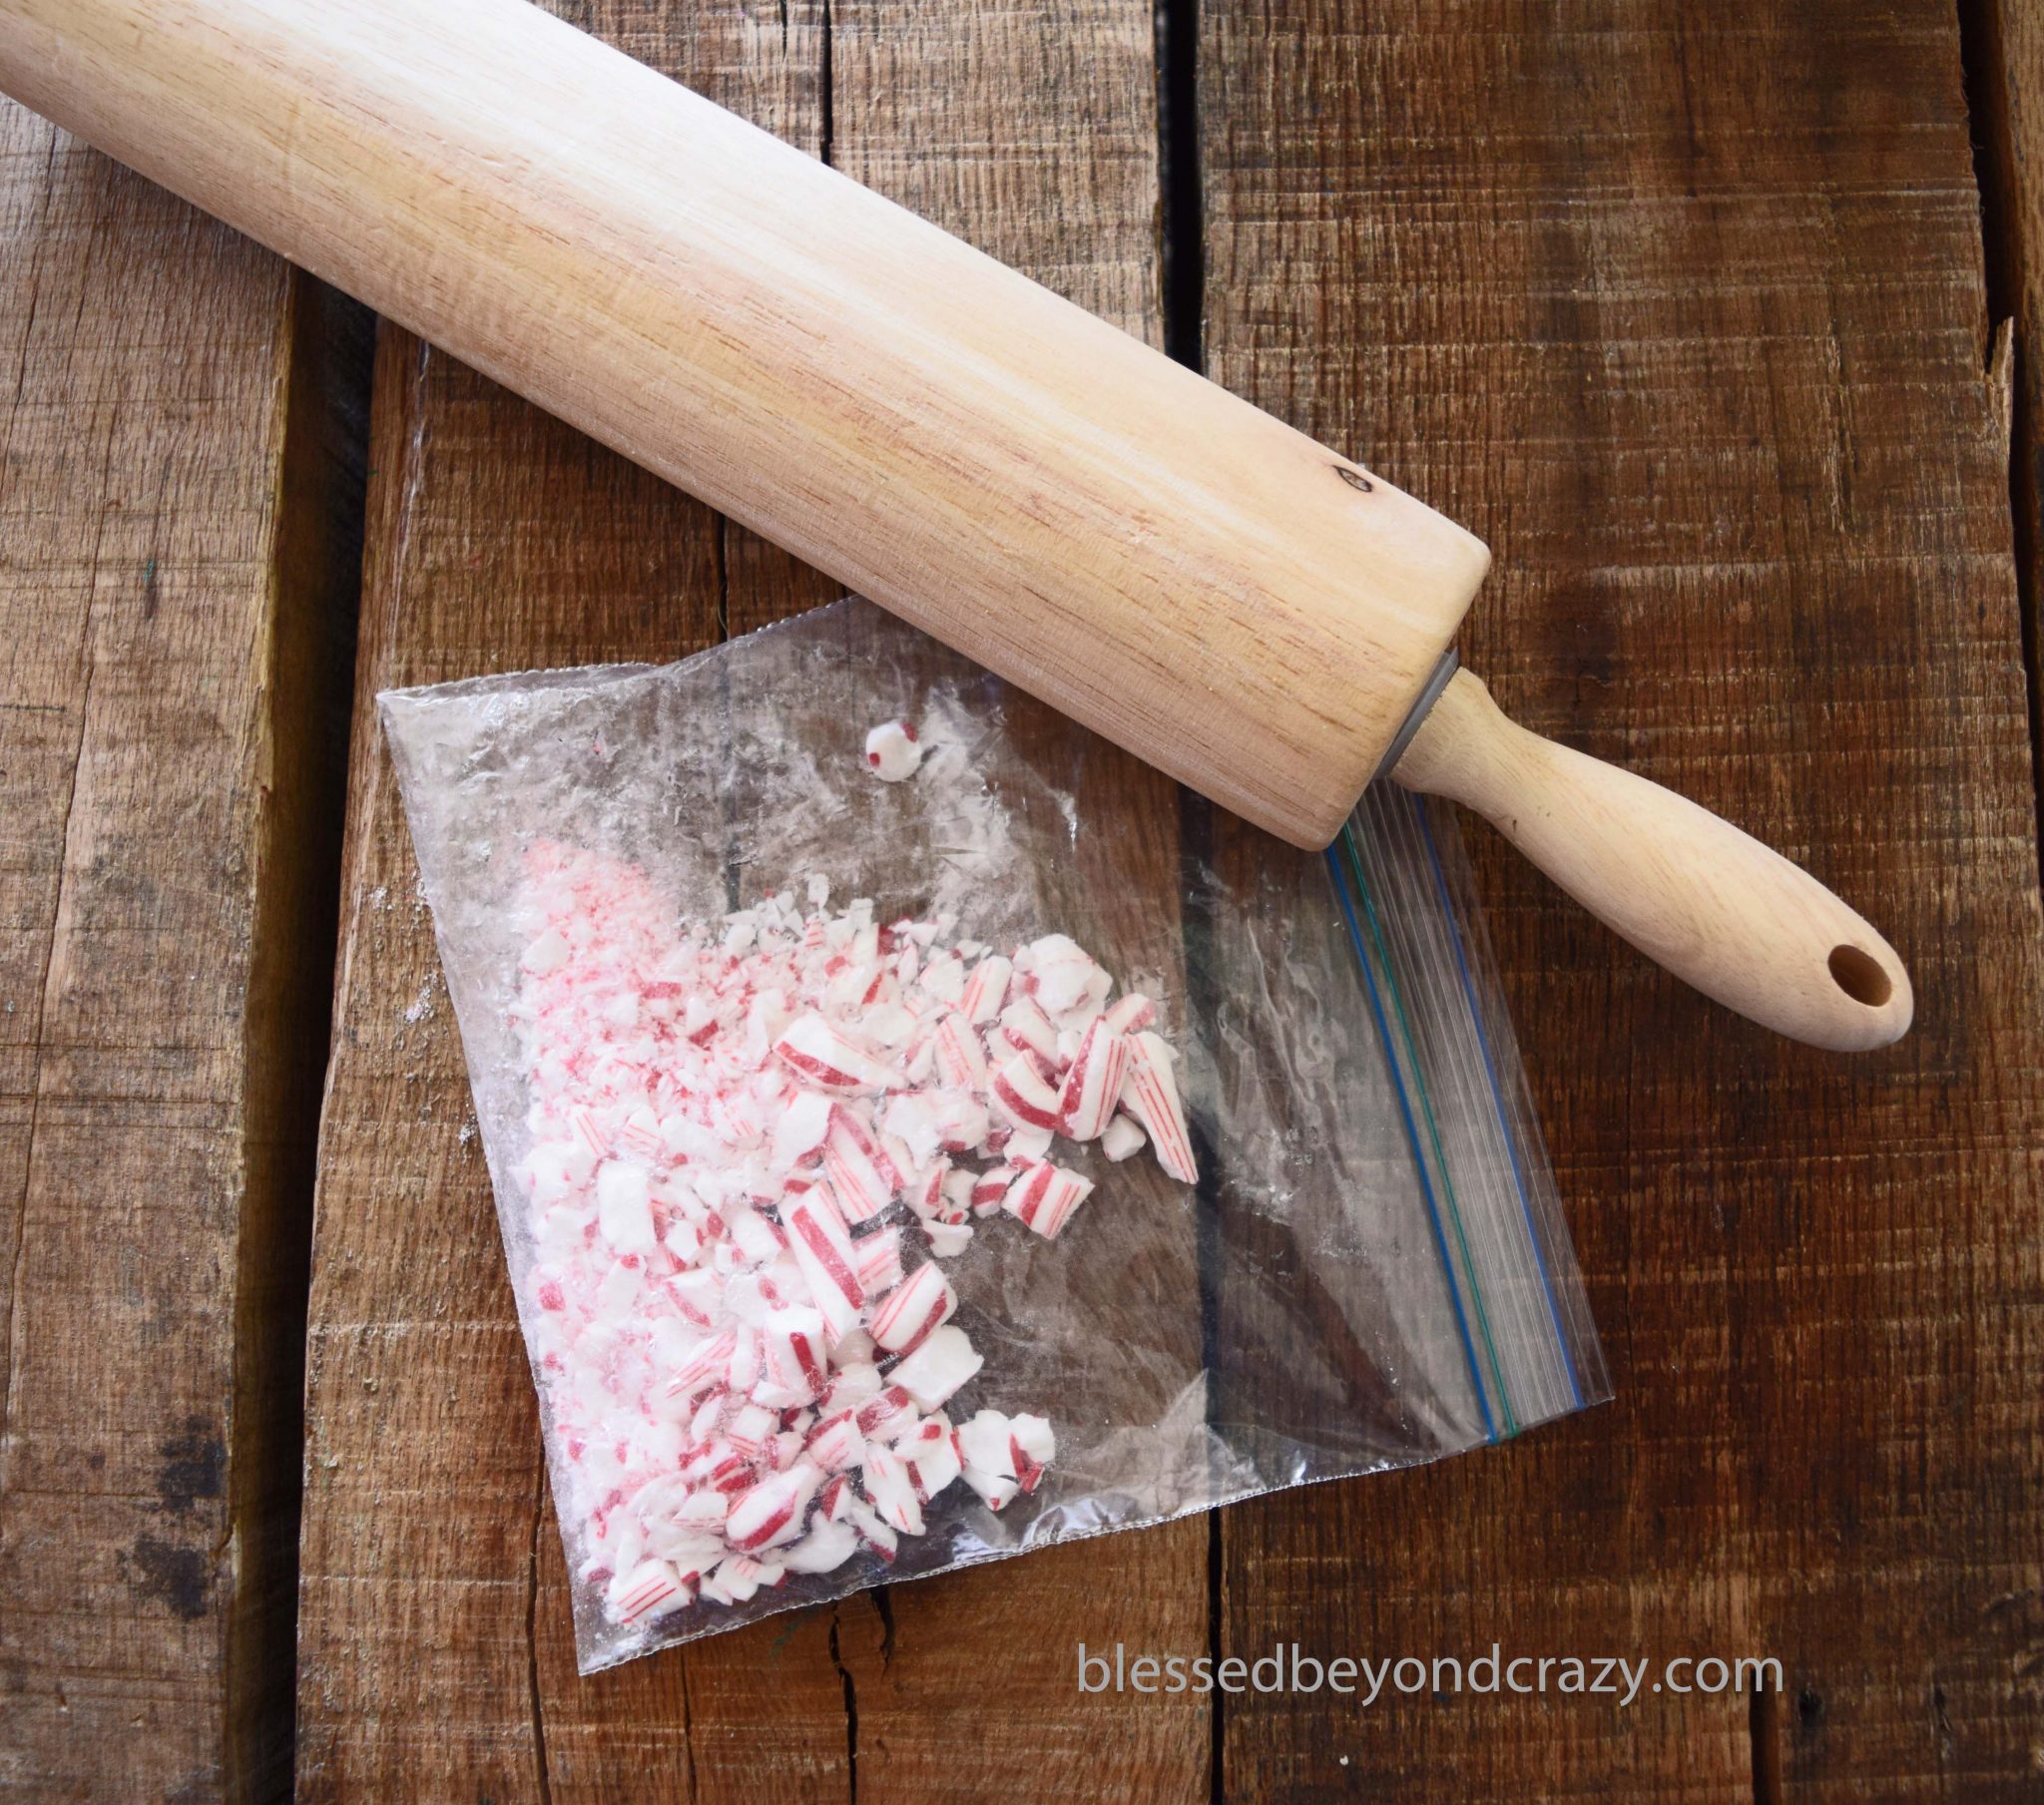
I used 3 candy canes. I unwrapped them, placed them in a baggie, and then smashed them with a rolling pin (a great activity to do if you’re stressed out)!
The amount of chocolate will depend on how much you want to make. I used 1 lb of milk chocolate chips. You can use whatever type of chocolate that you like. I personally like dark chocolate chips, but I knew my family members would prefer milk chocolate.
By the way, the ratio of 3 candy canes to 1 lb of chocolate worked out perfectly! So use that ratio if you want to make a double batch.
You will want to temper your chocolate. Tempering your chocolate will make it appear shinier, will prevent it from melting all over your hands when you touch it, and give it a crisper snap when it’s broken.
Click here for a detailed post on tempering chocolate: The Secret to Properly Melt and Temper Chocolate.

Once your chocolate is melted/tempered you need to spread it out either onto parchment paper or a silicone baking mat.
The chocolate needs to be spread in an even layer. You don’t want to make it too thin or the candy canes will break when you cut them out. Mine was about 1/2 inch thick.
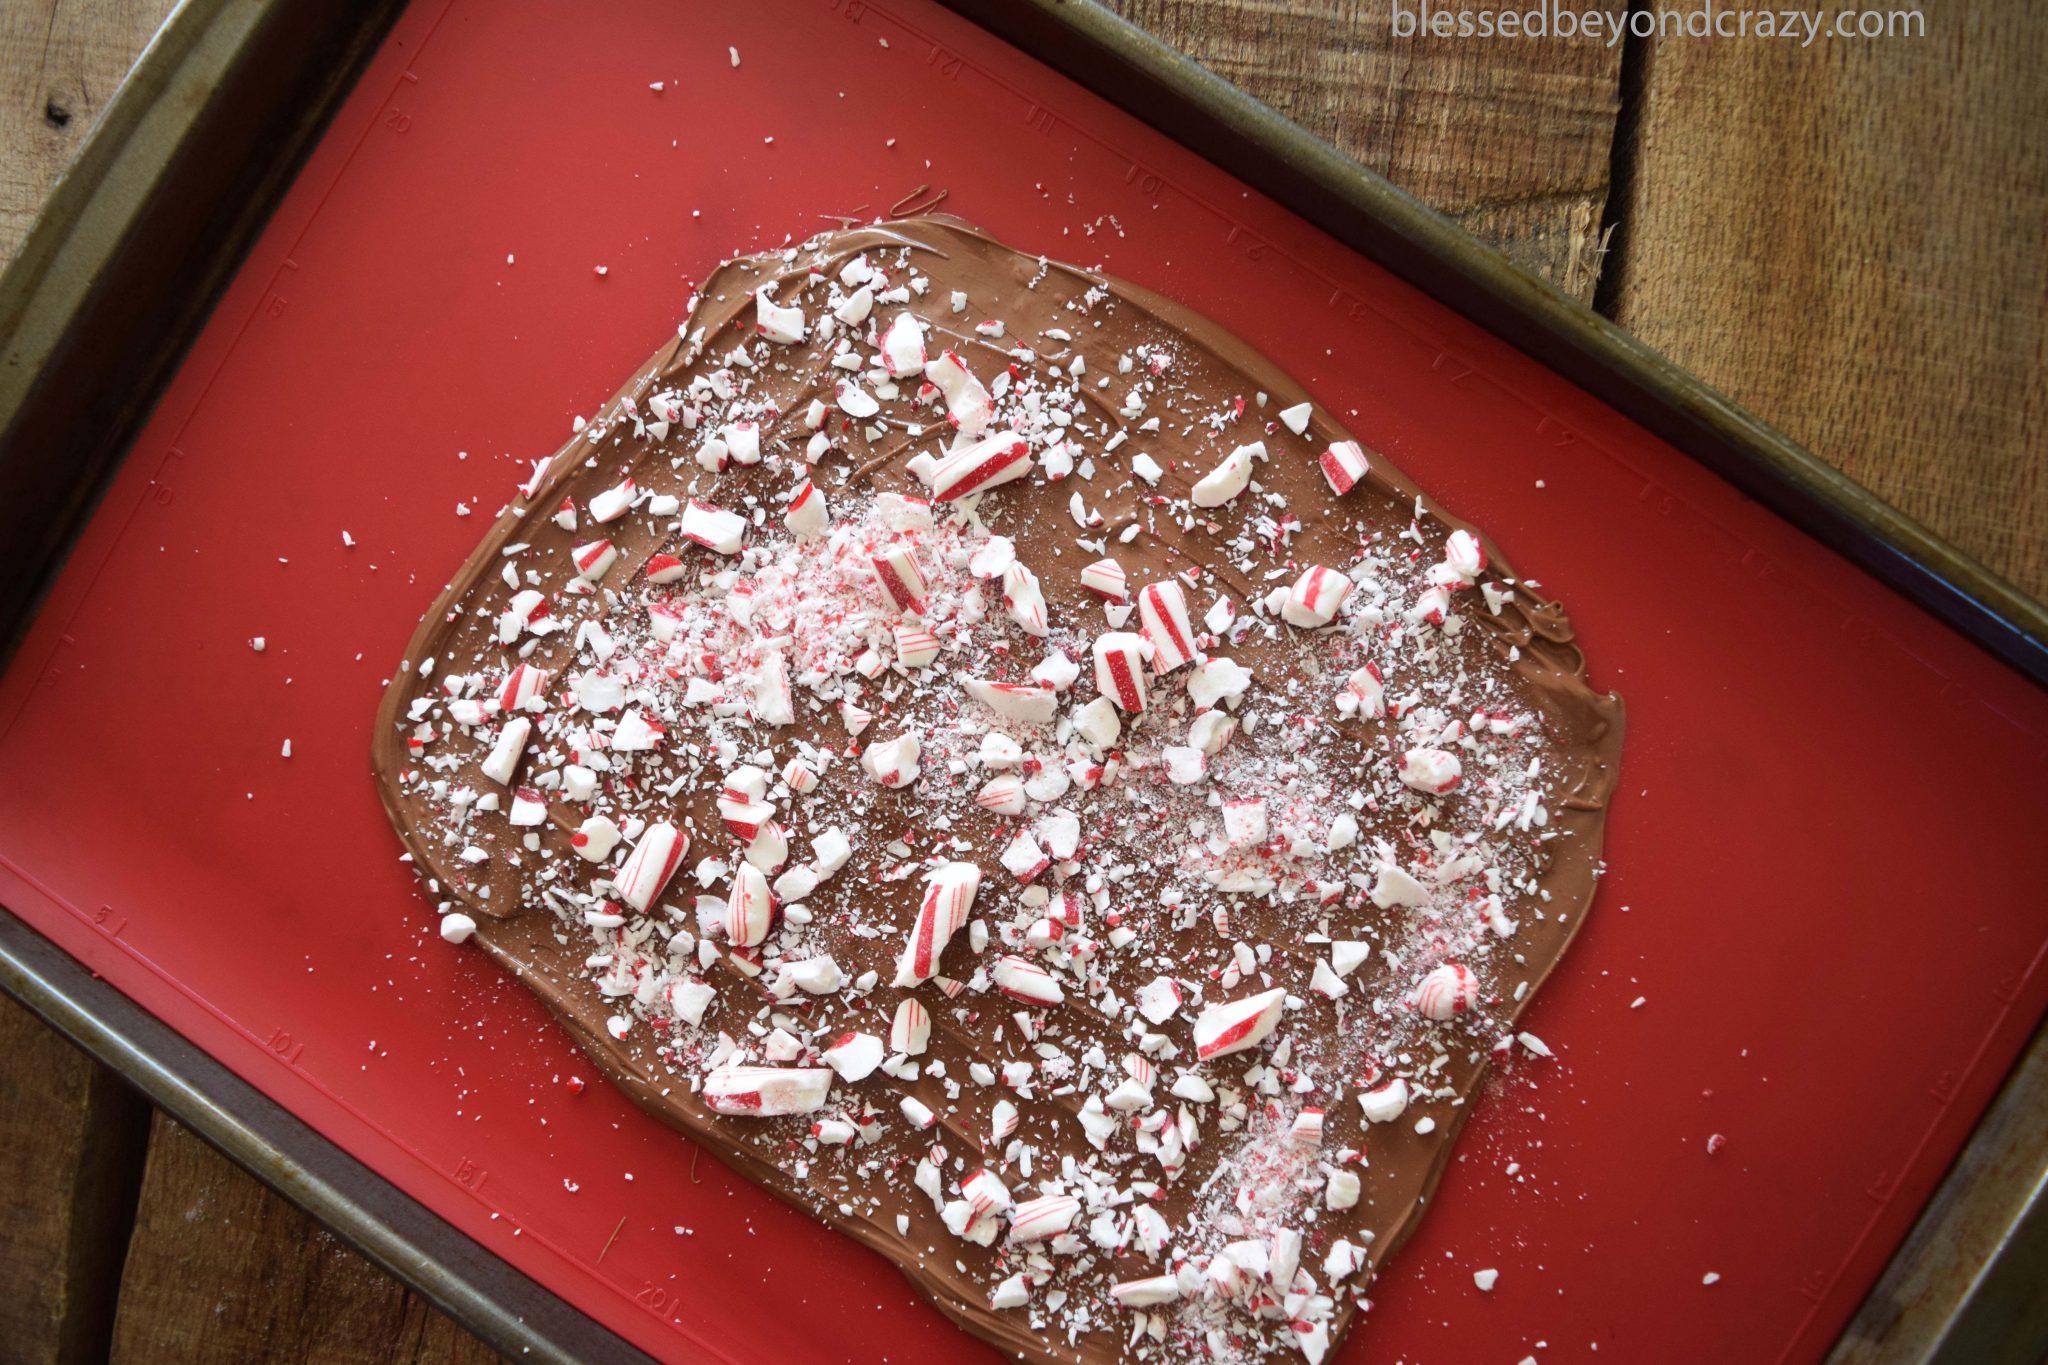
Quickly, before your chocolate starts to harden, sprinkle the broken candy cane pieces on top of your spread-out chocolate. You will want to gently press some of the larger pieces down into the chocolate so they don’t fall off after they are cut out.
It’s already so pretty!!!
Once your chocolate is covered in candy cane pieces place it in the fridge for about 10 minutes, or until it is just set. You don’t want it to be completely solid–just soft enough to cut it out and still hold its shape.
Take your candy cane cookie cutter and cut out as many pieces as you can.
Be sure to save the leftover pieces! Just because they aren’t as pretty doesn’t mean it doesn’t make wonderful Christmas Bark! They can still be used for hot chocolate or eaten plain!
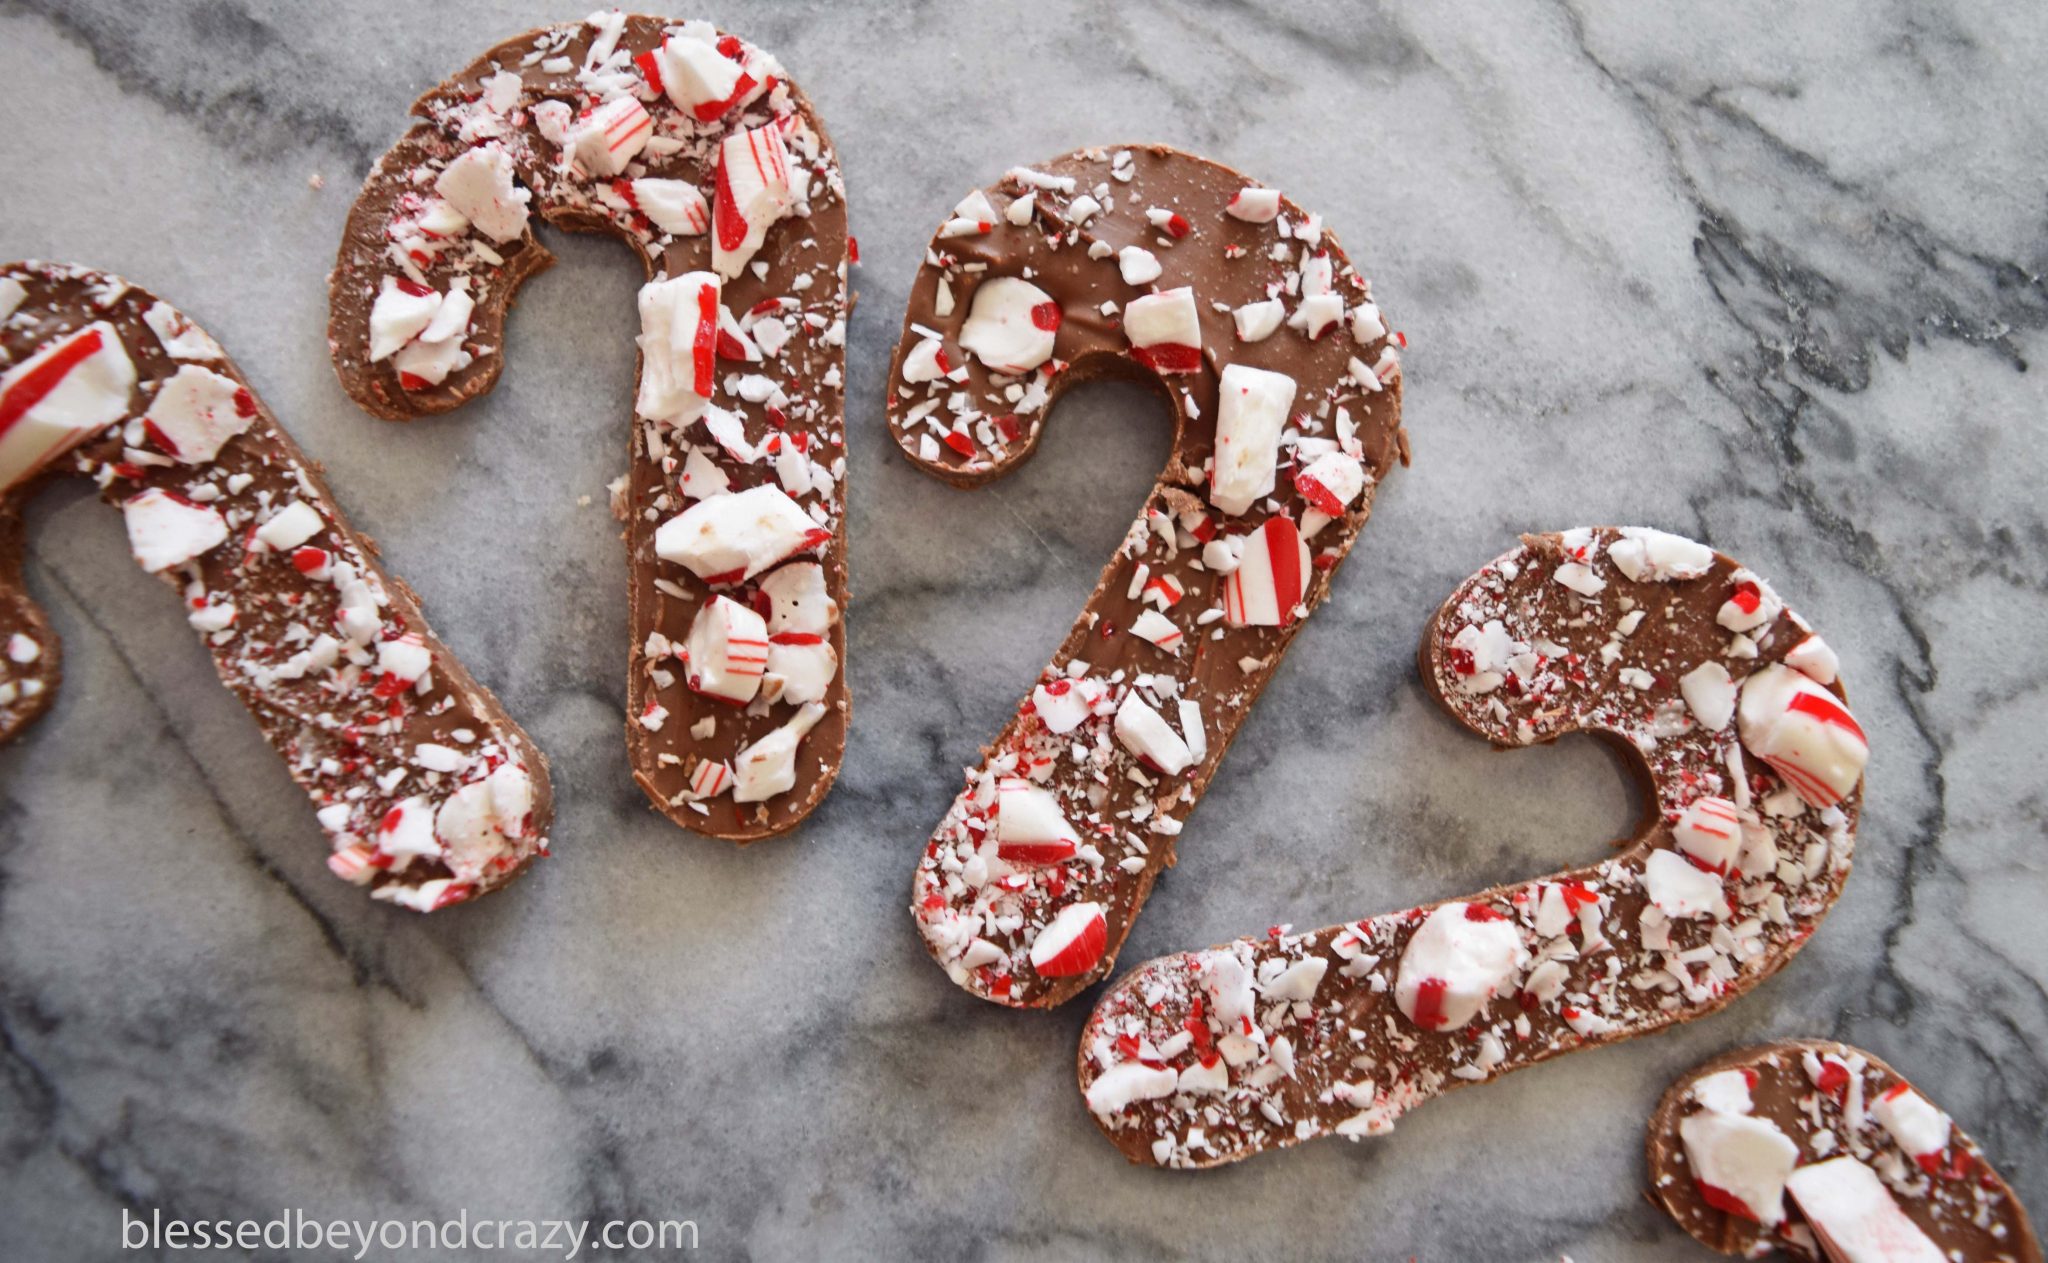
Once you have your candy cane hot chocolate sticks you can wrap them up and give them as a gift, dunk them in a mug of hot milk for your own cup of hot chocolate, or eat them plain!
Merry Christmas!
Anna
Don’t forget to Pin it!

Be sure to check out 6 Ways to Use Hot Cholate Mix — Besides Making Hot Chocolate!

Leave a Reply