
How to Remove Popcorn Ceilings
You can remove popcorn ceilings yourself, but be sure you are prepared. There might be more steps than you realize. Learn from my experience!
Recently, my husband and I purchased a new home and completely renovated it! Which is why I’ve been a bit MIA on the blog. Thankfully, my mom and blogging partner has been holding everything together!
To help support our blogging activities, our site contains affiliate links. If you make a purchase from a link on our site, we may receive a small percentage of that sale, at no extra cost to you. Blessed Beyond Crazy is a participant in the Amazon Services LLC Associates Program, an affiliate advertising program designed to provide a means for sites to earn advertising fees by advertising and linking to amazon.com.

The house we bought was built in 1972. It is incredibly well-built. However, not much updating had been done since… well… 1972. We spent two whole months completely renovating the place. I’m going to try to create blog posts about all the updates, so make sure to stay tuned if remodeling is your cup of tea.
As always, I learned a lot in the process. Nothing ever seems to go how you expect it to when remodeling something yourself. Flashback to painting a bathroom counter-top- don’t make the same mistakes I did!
One of the first things we did was scrape the popcorn ceilings.
Here’s how I thought it would go:
- Wet ceilings with sprayer.
- Scrape ceilings until smooth.
- Maybe sand as needed.
- Paint ceilings white.
Needless to say, it was a bit more than that. Okay, quite a bit more than that, unfortunately.
Part of me is thankful that I didn’t know all it would take, or potentially I would have thought it wasn’t worth the effort. Part of me wishes I would have known, so I could have been mentally prepared. I was not mentally prepared, and it hit me hard in the midst of all the remodeling drama.
Now I am totally thankful that we have smooth white ceilings and I don’t regret it at all! And I think, if it works for you, you should scrape your popcorn ceilings too!
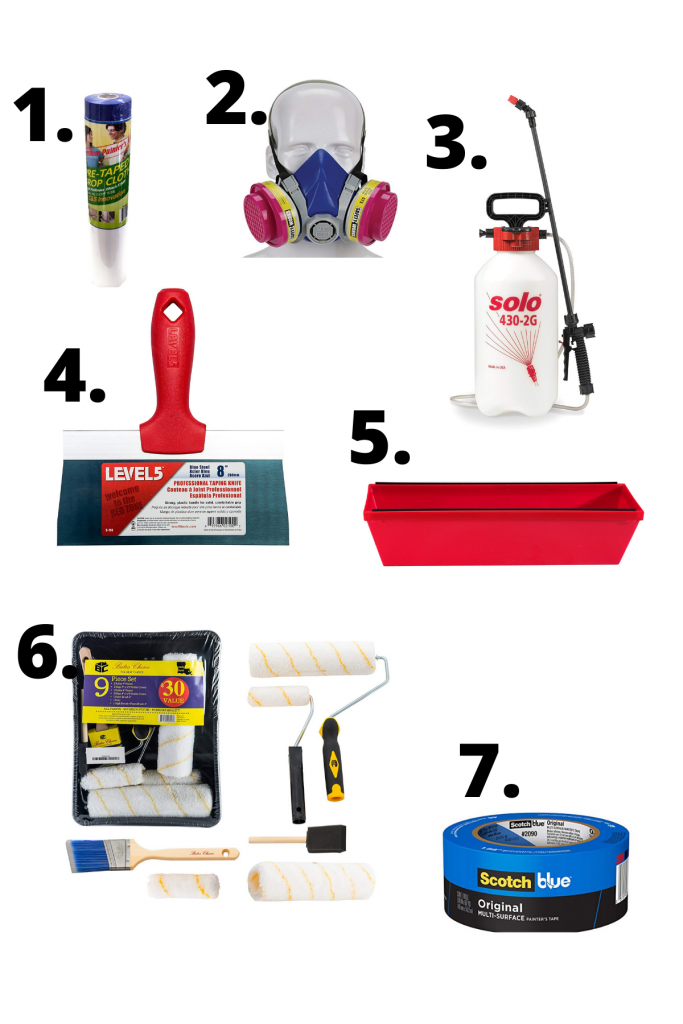
Supplies
Here are the supplies I used to scrape our popcorn ceilings.
Prep
We had just bought this house, so there was no furniture or stuff to move out of the rooms. We did pull up all the carpet. There was only subflooring. If you are already living in your home, you will want to pull all the furniture out and cover the floor with something to protect it.
Mistake #1: We didn’t really talk a lot about the process or order that remodeling jobs needed to happen. I went ahead and painted the walls of the rooms, mostly because that was something I could do all by myself. I should NOT have painted the walls until after the ceilings were done. There was a LOT of touch-up painting we had to do because this order was wrong.
Technically, if your home was built before 1980 you should have your popcorn ceiling tested for asbestos. I hear you can do this at your health department. I was planning on doing this until one day I showed up at the house and half of a bedroom ceiling had already been scrapped. We just kept working and never got it tested. But I did wear a pretty fancy respirator, just in case. I also made sure my kids were not inside while the scrapping was happening. Don’t be like us, get your ceiling tested if your house is old.
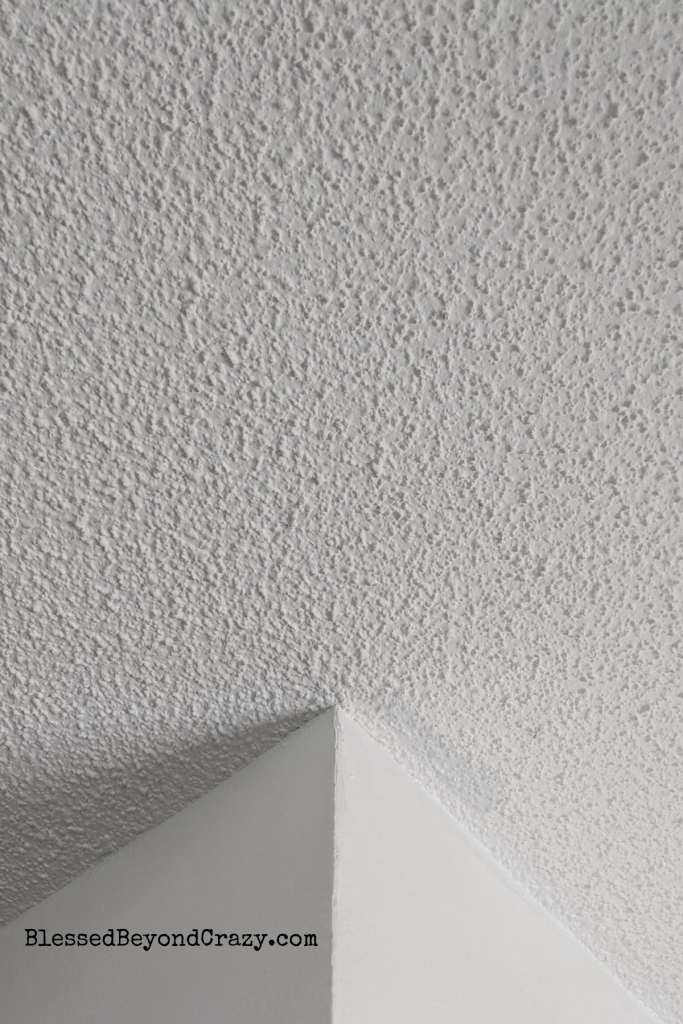
Step 1 and 2: Wet and Scrape Popcorn Ceilings
Spray your ceilings with water and scrape.
We used a weed sprayer (cleaned out well) filled with water. It worked beautifully! We got the ceilings wet, then used an 8-inch putty knife to do the actual scraping. We thought the bigger, the better (or faster), well turns out that wasn’t true, and the 8-inch putty knife really did work the best.
As we scraped with one hand, we held a mud pan under the putty knife to catch most of the scrapped popcorn as it fell. This didn’t eliminate the mess, but it sure helped a lot!
I couldn’t believe how easy these steps were! It went so fast and the popcorn came off so easily! I think it took under an hour to do a 12 × 10 bedroom.
I’m sorry I don’t have a picture of this step. It all happened so fast, and I didn’t know this was going to turn into a blog post.
Step 3
I assumed this step would be some light sanding and then move on to painting. Unfortunately, I was wrong.
We had a friend stop by at this point to see our new place. She has a lot of experience in DIY paint and remodeling areas. She asked us all about our plans with our newly scraped ceilings. Then she informs us that they really need to be skimmed coated, and she could recommend a drywall guy who could do it quickly.
I had a really rough week and was not prepared to hear this news. I didn’t want to have to hire someone to finish what we had already started. When people said remodeling takes more time and money than you expect, wow are they right! And this friend was right too. We couldn’t just paint over the ceilings. It would have looked uneven and splotchy.
Thankfully, the guy she recommended was available to come right away and give us a quote, that was more than fair! He ended up being a lifesaver in many ways during our remodel. We didn’t have anyone in our family who is great at drywalling, so this was an area we couldn’t DIY and had to hire out.
So step 3 is not sanding, it’s skim coating, and then sanding.
Step 4
Paint, finally something I am capable of doing. All I needed to do was buy some ceiling paint and get to work, right? Sadly, wrong.
Mistake #3: Since I was painting a ceiling I thought I would only need ceiling paint. Nope! Remember this is OLD drywall, like 1972 drywall. They soaked up all my paint, and it looked like there was no paint on there at all after the 1st coat, and the 2nd, 3rd, 4th, and 5th coat!!!! Whoa! 5 coats of paint before they finally looked like they had any paint on them. I was a little unhappy. Obviously, they should have been primed first! It seems so obvious now.
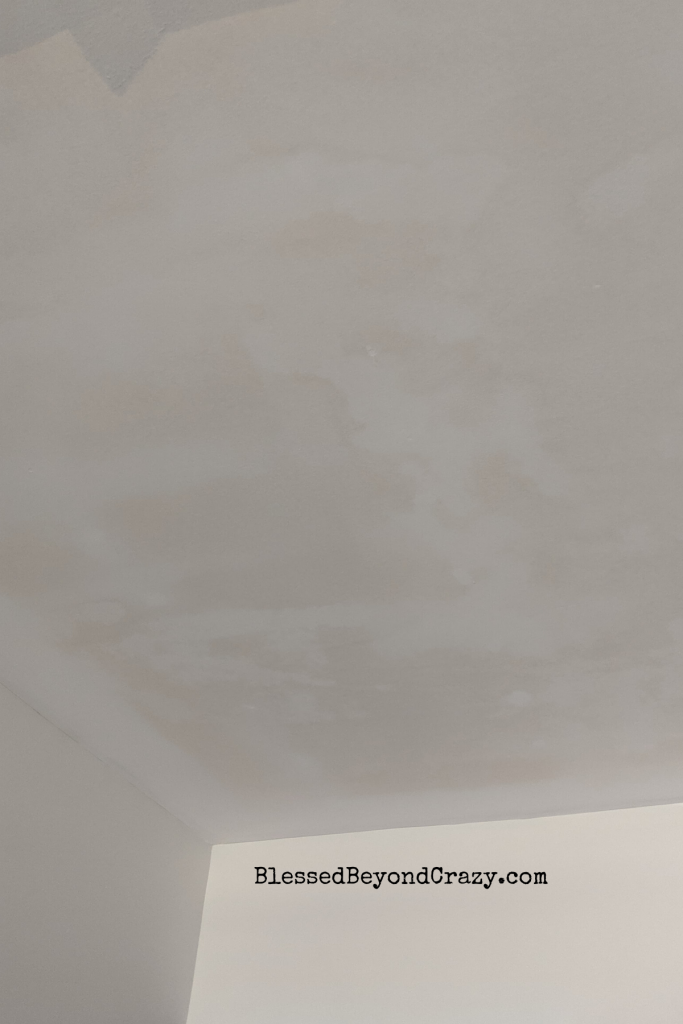
This picture was taken after FIVE coats of paint!!! I was so frustrated! See how splotchy it looks.
So, step 4 is actually PRIME! Buy some sort of primer that is specifically for drywall. I only did one coat of primer, but I wish I would have done two.
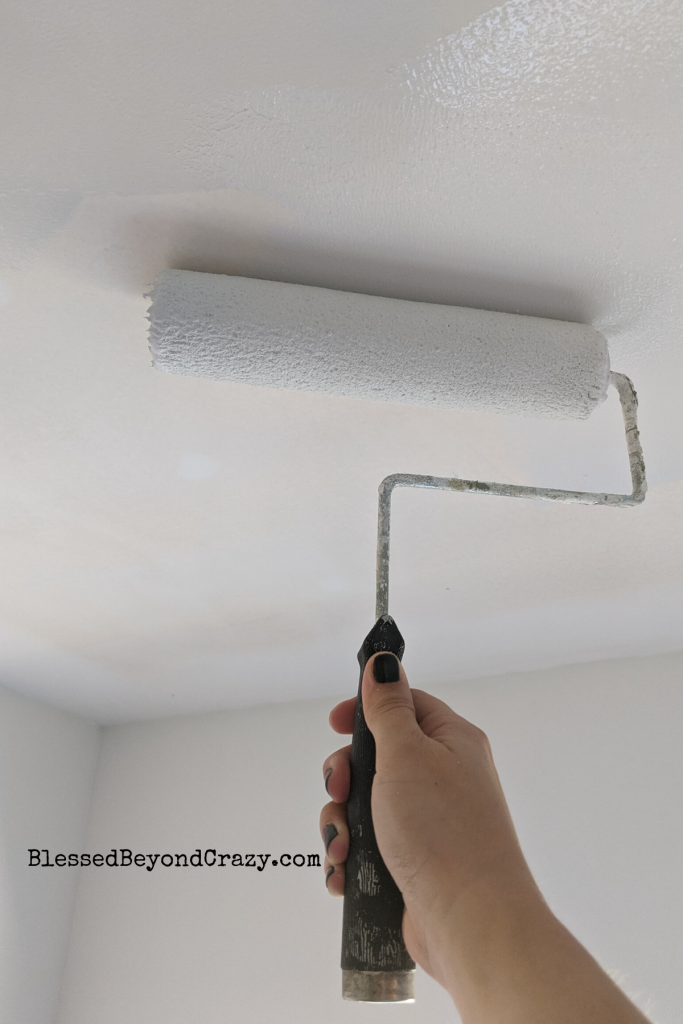
Step 5
Okay… finally! It’s time to paint! I can’t possibly mess up this step right? Haha, don’t underestimate me!
Mistake #4: Okay, it’s not really a mistake, just something I wished I would have done differently. I bought ceiling paint, right, because I’m painting a ceiling, it makes sense. Ceiling paint is just as expensive as normal paint, but I thought it seemed thinner. I wish I would have bought a durable, thicker paint that was a flat white.
The lesson for this step is that you don’t have to use ceiling paint!
Popcorn Ceiling Removal Conclusion
Despite all my mistakes and lack of information, I am so glad that we went ahead and removed the popcorn ceilings. My ceilings do look wonderful now!
Don’t forget to Pin it!

Want to learn more from my remodel and DIY mistakes? HAHA! Check out the time when we painted our bathroom countertops!


Amanda says
Oh man!
My heart sank the moment I read that you jumped straight to paint without primer!
It’s like watching a movie and you know what’s going to happen before the characters do haha
The best experience however, is experience! Good on you for going for it.
Obviously I’m coming into this late, but for the sake of anyone who may stumble onto this – ceiling paint, while it seems thinner – is formulated specifically for ceilings and is really the best way to go. It gives you the grace of hiding many imperfections with its ultra flat finish and being thin in consistency actually helps it to apply with less texture as a result of gravity. Wall paint is bulkier and more weighted. It can be used and so long as it’s flat, it’ll help hide imperfections, but ceiling paint really is your friend (:
Great job either way and a good lesson for those looking to tackle the 5th wall.
Becky says
The paragraph about using an 8 inch putty knife (step 2) is confusing. Did you use an 8 inch putty knife or something else?
Alicia Hursley says
This worked like a charm! I am so glad we found your post. It saved us a ton of time and money fixing up our old popcorn ceiling. I especially appreciate you sharing your mistakes. All of the money we saved is now going toward a wood floor resurfacing to complete our look and get our home on the market.
Blessed Beyond Crazy says
Yay! So happy I could help you save money!