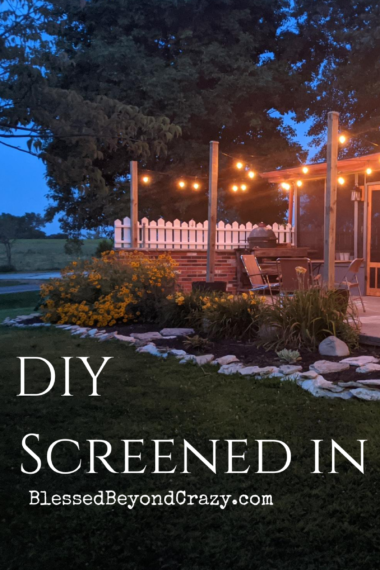
We built our own screened-in porch and gave our patio a makeover!
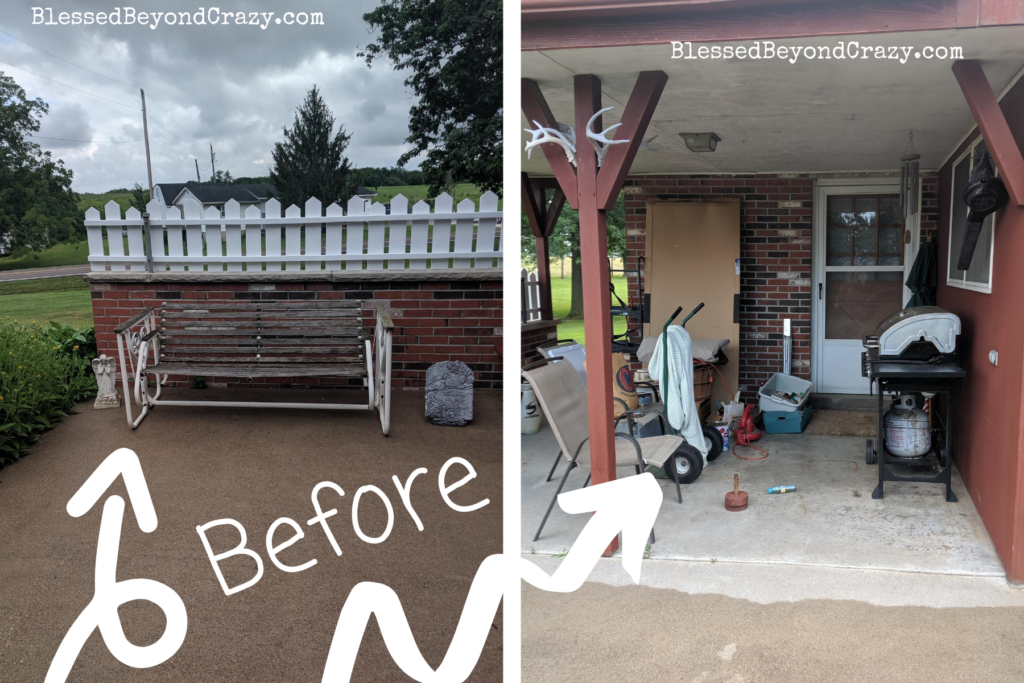
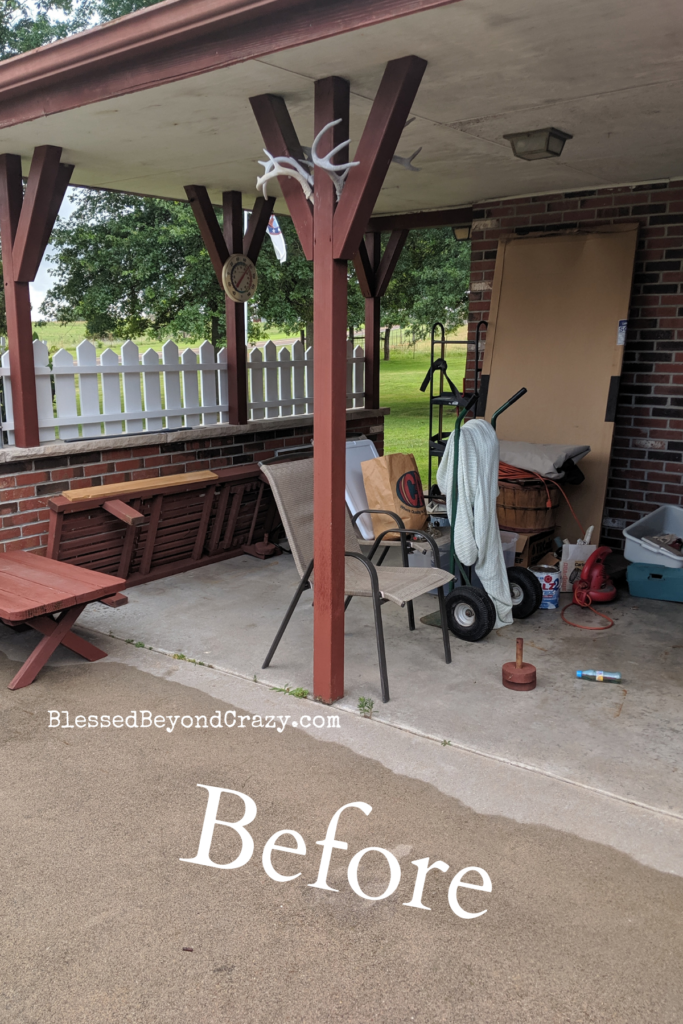
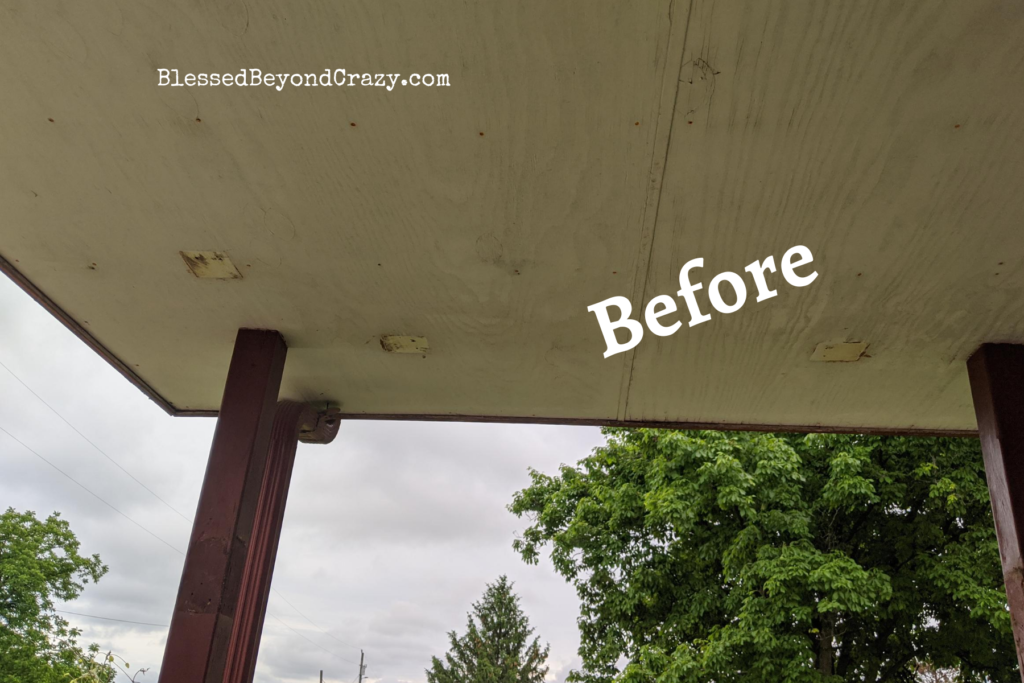
The above pictures are what the porch area looked like when we bought the house. The uncovered area was not bad at all. There was an old swing and a nice big concrete slab. However, the covered area was just used as outdoor storage. We thought it had so much potential, but when we moved in, we fell into the same trap and used the covered area as storage. It was not pretty. Then we gave our patio a makeover and added a screened-in porch.
To help support our blogging activities, our site contains affiliate links. If you make a purchase from a link on our site, we may receive a small percentage of that sale, at no extra cost to you. Blessed Beyond Crazy is a participant in the Amazon Services LLC Associates Program, an affiliate advertising program designed to provide a means for sites to earn advertising fees by advertising and linking to amazon.com. As an Amazon Associate I earn from qualifying purchases.
Once the weather got really nice in the spring, we decided it was time to make this space more functional.
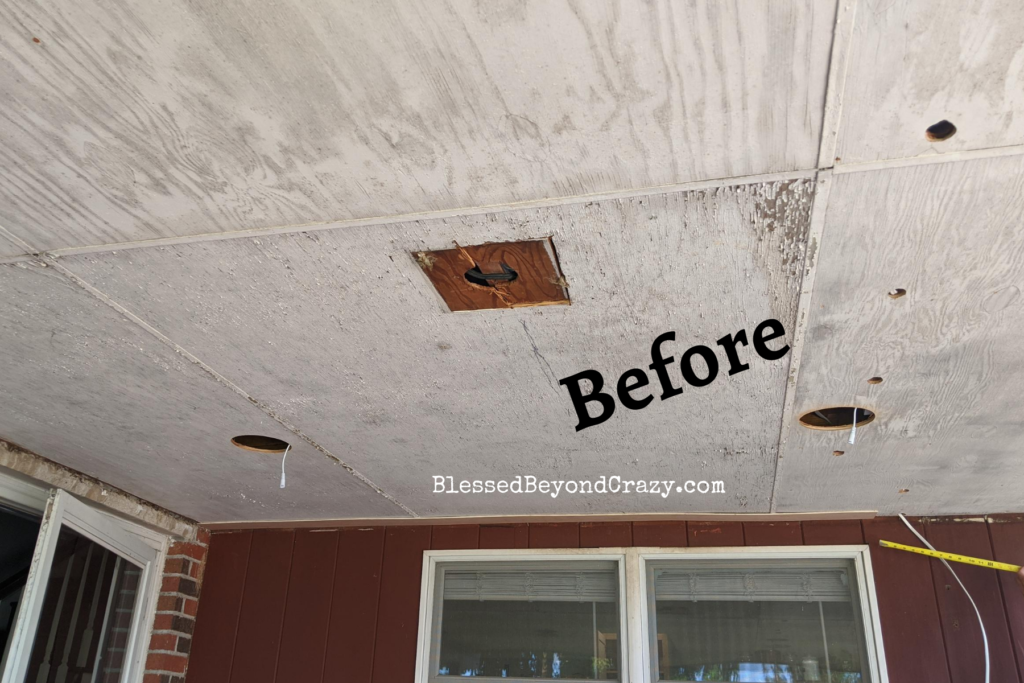
Starting with the Ceiling
There was one dim light on the porch, and it was outdated. We started by removing the light and drilling more holes in the ceiling to add four can lights instead, as well as extra outlets. The ceiling dimensions were somewhere around 15′ x 11′.
This ended up being more time-consuming than I was mentally prepared for. An entire day spent on drilling holes in the ceiling and fishing for electrical wires.
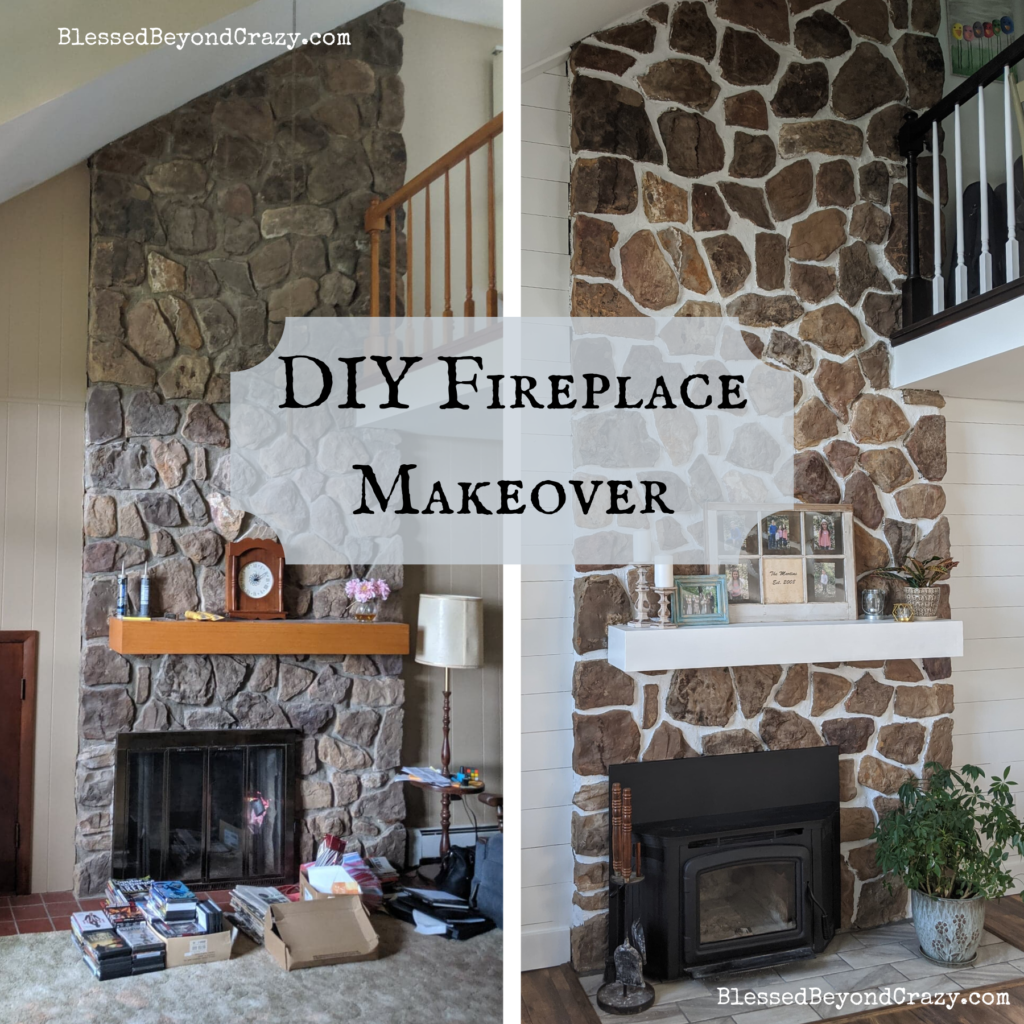
For the ceiling, we used the exact same sub-flooring we used to make faux shiplap, which can be seen next to our fireplace in this post.
For the shiplap, we cut it in strips of six inches, for the ceiling planks we cut it in strips of four inches. This sub-flooring was around $14 from Lowe’s for a 4′ x 8′ sheet. It is the least inexpensive, thinnest sub-flooring they have.
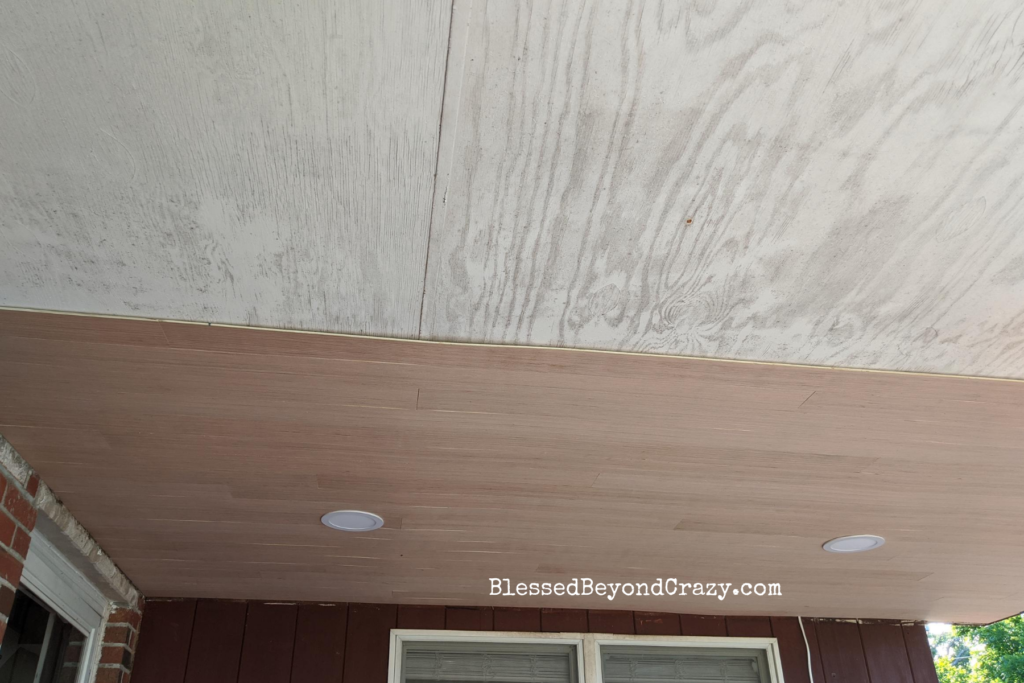
Once all the boards were cut down into strips the ceiling went up quite fast! We had a friend helping us, so there were two people holding the planks up and air nailing them in, while I cut the strips to the correct length (yup! I used a miter saw and cut every single one of those boards! I’m a little proud of myself.)
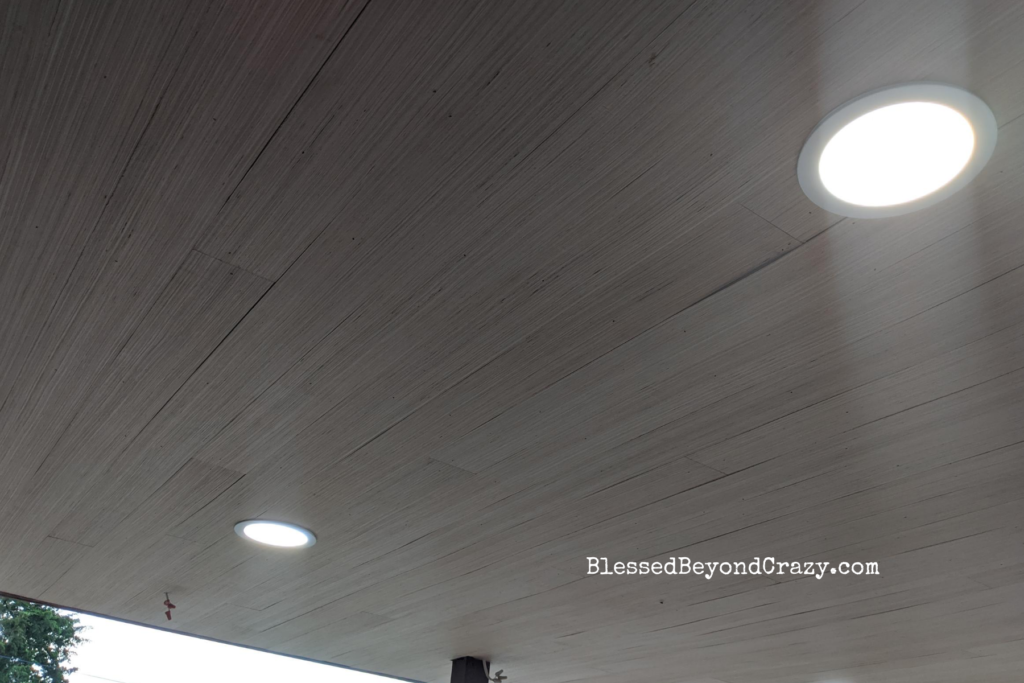
Here the ceiling is finished! We bought a gray-wash stain and stained it. If I could do it over, I would pick something lighter. The gray-wash looks fines, but it was not what I was envisioning.
The Lights inside the Screened in Porch
Here are the can lights that we used in our porch. We also installed over 20 of these throughout our house (10 in my kitchen alone) and garage. We are a little obsessed with them. My husband loves how easy they are to install! He also put them on a dimmer switch, so we can control how bright it is inside the screened-in porch.
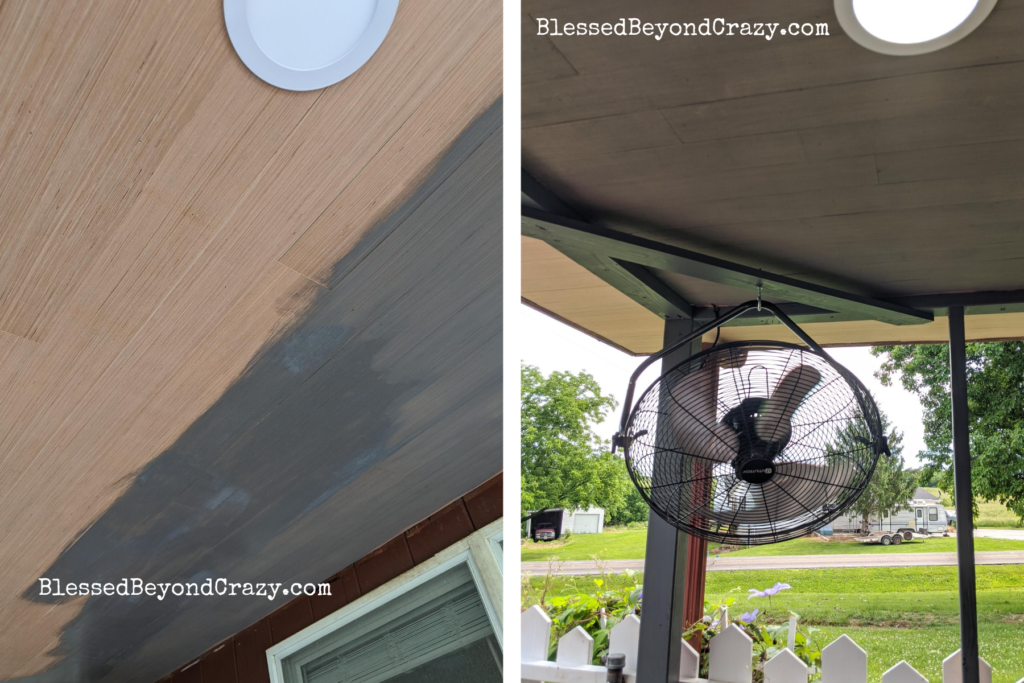
We also mounted a fan in the corner, which cools the whole room down on hot days. An actual rotating ceiling mount fan can be upwards of $200. We bought a floor fan and Seth was able to cut off the plug and wire it up into our ceiling, then mount it on a rotating bolt. It cost around $50, which was a huge saving!
The Screened-In Porch Walls
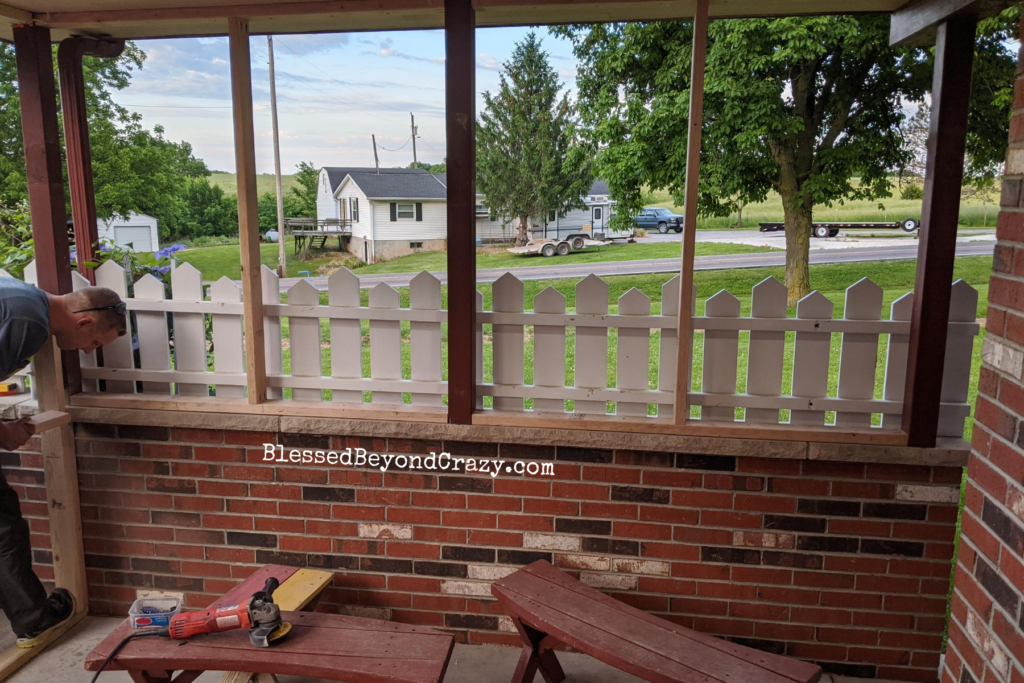
The red posts are the original posts that hold up the ceiling. We divided the space in half to add additional posts to hold the screen. Seth had to use a rotary hammer drill with tapcon screws into the cement ledge to secure a 2×4 for the bottom frame, same with the frame on the floor.
Because the frame was going to be completely exposed, we wanted them to look as nice as possible, so we used a Kreg Pocket HoleJig to connect all the boards.
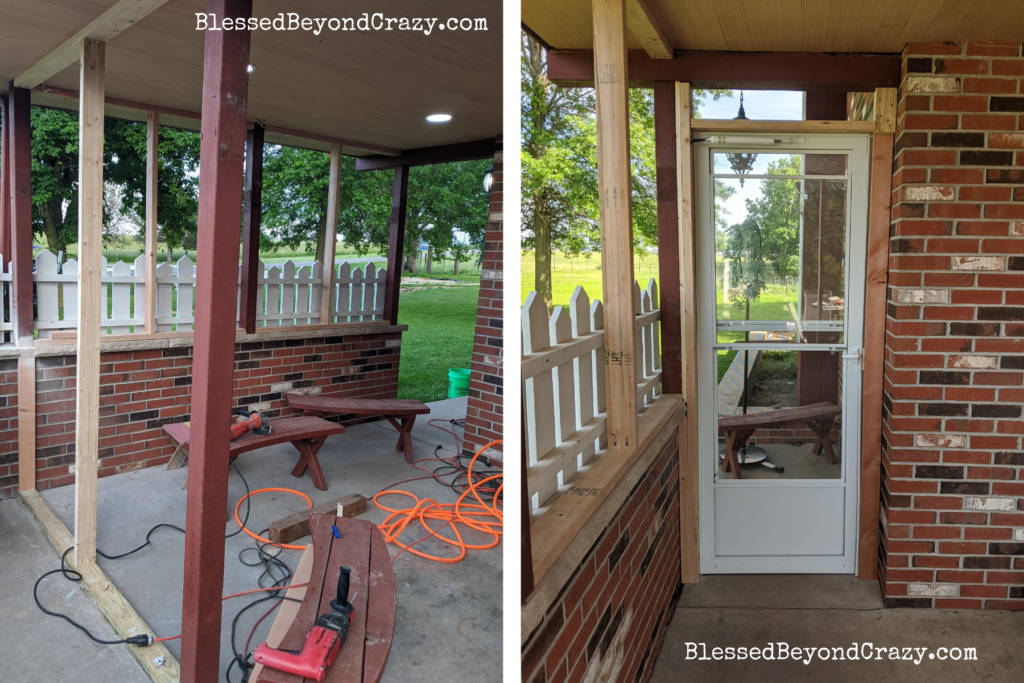
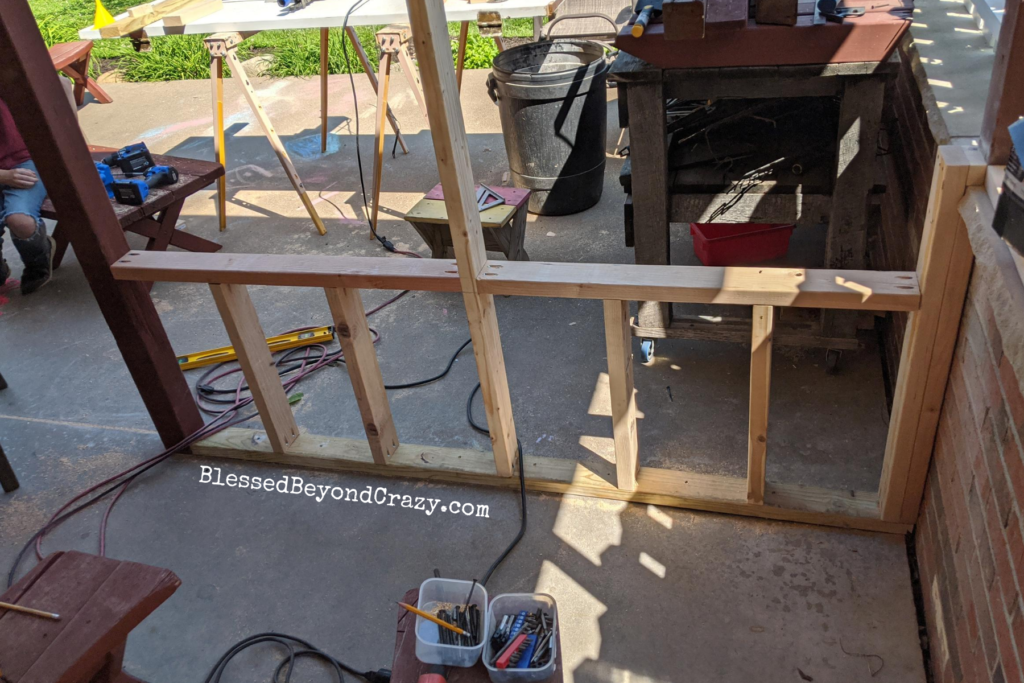
We decided to add a knee wall because we have a puppy and little kids. We didn’t want them to come crashing through the screen. Plus, the knee wall turned out GORGEOUS!!! Just keep scrolling for the pictures.
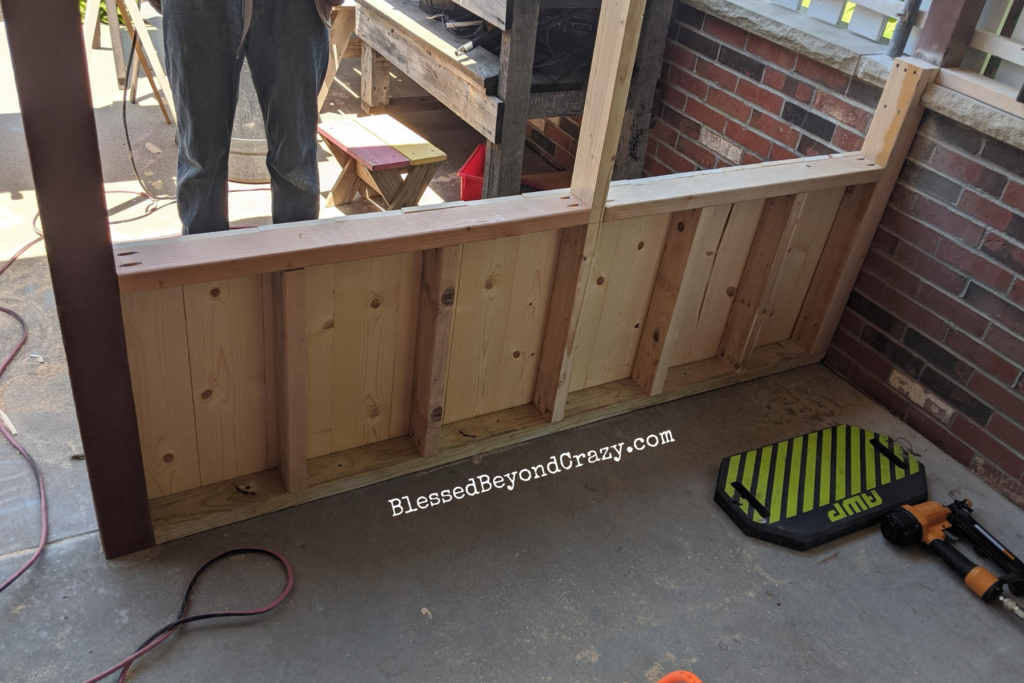
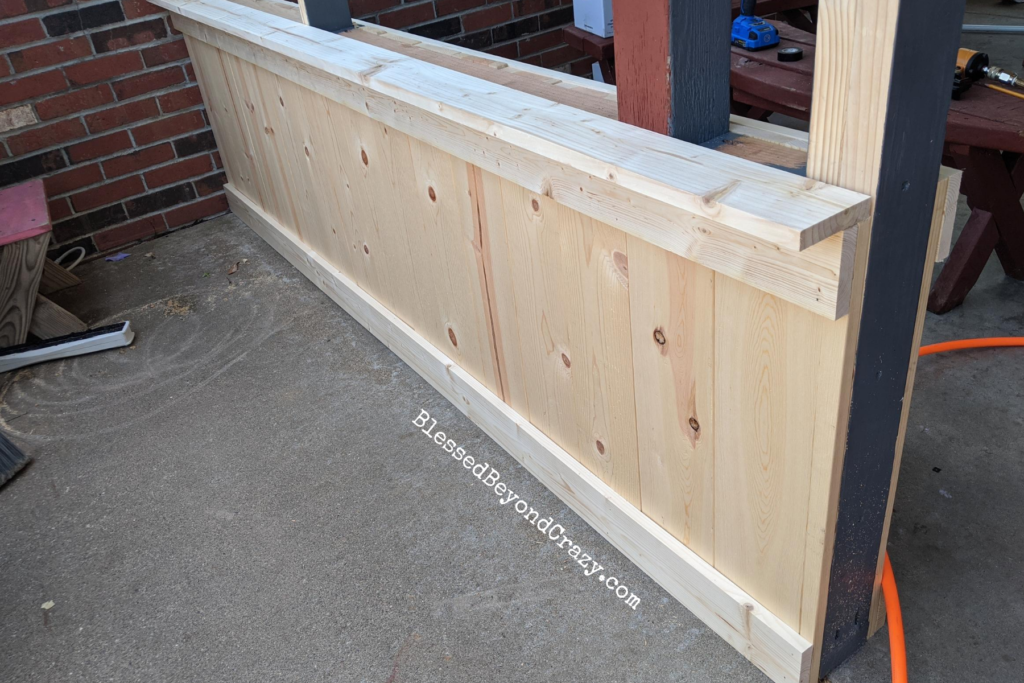
That ledge was there temporarily because we stapled the screen into place and then secured the ledge over the screen.
The Screen
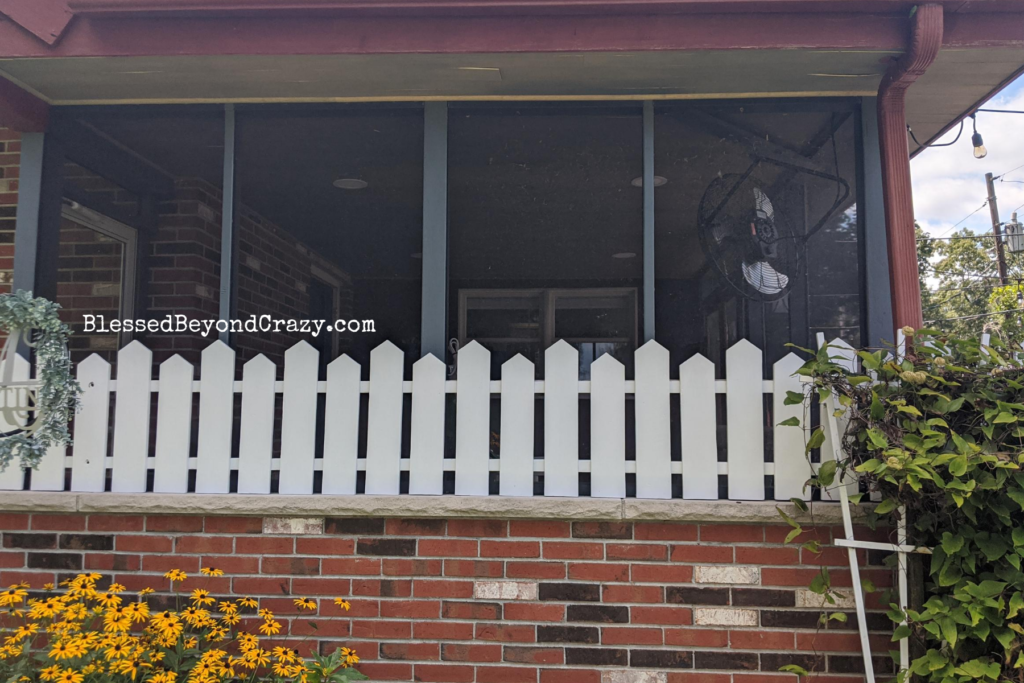
Oh! It’s so beautiful! I painted the whole thing Sherwin Williams Web Gray to match the color of my front door (to the left of the screen-in porch and not in this picture). We bought our screen from Amazon.
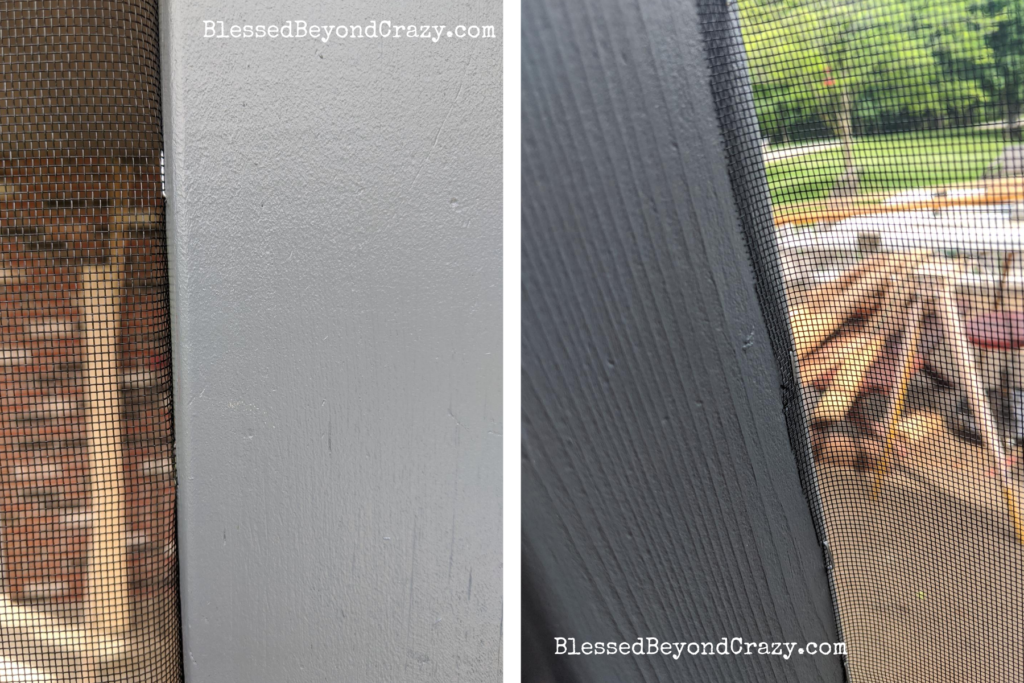
Okay, here is how we secured the screen. Seth used a staple gun and folded the screen to the inside. The picture on the left is from outside the screen-in porch, and the picture on the right is from inside the screen-in porch.
The Screened-In Porch Doors
This is my favorite part! Seth made custom doors that hinge both directions (think saloon doors). The hinges were painfully expensive, but totally worth it because we use those doors every time we leave our house and it is so convenient to push on them no matter which way we are going.
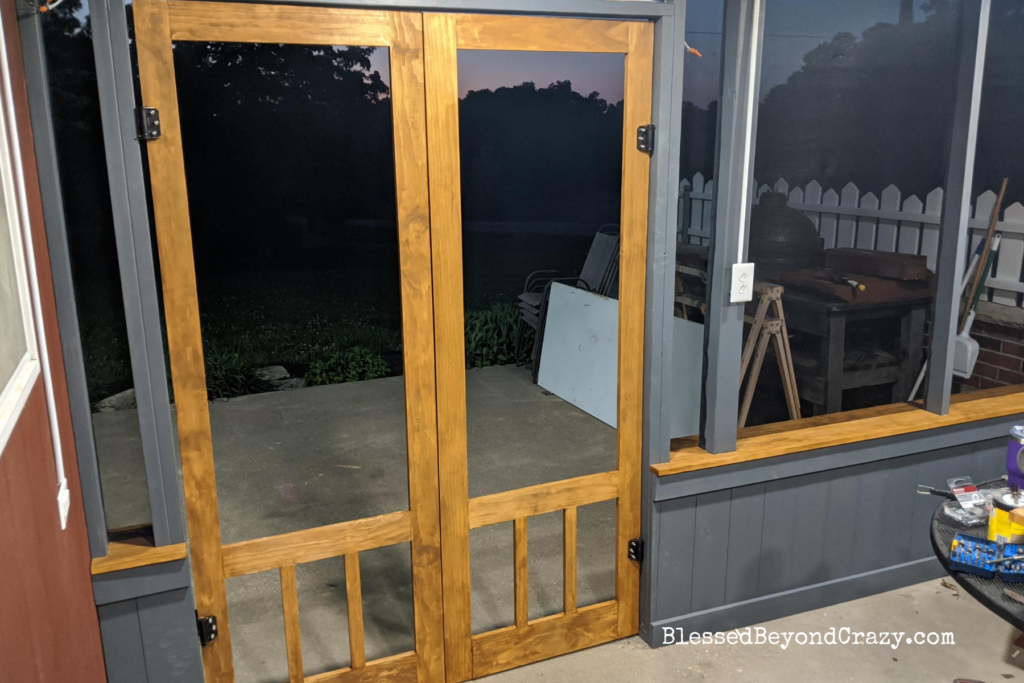
We decided to go with double doors, so we can move a patio table in and out as needed. Each door is 28 inches wide.
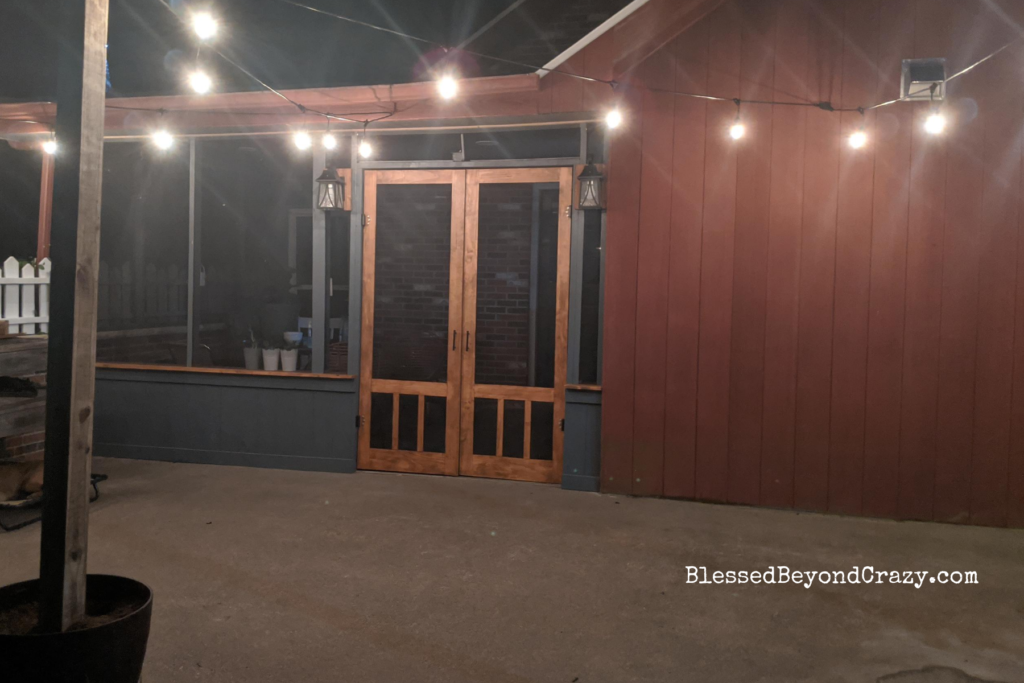
This shows part of our patio make-over with the new string lights. Those string lights make the patio feel absolutely magical! The lanterns on each side of the doors are dawn to dusk lights which means they automatically turn on when it’s dark.
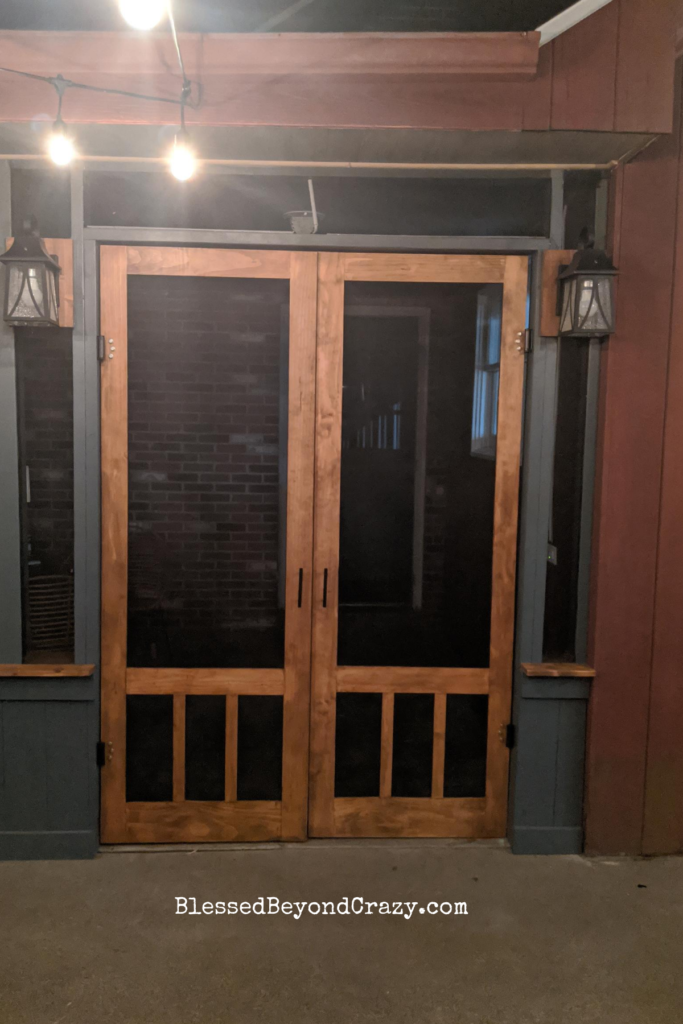
I use my screened-in porch so much more than I ever expected! It has really extended our usable living space.
Patio Makeover
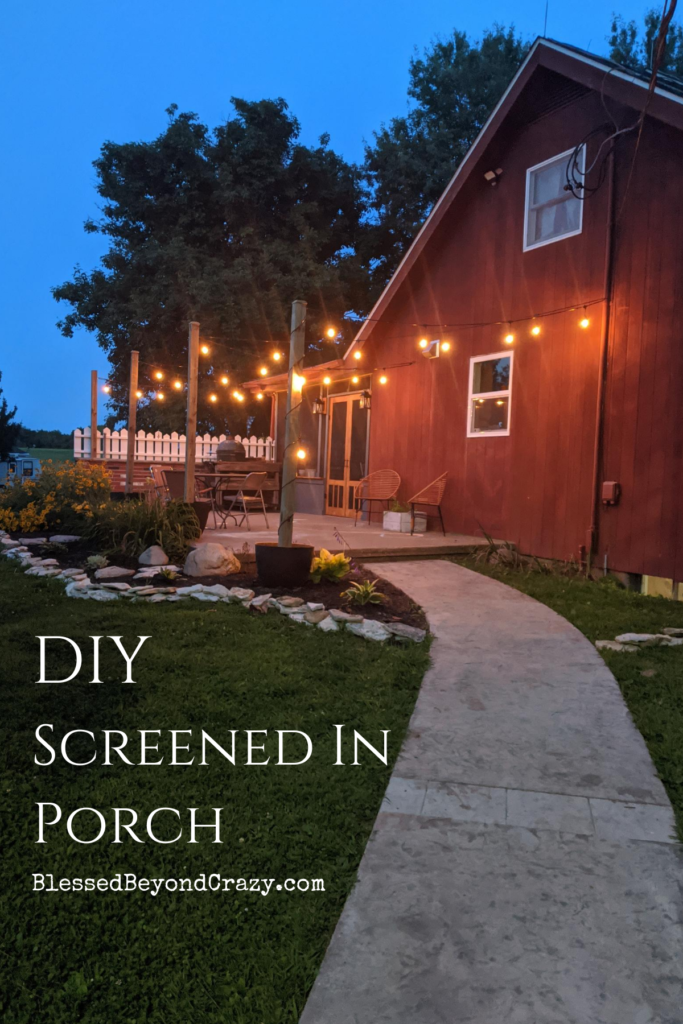 To makeover our patio we cleaned our junk off it first, then bought these magical porch sting lights, some posts, and planters. We added some Quikrete to the bottom of the planters to secure the posts in them. In the spring, I’ll plant some flowers in the planters. We also spent the summer updating our landscaping with river rock, mulch, and additional plants.
Materials
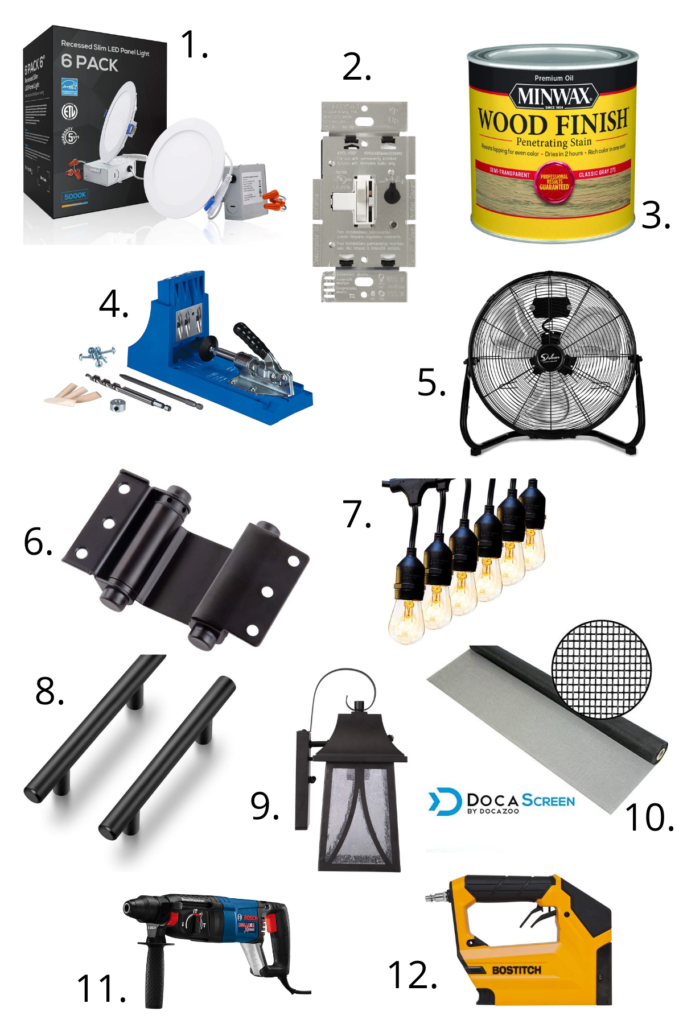
- Recessed Lights 6 Inch Lights
- Dimmable Light Switch
- Minwax Classic Gray Stain
- Kreg Pocket HoleJig System
- 3″ Double Action Spring Door Hinge
- Outdoor String Lights
- Handle Pulls
- Dusk to Dawn Wall Lanterns
- Window Screen
- Rotary Hammer Drill
- Crown Stapler
Check out my other house-remodeling posts:
[…] these detailed instructions and discover how to create a DIY screen patio that will give you an outdoor living space that can be used year-round. The roof will keep the […]