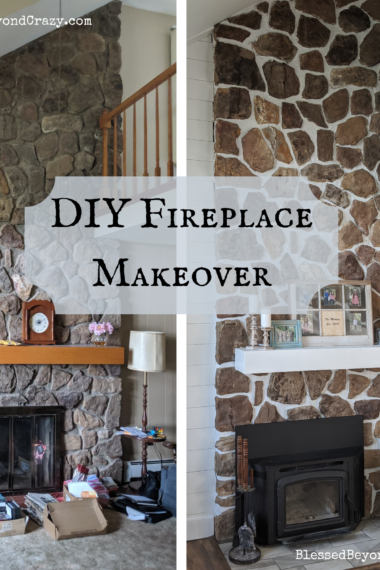
Our fireplace makeover has made such a drastic difference to the feel of our living room. Updating our fireplace makes our home feel bigger, brighter, and cleaner. I love the way it has turned out.
Last fall my husband and I bought a home in the country. We definitely bought it because we loved the land, not so much the house, but I was determined we could remodel the house and make it beautiful. It was crazy hard and stressful, but we did it!
Here is what the living room, specifically the fireplace looked like when we bought the house.
Before the Fireplace Makeover
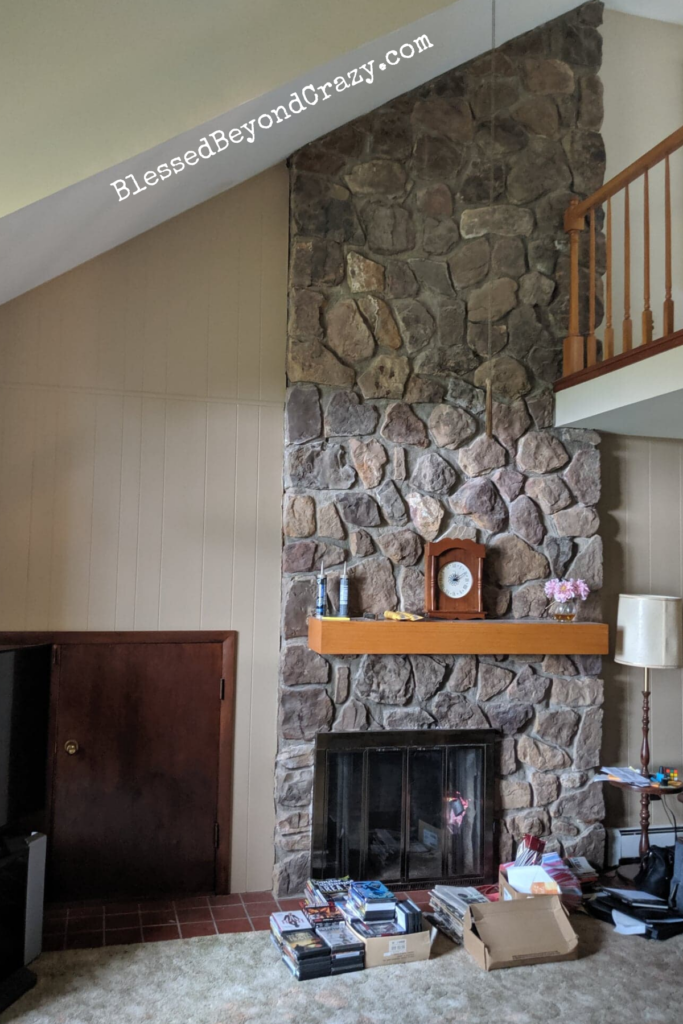
This room isn’t huge, but it feels big because of the tall ceilings and fireplace. It is obviously the focal point of the room! There is a huge 15-foot window that lets in a ton of natural light, yet the house still seemed dark.
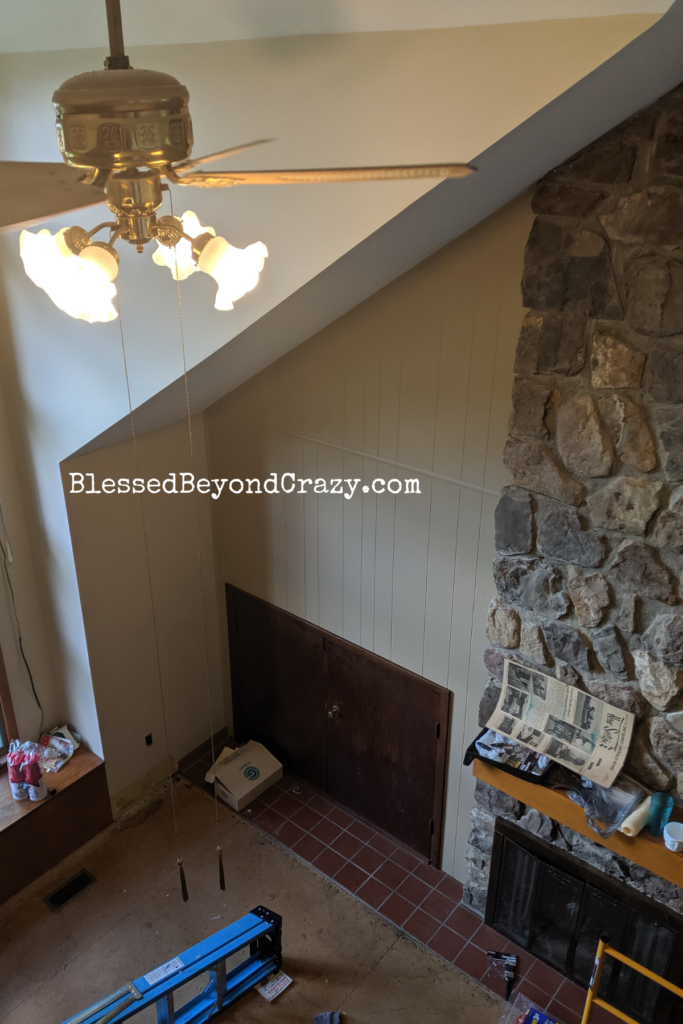
New Flooring and Walls
Day 1 — The very first things we did when we took possession of the house was to rip out the old carpet and tear down the vertical blinds off of the windows to allow more natural light.
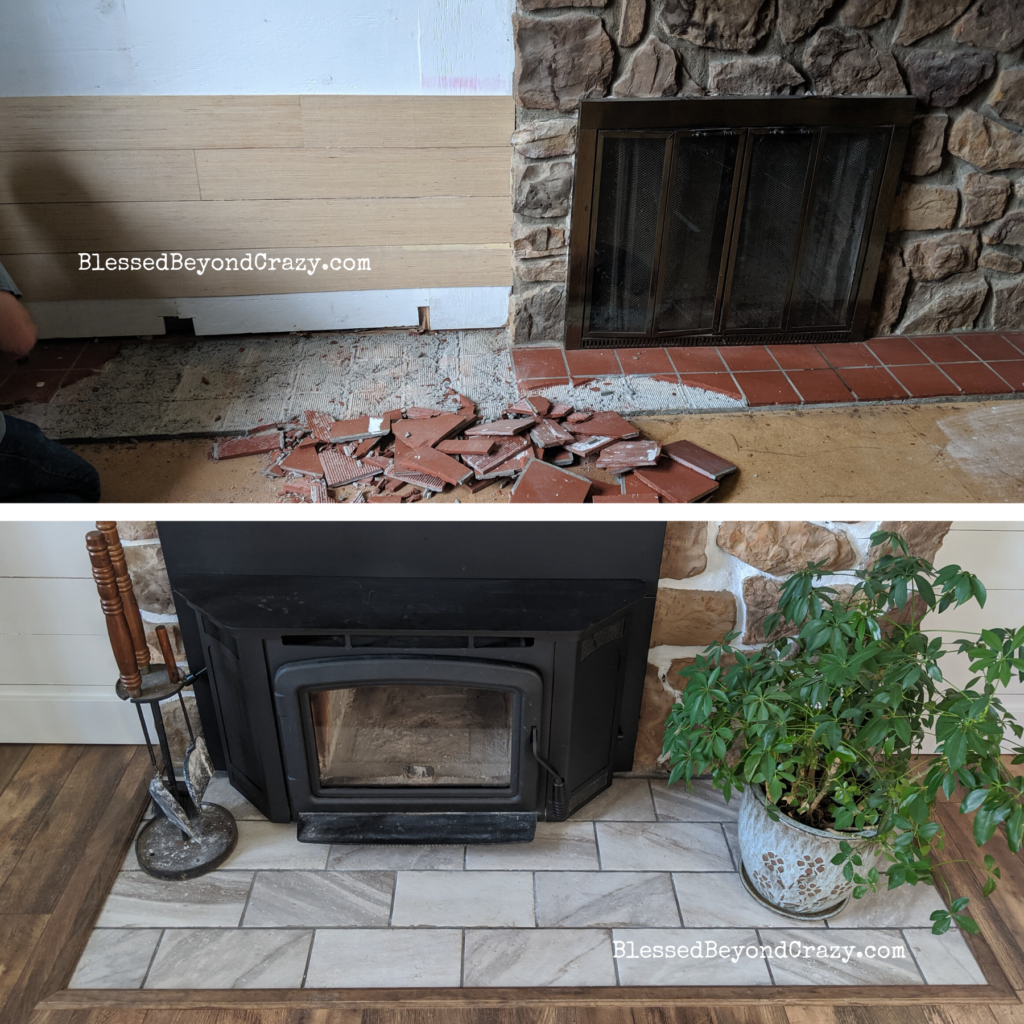
See the red tile? That went the whole length of the wall in front of the fireplace. I assumed I would have to live with it, maybe figure out a way to paint it a different color. But the placement of the tile was just weird and didn’t make sense. It was not even deep enough in front of the fireplace to actually protect the floor from heat, and we definitely didn’t need it all the way to the corners.
See the two half doors? That was for storing firewood. There is a tiny room through those doors that also has doors outside the house as a pass-through.
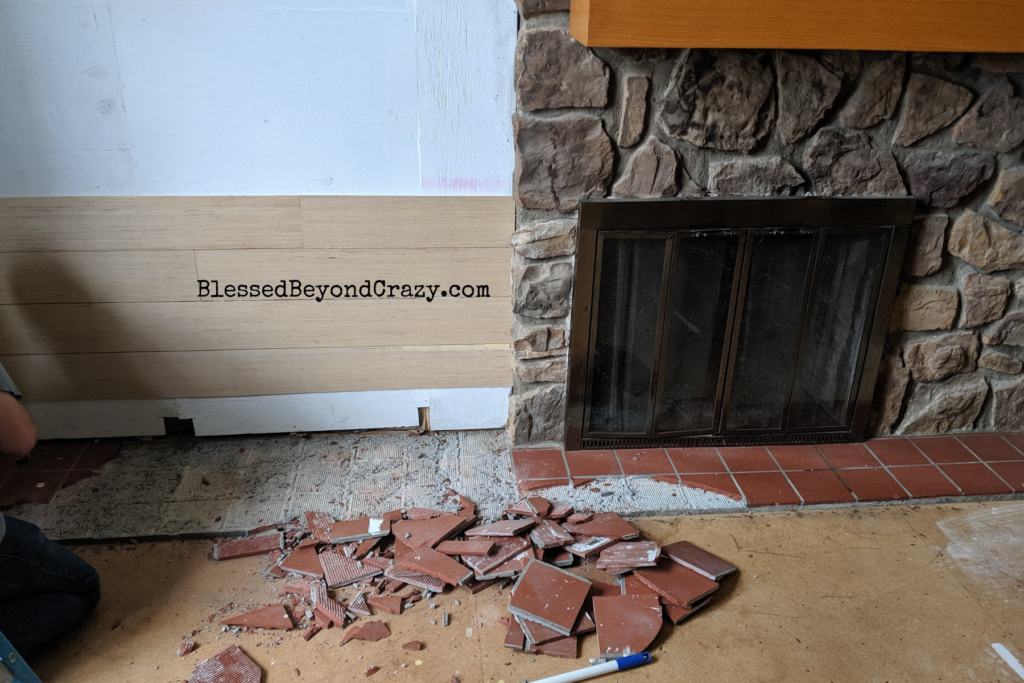
I was so happy when we found out the red tile could come up! I didn’t have to just live with it, we could make what we wanted! My husband and his brother spent several days busting the tile and pulling it out in tiny pieces.
Oh yes, the wall! As you can see it was paneling when we moved in. My husband took the paneling down, and then we had to decide what to replace it with. Some options we discussed were drywall or ship-lap.
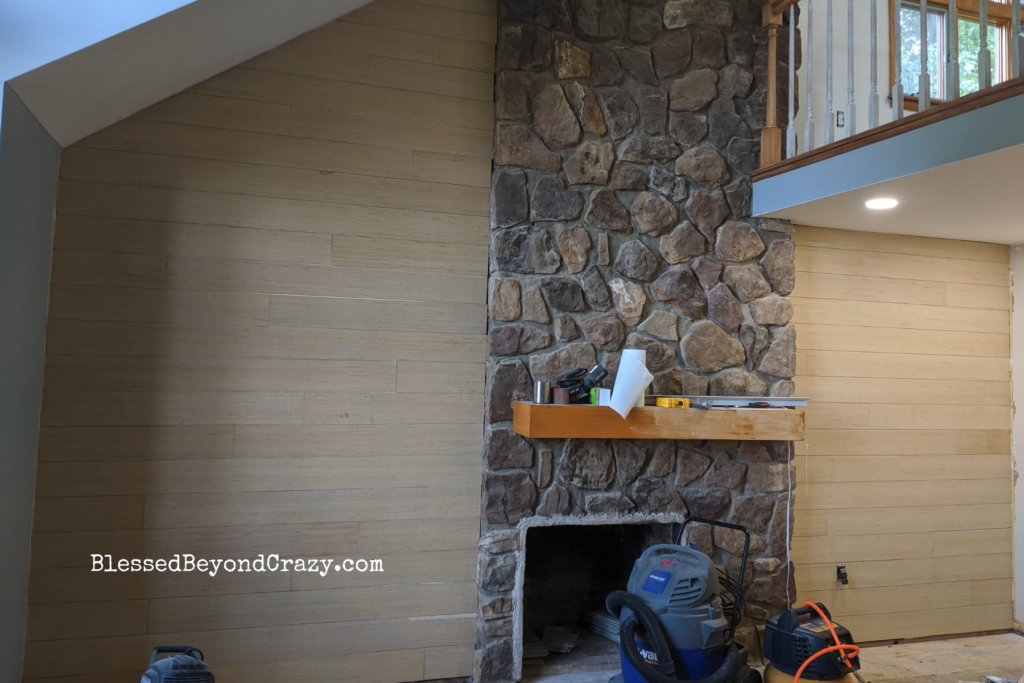
We also had to come to a decision about the tiny doors with the tiny room with the pass-through. In the end, we decided to get rid of the doors in the living room. The tiny room is still on the outside of our house but there is no way to get in there. Someday I believe we tear that out and add on to our home on that side of the house.
We went with a faux ship-lap on the wall.
It is actually sub-flooring that my husband cut into boards then air-nailed them onto the ply-wood that was behind the paneling. The sub-flooring was about $20 a sheet, so way cheaper than real ship-lap!
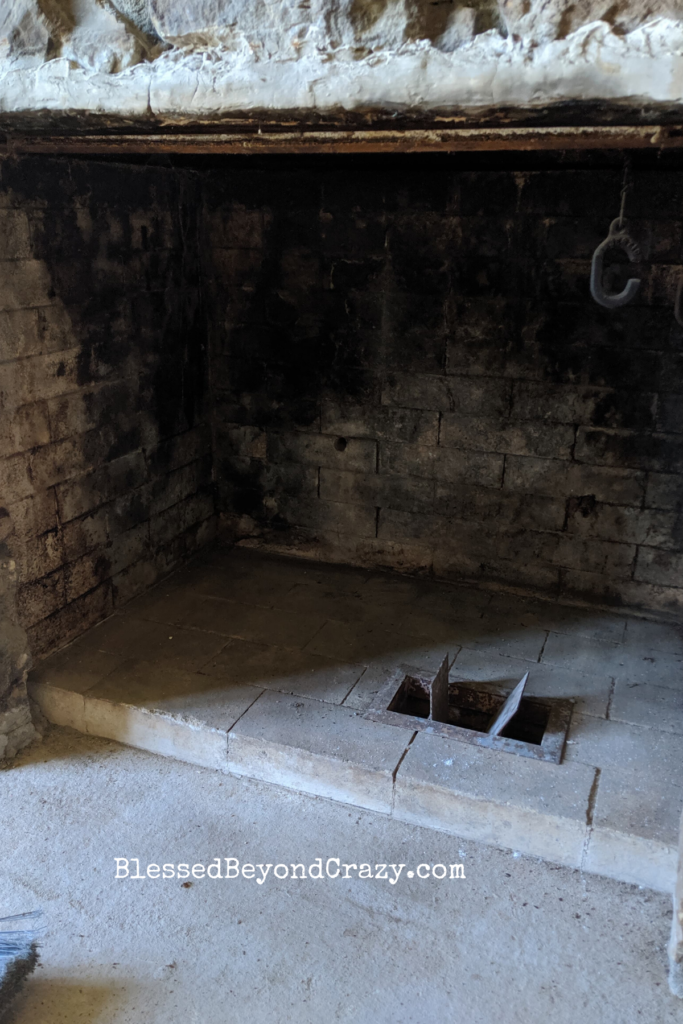
I was so excited to live in a home with a real fireplace. When asked the previous owners about how well it worked, they said they had never used it and didn’t believe it worked. I was pretty bummed! Here is what it looked like when we took the old doors and screen down. It is huge!
The main goal of our fireplace makeover was to get it working!
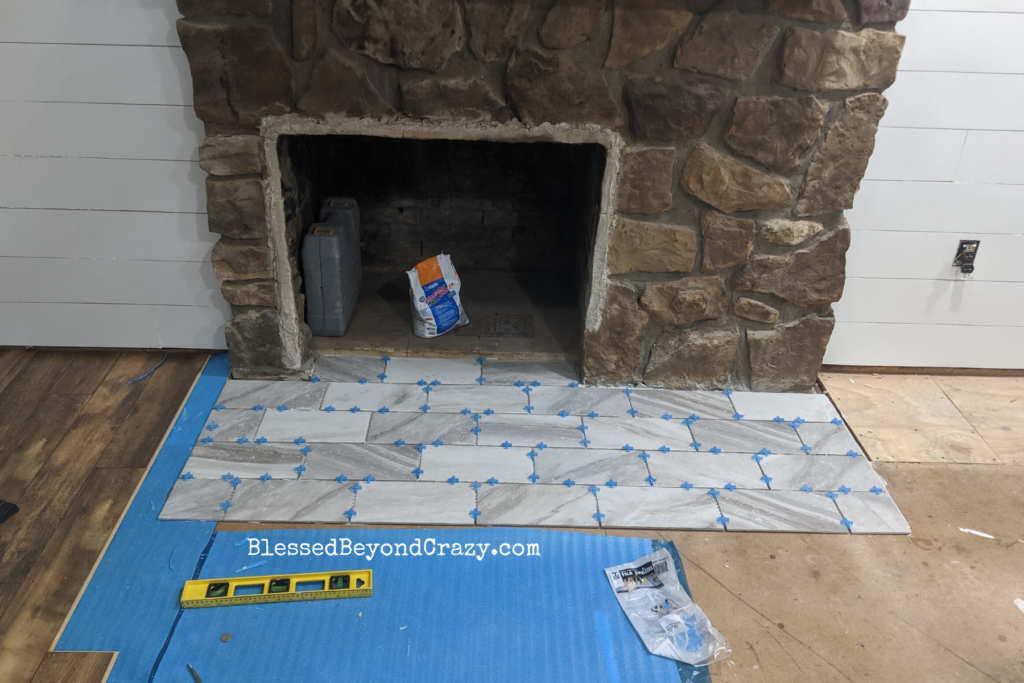
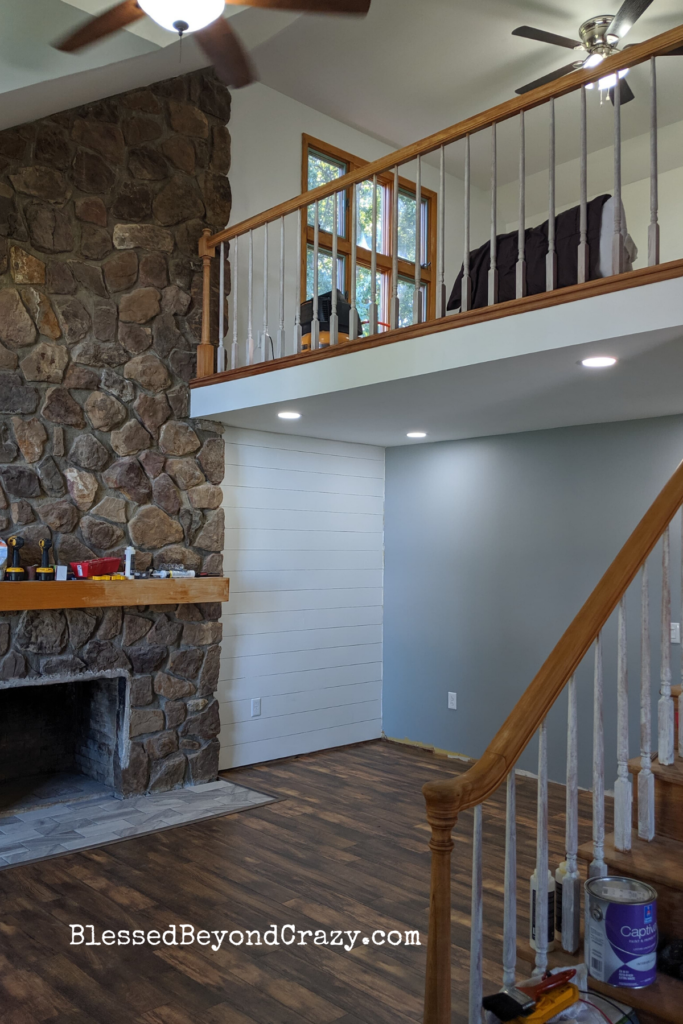
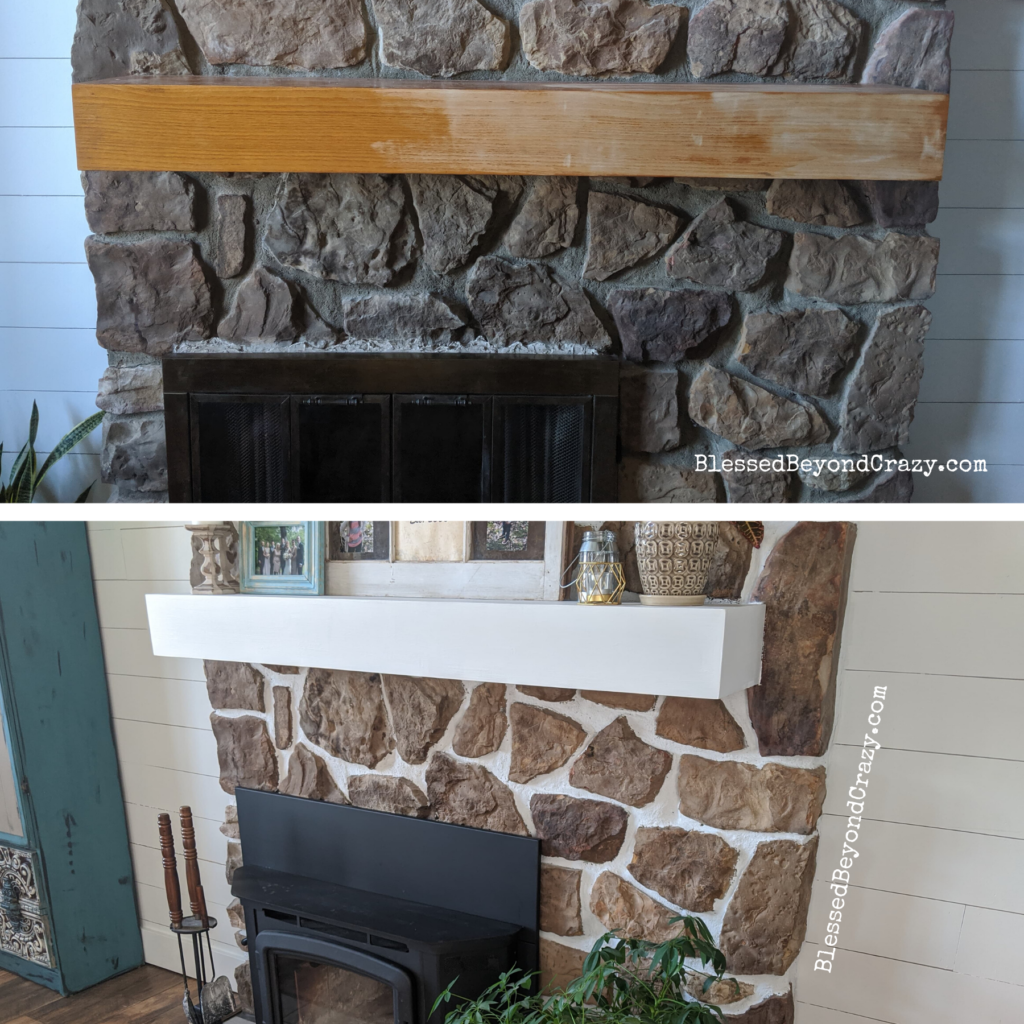
Here is the fireplace with new flooring, tile, and walls. Somewhere along the line the oak mantel got half-way sanded. We also added a new ceiling fan in both the living room and the loft. These were important to push the heat back down to the main floor.
DIY Fireplace Makeover with Paint
The white ship-lap and the light gray tile were beautiful, but the fireplace itself still seemed dark and blah. All along I had said I was going to white-wash the stones. I looked at tons of images on Pinterest and everything seemed too white. I didn’t want the fireplace to blend in with the white ship-lap. Several family members, husband included, seemed scared at the thought whitewashing the stones, which made me scared about it too. Plus, everyone seemed super concerned about the type of paint to use for this project.
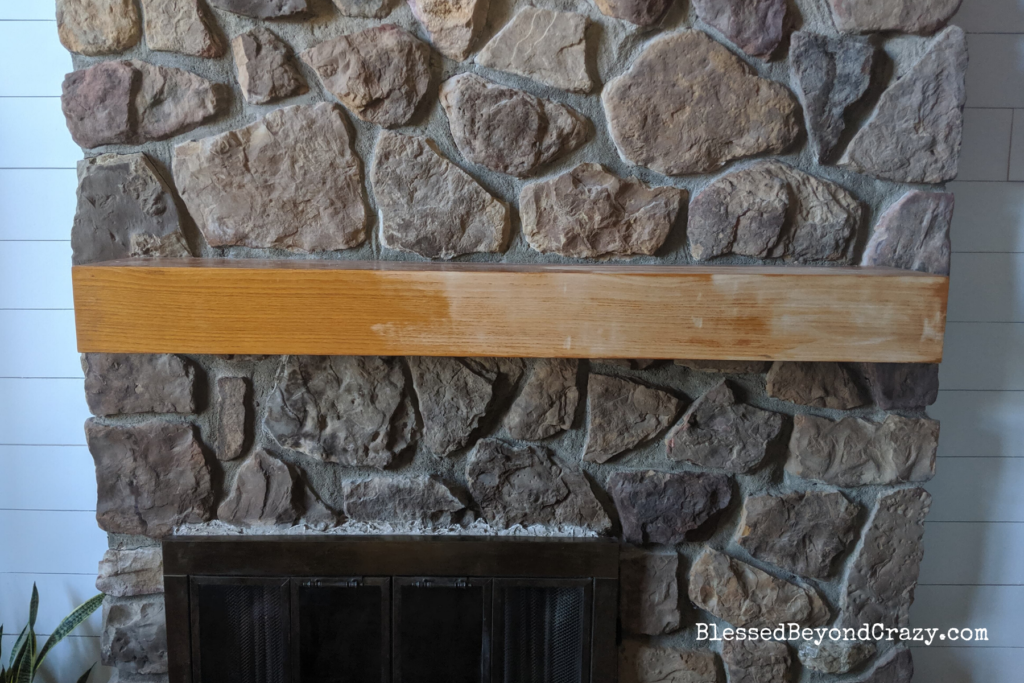
One day I got really sick of looking at this half sanded oak mental and decided to paint it white. I got out some white trim paint and painted it.
While I had out my painting stuff, I decided to just go for it and started painting in-between the stones. I could always go back and white-wash the stones if I wanted, but I was going to start with just the cracks. I used normal trim and baseboard paint, nothing special!!
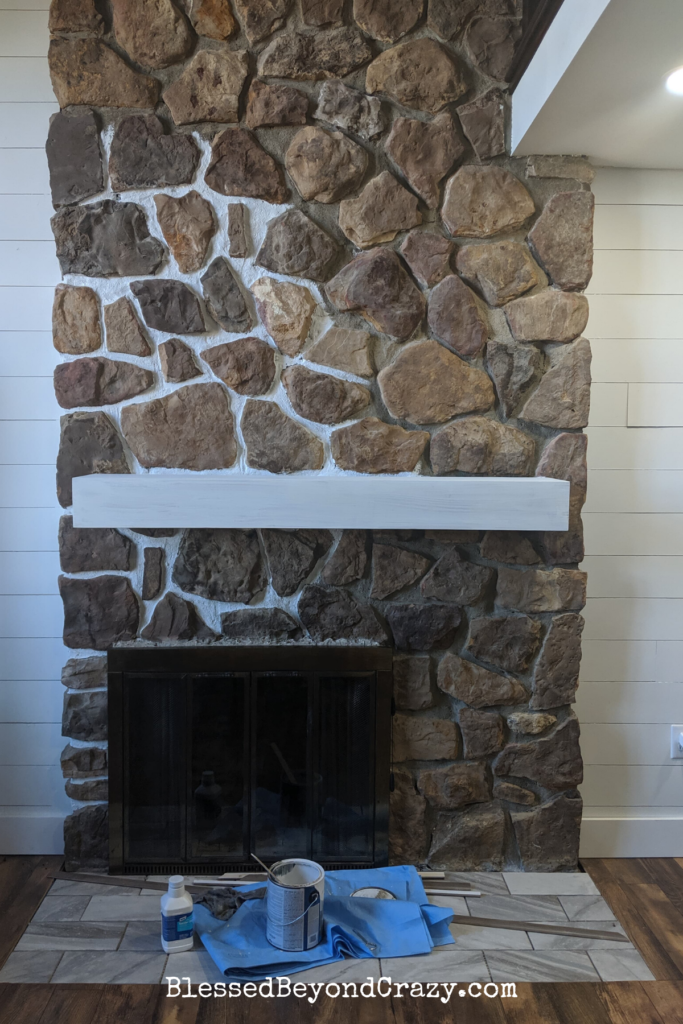
About 25% of the way done, and I was in love with this look! The stones were popping and it no longer looked like a big brown blob going up my wall.
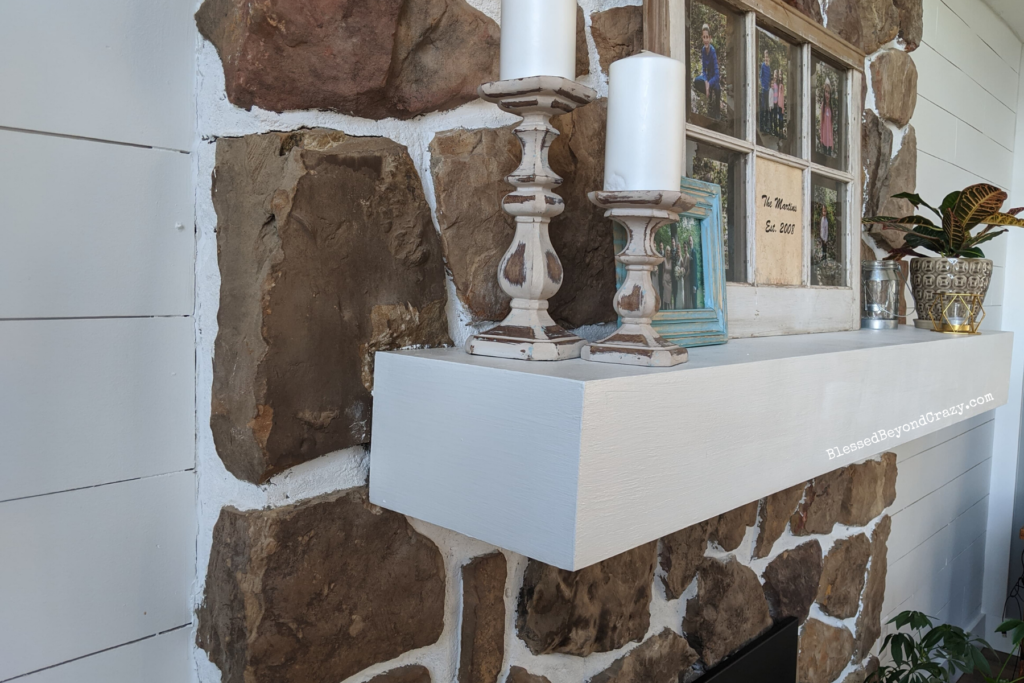
By only painting in between the stones the fireplace now feels like a cozy cottage! I’m really glad I didn’t whitewash all the stones!
Working Fireplace
Aesthetically we had it just how we wanted it. Now to get it working, we contacted a local fireplace and heating company that came out to our house, asked us what wanted, and took measurements. They came back about a month later and installed a fireplace insert that has a nice sized window and blows the heat back into the house.
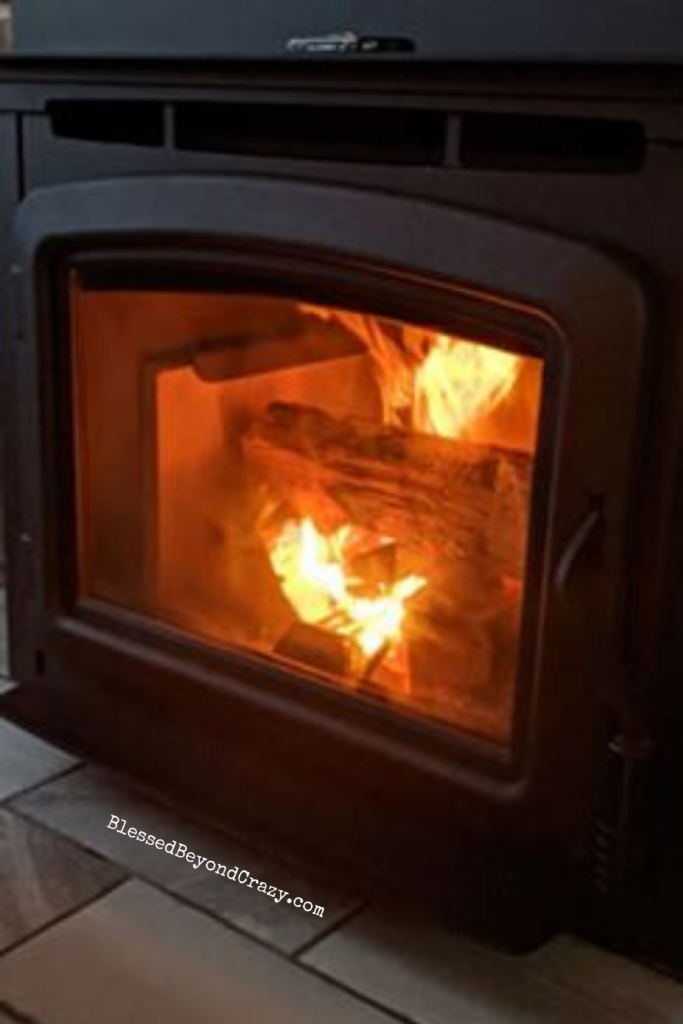
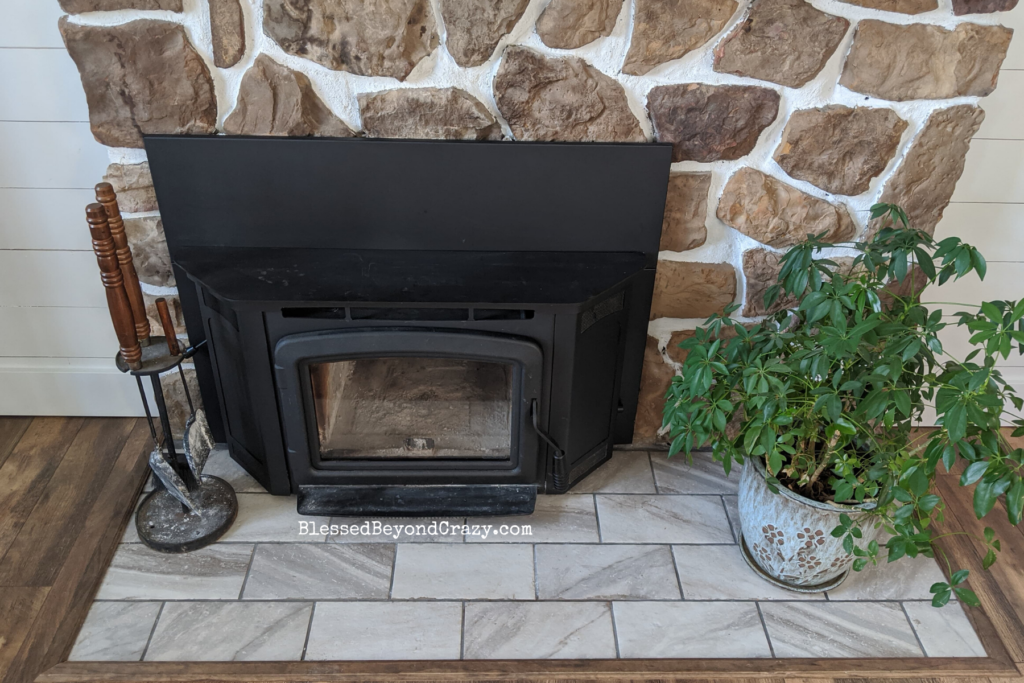
Not only does it work but it acted as a main source of heat for much of the winter!
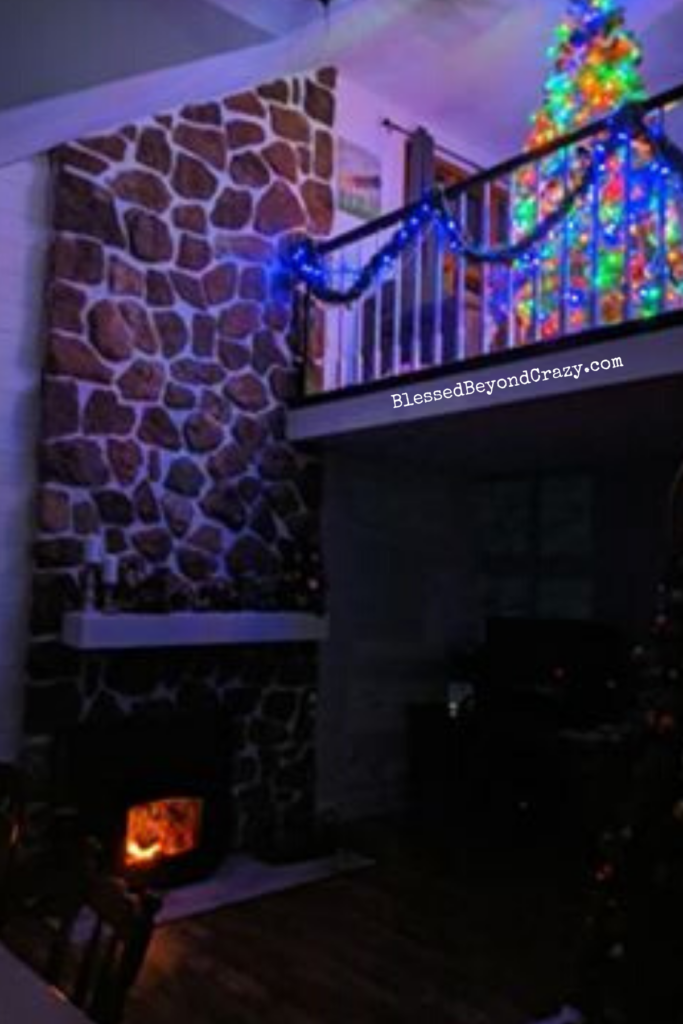
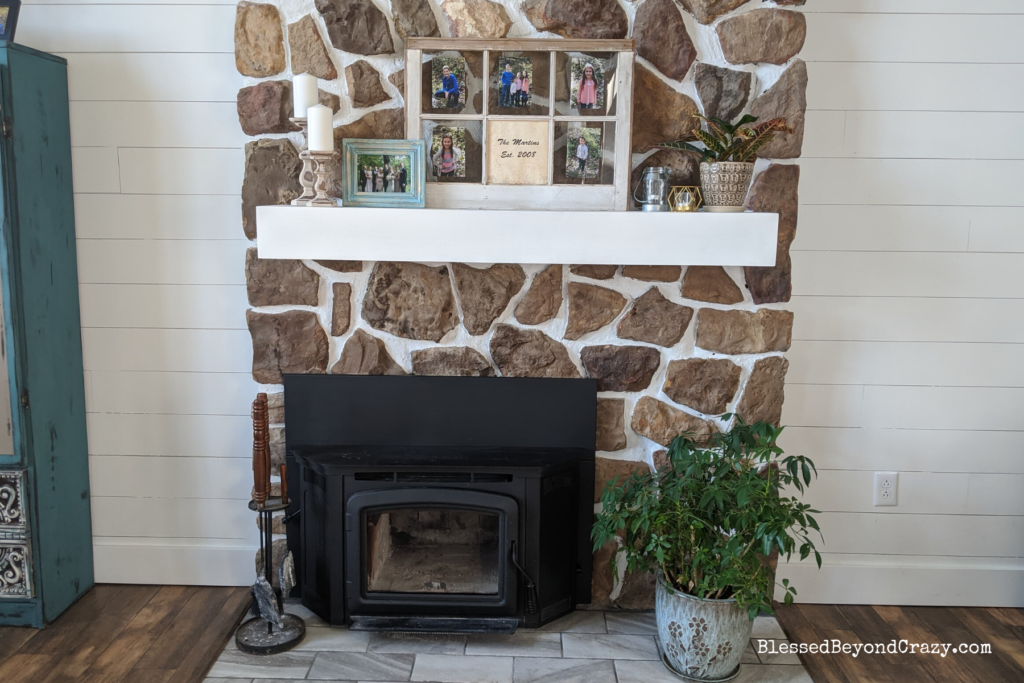
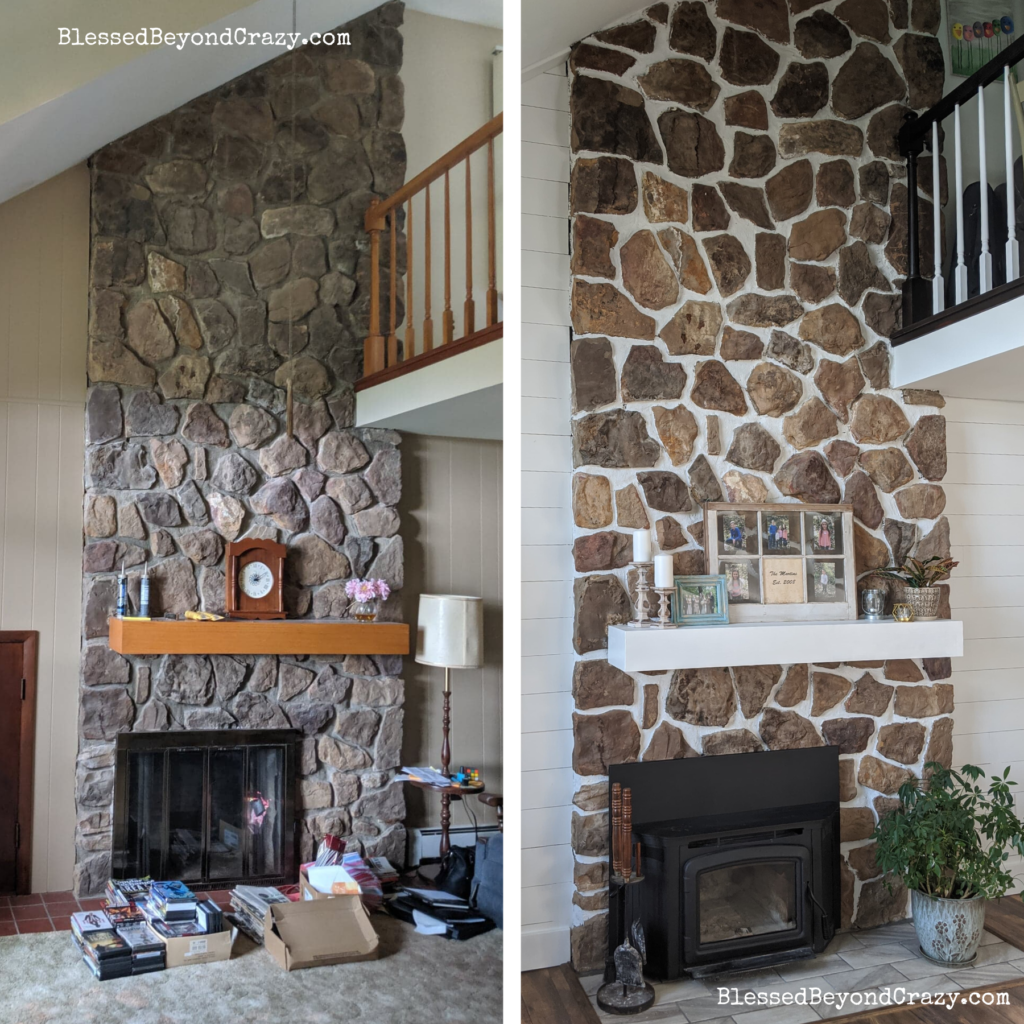
Here are the before and after, side by side, fireplace makeover pictures that I still can’t get over!
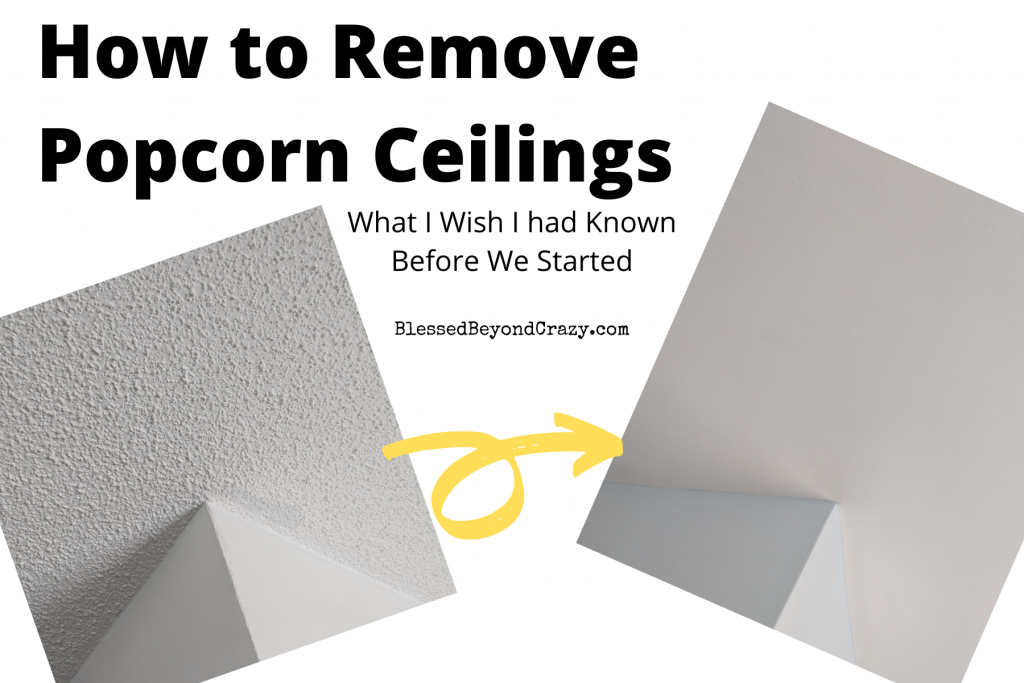
For more of our home remodel check out this post where I scraped our popcorn ceilings.
Ralph Wididi says
I LOVE YOUR MAKEOVER!
Blessed Beyond Crazy says
Thank you so much! We are so glad you like it! Anna
Drake Frost says
Wow, listen, I didn’t even expect that it would be possible to transform a fireplace like that. It always seemed to me that doing this was unrealistic for myself. You even somehow motivate. That is, you had a fireplace, which in the end you just took and upgraded to a newer one, or what? Has the design in the wall changed? Or did you leave everything as it is, just changed the fireplace itself? I just want to completely change it to give good warmth and to become the main source of heat in the house, like yours. And then electricity is expensive, huh.
Blessed Beyond Crazy says
Thanks for your kind comment. We did not change the design of the actual fireplace. We switched out the paneling for a faux ship-lap, painted in between the stones on the fireplace, painted the mantel, replaced the carpet and existing tile with new tile and hardwood flooring, and added a fireplace insert so it would be an actual working fireplace.